Dog calming vest for fireworks season

The brand name is ‘Thundershirt‘.  It is a tried and true device for calming dogs who fear thunder and fireworks, by creating a swaddling effect.

[Picture from the Thundershirt website.]

ThunderShirt for Dogs

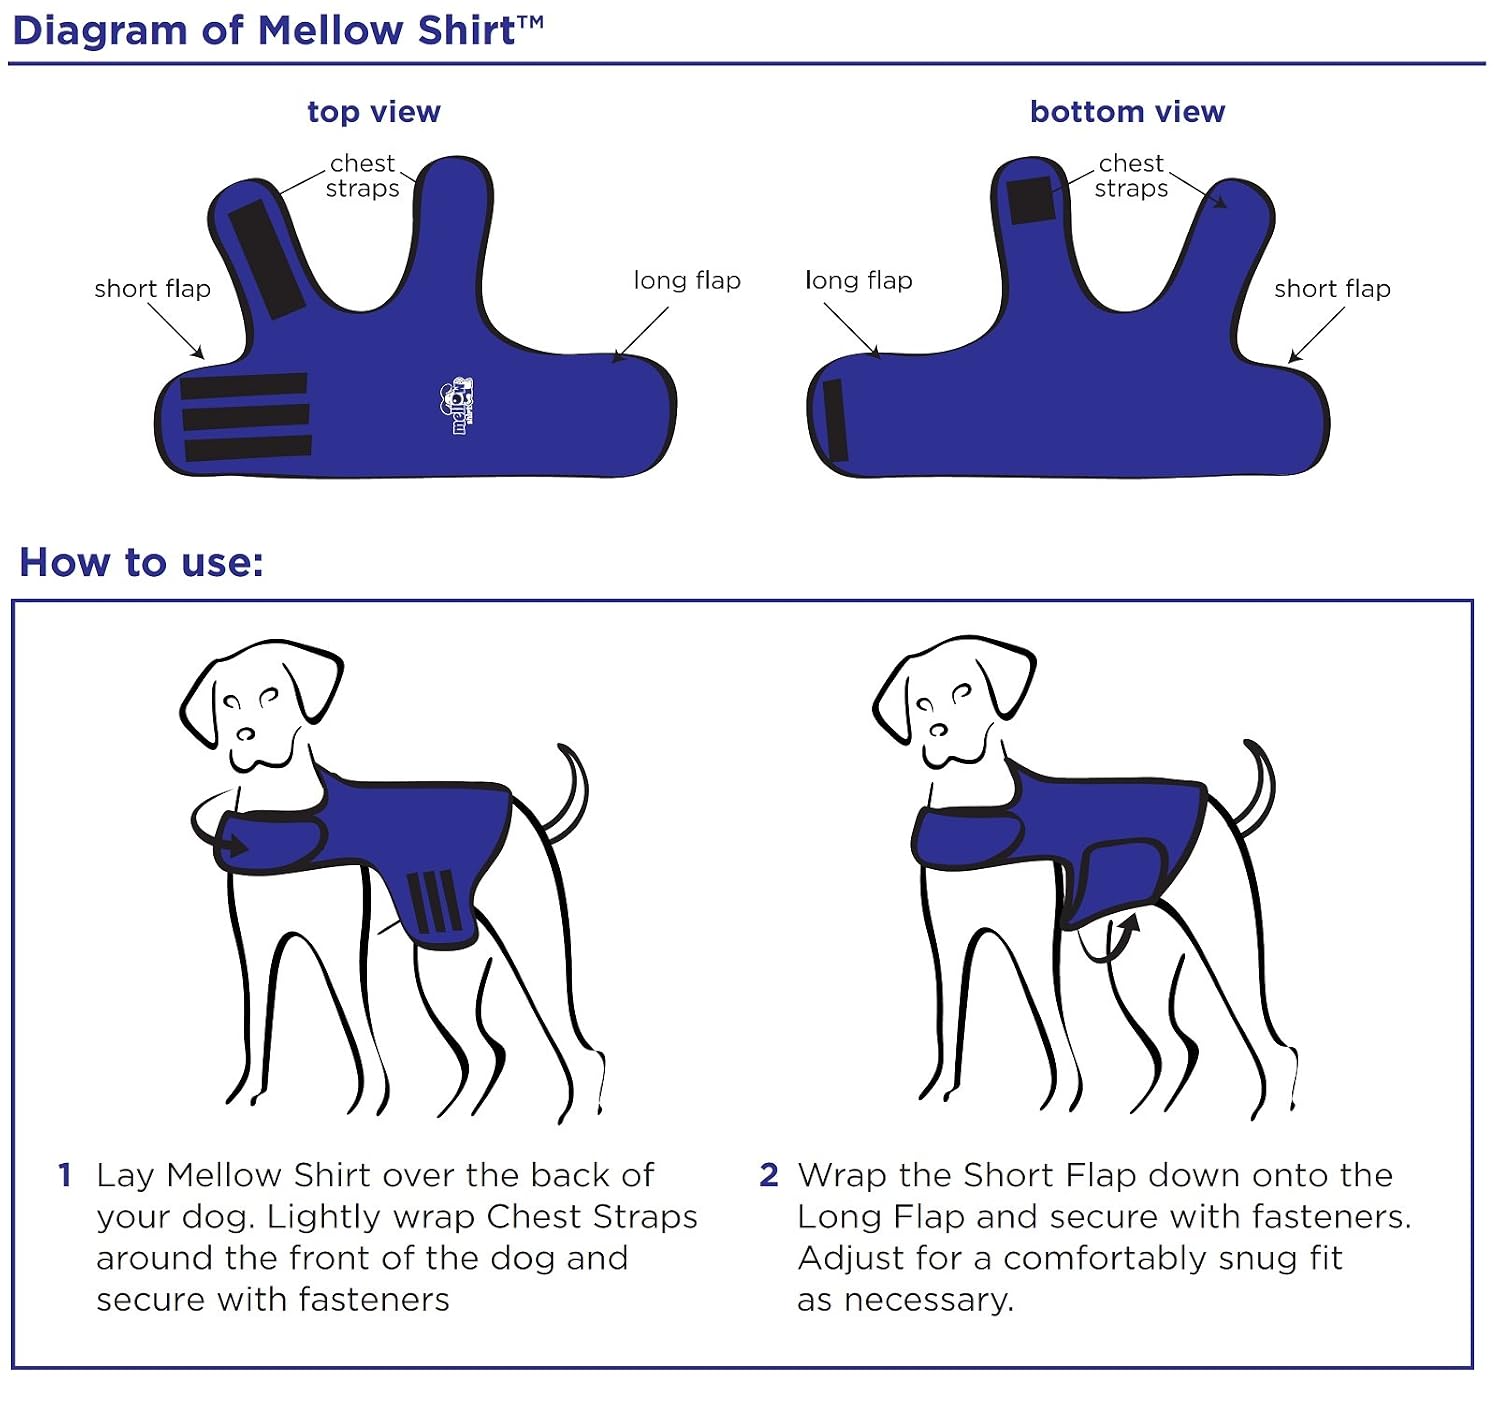
I may end up buying the authentic Thundershirt for Myrtle (or one of the smorgasbord of other brands now available on Amazon, such as this one called Mellow Shirt“).

But first I want to see if Myrtle needs it and if it will calm her during fireworks season.  We’ve had three nights of fireworks in the neighborhood so far.  The first night, she was visibly agitated, even in the house when I was with her, trying to comfort her.  She was startled and barked at every boom.

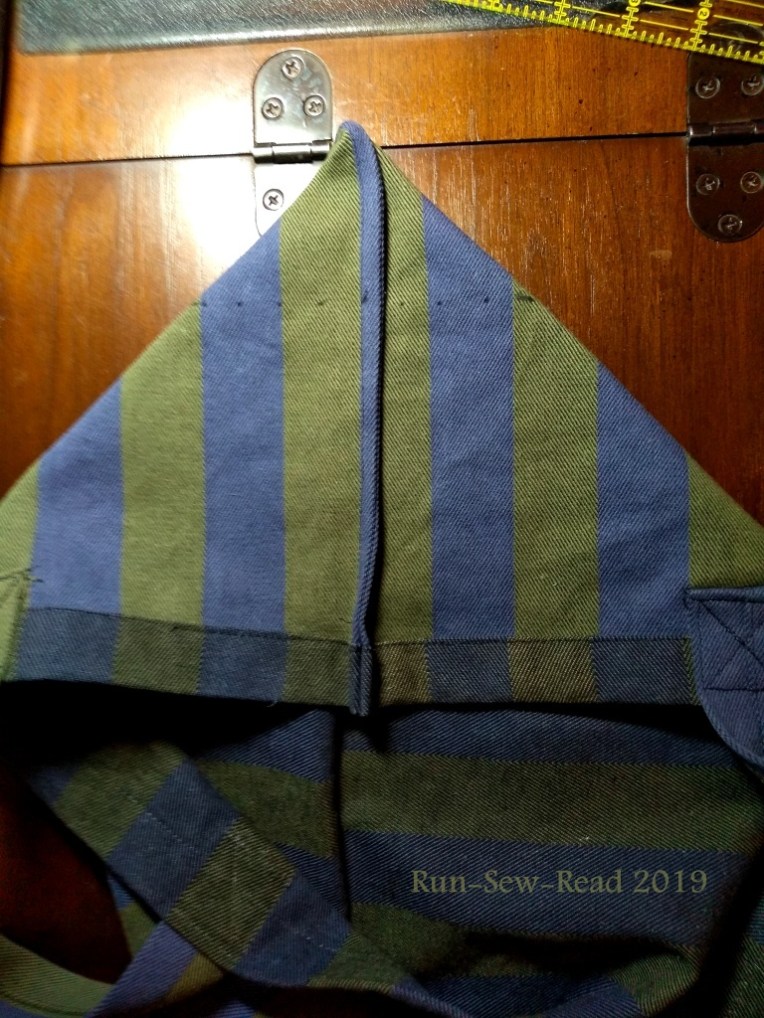
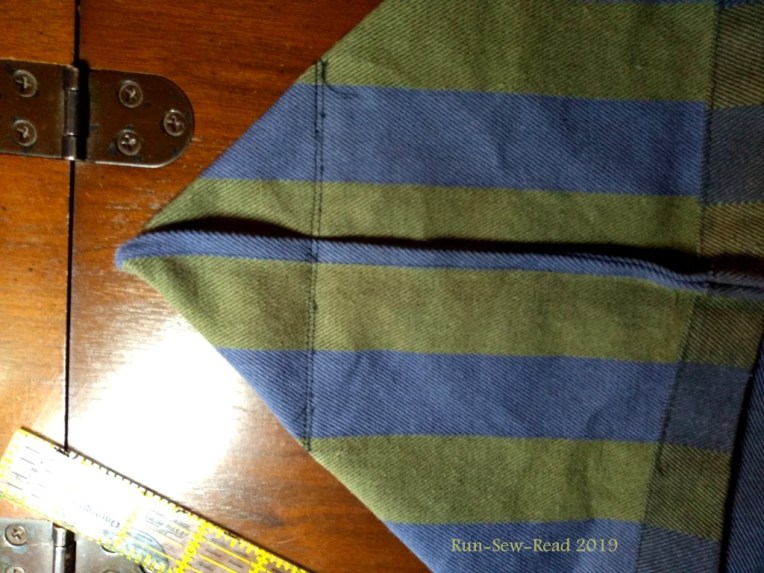
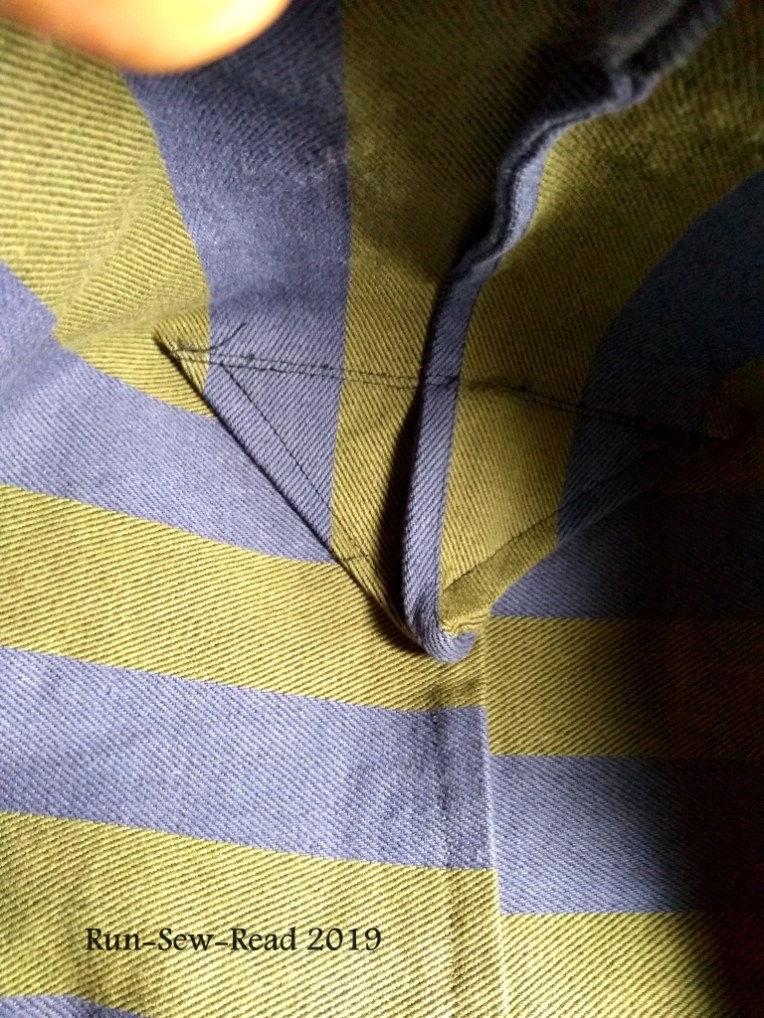
So, I’ve mocked up a DIY compression vest for her.   The first mock up is made of terry cloth, to be soft and cool.

Vest Floor 2 w RSR

The next mock up will be all or part netting, and stretchier:

Netting w RSR

While wearing the terrycloth vest, she immediately began sitting and laying down more, while not showing signs that the vest bothers her.

Sitting w RSR

Napping w RSR

Watchdog 2 w RSR

However, the real test hasn’t occurred yet.  The fireworks have been quiet in our ‘hood since that first night.

I’ll be watching and tweaking the vests all week, hoping that by July 4th, we’ll have something that keeps her from being frightened.


The vest has not taken away her energy, and by that I mean her desire to play with the baby robins in the neighbor’s tree.


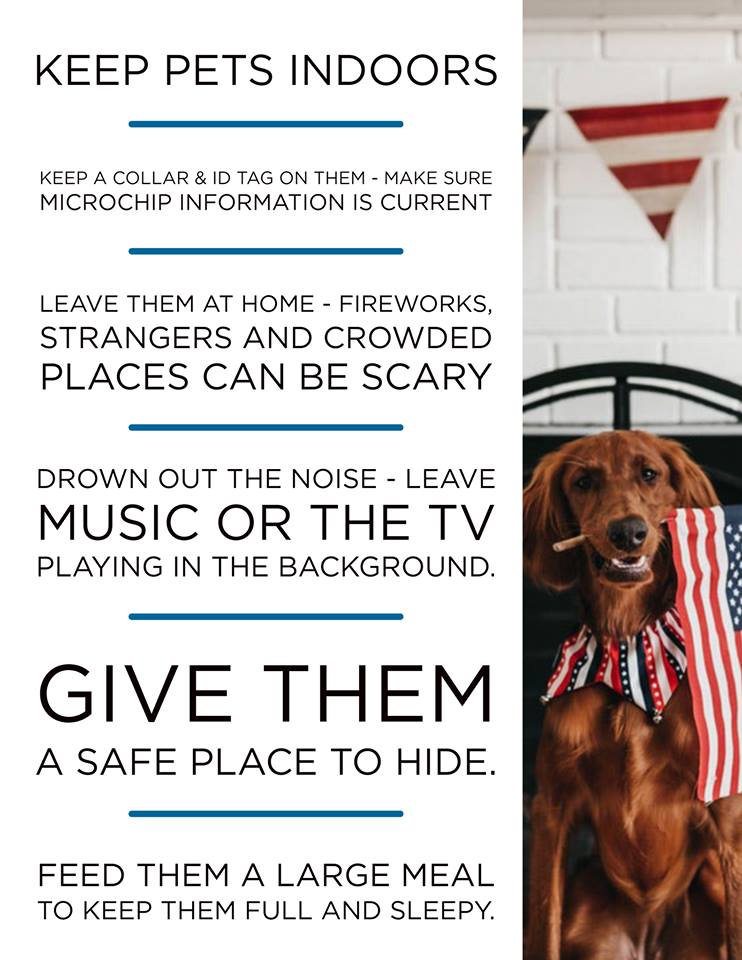
Fourth of July tips from our humane society:

Fourth of July pet tips from KHS

And from the totally awesome The Oatmeal:

Image may contain: text

Check your main shut-off valve

Do you have a main water shut-off valve inside your house?  It’s a code requirement, so you probably do.  But if for some reason you don’t have one, I recommend getting one installed.  It makes it easy to shut off the water to repair or replace toilet valves, washer hoses, sink faucets and supply lines, etc.

Mine looks like this.  I access it from a trap door in a closet.  

IMG_20190623_103638574 RSR


Do you turn off the main shut-off when you go on vacation?  I recommend it.  It’s peace of mind that you won’t come home to a flooded house if a washer hose bursts, pipes freeze or some other unplanned catastrophe occurs.

Can you easily access your main shut-off valve, or is it behind a locked door, accessible only by ladder, or otherwise barricaded by stuff?  If so, I recommend clearing a path and making it quickly accessible.  That way, if there is a water emergency, such as a burst pipe or hose, you can quickly stop the flow.

The next important question is:  Is your main shut-off valve this type?

IMG_20190519_150242482a RSR

If so, I recommend replacing it, and here’s why.  It will break.

IMG_20190519_150302266a RSR

Recently, I turned the water off at the shut-off, so I could replace a toilet valve.  With the toilet valve easily replaced, I re-opened the shut-off valve.  Unexpectedly, the shut-off valve handle came off in my hand, and water started pouring into the space under my house. 

IMG_20190519_150258359a RSR

Miraculously, I got the handle back on and the valve closed.  Murphy’s Law dictated that this would happen on a Sunday afternoon.  No plumbers were available.  I went all night without running water, worrying that the shut-off would fail.  Thankfully it didn’t.  The plumber got here first thing in the morning and replaced the valve.  He replaced it with a quarter-turn ball valve.

IMG_20190623_103644727 RSR

This is the type of shut-off I had always wanted, but didn’t realize I should have gone ahead and gotten the replacement.  The total cost was $150.  The plumber rolled his eyes at the round handle type and said “they all fail”.

With the quarter-turn ball valve, my peace of mind is restored.  If I want to replace a faucet, or go on vacation, a simple turn of the shut-off valve is all it takes to turn the water off to the entire house.


Not all water can be so easily turned off.  I’m speaking of all of the rain we are getting here in the Arkansas River region.  Our banks, reservoirs and ditches are full, and we are sending the excess on to Oklahoma and Arkansas.  Sorry ’bout that, neighbors to the south.

Bridges are still doing okay in my area, but some streets and paths, not so much.  Parts of our river bike/walk path has been submerged.  When the water recedes, in some spots the path has washed away with it.

IMG_20190524_191555069b RSRIMG_20190524_193019097a RSR

‘Some’ are enjoying it.  Others like me are spending a lot of extra effort on cleanup.  Sigh.

Download a free Mary Quant-inspired dress pattern and tutorial; courtesy of the Victoria & Albert Museum

The fantastic Victoria and Albert Museum in London is hosting a Mary Quant exhibit this year. With it they’re putting on workshops and special events.  If like me, you can’t get to London this year, there’s this!  The museum has commissioned a dress pattern to be designed in the style of Mary Quant.  It’s now available here, with written and video instructions and tutorial:

https://www.vam.ac.uk/articles/sew-your-own-mary-quant-style-minidress

From the V&A pattern webpage:

This easy-to-use sewing pattern has been designed exclusively for us by Alice & Co Patterns. The design includes two neckline options, two pocket options, three collar finishes, and two sleeve finishes – all inspired by Mary Quant’s iconic designs. It’s a classic A-line mini which sits just above the knee – you can shorten it if you want to show a bit more thigh, or lengthen to turn it into a more 70s style maxi-dress.


Of course I’m going to make one!

The pattern designer was Alice and Co Patterns.  They have a nice collection of other patterns and inspiring projects, too.  https://aliceandcopatterns.com


I had measles as a teenager.

There’s a lot of conversation about measles these days, in the US anyway.  Here’s my story….

I got miserably sick with fever, and then a rash started showing up.  Mom took me to the doctor.  The bewildering diagnosis was measles.  It was bewildering because–

  • No one gets measles (or so I thought); and
  • As a child, I had been vaccinated against measles.  My immunization records confirmed it.

The assumption was made that the vaccine failed, or the pediatrician’s staff had noted the immunization in my records but forgot to actually administer the vaccine.

It was the most miserable I’ve ever been in my life, and scary.  

  • There were the typical symptoms of being sick–Achy and miserable all over, nose, throat and relentless cough; no energy for anything but bed rest.
  • Itchy, burning rash–The rash covered my entire body, and itched and burned like mad, day and night.
  • High Feverpersistent, deadly high temperatures.
  • Ice baths–The high fever had to be controlled with intermittent freezing cold ice baths.
  • Night sweats–I learned to love them, because it meant the fever was breaking, or something like that.  Confession:  I still love night sweats to this day, because I remember the relief it brought.
  • The misery lasted about a month, with 2+ weeks being absolute round-the-clock hell.

The rash made me really ugly.

  • The rash was thick, soft and red, and covered my entire body; face, arms, legs, and torso.  Visualize the worse case of acne, chicken pox and poison ivy ever seen, and then fill in any open spaces with more rash.
  • My dad teased me about how bad I looked and asked if I was going on a date. (Yeah, thanks, Dad. :p )
  • The rash didn’t disappear when the other symptoms finally did.  It was basically a massive number of sores that took their own time to heal.
  • Even after the sores healed, the rash left dark, blotchy shadows on my face and body, under the skin.  It took weeks and weeks for the shadows to fade away gradually.

I could have infected lots of other people because I didn’t know I had a highly-contagious, potentially deadly virus. 

The 16-year-old me did all of these things on a regular basis:

  • Worked at a fast food restaurant
  • Went to school every day
  • Went shopping (tried on clothing, shoes and jewelry, and tested makeup)
  • Went swimming with friends
  • Hung out at friends’ homes
  • Ate at restaurants
  • Dated boys (and kissed them)
  • Cared for my toddler brother at home (feeding, dressing, child’s play, etc.)
  • My mom was pregnant at the time with our baby brother, or she got pregnant soon after that.

Who knows where I came in contact with the measles virus, but the list above indicates it could have been anywhere.  Kids and teenagers are constantly in contact with the world.

From the Mayo Clinic on how measles is spread:

  • Measles is a highly contagious illness caused by a virus that replicates in the nose and throat of an infected child or adult.
  • When someone with measles coughs, sneezes or talks, infected droplets spray into the air, where other people can inhale them.
  • The infected droplets may also land on a surface, where they remain active and contagious for several hours.
  • You can contract the virus by putting your fingers in your mouth or nose or rubbing your eyes after touching the infected surface.
  • About 90 percent of susceptible people who are exposed to someone with the virus will be infected.

When I finally healed, it was complete.  I was lucky.  Some common complications from measles are dangerous and/or permanent.

From the Mayo website on common complications from measles:

  • Ear problems.  One of the most common complications of measles is a bacterial ear infection.  Permanent hearing impairment can result.  
  • Bronchitis, laryngitis or croup. Measles may lead to inflammation of your voice box (larynx) or inflammation of the inner walls that line the main air passageways of your lungs (bronchial tubes).
  • Pneumonia. Pneumonia is a common complication of measles. People with compromised immune systems can develop an especially dangerous variety of pneumonia that is sometimes fatal.
  • Encephalitis. About 1 in 1,000 people with measles develops a complication called encephalitis. Encephalitis may occur right after measles, or it might not occur until months later.
  • Pregnancy problems. If you’re pregnant, you need to take special care to avoid measles because the disease can cause preterm labor, low birth weight and maternal death

Did I mention having measles was the most miserable I’ve ever been in my life?  It was.  Scary, too.  I don’t want to ever feel like that again.  I wouldn’t wish it on anyone.  

Can I get measles again?  I asked my doc that this week, and the answer was “maybe”.  My choices are to get a test to see if I have the antibodies, or skip the test and go ahead and get the vaccine.  I’ve decided to get the test first, mainly to satisfy my curiosity.  Stay tuned….

More information on measles:


Next post shall be a return to more fun topics.

A tote for cornhole game bean bags

So, you’ve made a cool set of bean bags for your Cornhole game.  Now, how to transport them.  Grocery sack?  Old box?  Better, here’s a diy bean bag tote that will make you look like a pro.

IMG_20190601_204455660a

Finished tote dimensions are approximately 12″ x 6″ x 6″

Start with these pieces of sturdy fabric:

  • Bag 19″ x 11″ (cut 2)
  • Handles 15″ x 4″ (cut 2)
  • Center divider 7″ x 12″ (cut 1)

General Construction Steps:

  • Fold each handle strip the long way, right sides together, and sew lengthwise with a 1/4″ seam, to make a tube.  Turn right side out and press flat.
  • Fold center divider in half right sides together, to make a 7″ (h) x 6″ (w ) piece.  Sew two of the open sides with a 1/4″ seam.  Turn right side out, press and sew the open end shut.
  • Sew one of the side seams on the bag.  Reinforce with an extra row of stitching.  (I used French seams.) Hem the top edge.
  • Then finish and attach the handles; centered on each side.
  • Center the divider on one side of the bag and stitch it in place along one edge of the divider.

Your piece will now look something like this.  This view is the ‘inside’ of the bag laid out flat:

IMG_20190601_194036796a

A closer view of the measurements:

IMG_20190601_194041155a

  • Sew the other side seam and the bottom seam of the bag.  Reinforce both seams with an extra line of stitching or your preferred reinforcing method.

Your bag will now look something like this, turned inside out

IMG_20190601_195330958a

  • Measure and mark for mitering the bag corners.  The miter seam should be 5 1/2″ long (2 1/4″ from the center line.)

IMG_20190601_200624306a

The stitching line marked:

IMG_20190601_200628906a

  • The miter is stitched and then reinforced with a second row of stitching.

IMG_20190601_201430428a

  • Turn the bag right side out, and tack the mitered corner in place.

IMG_20190601_203321196a

  • Then repeat the steps for mitering the other corner.
  • And now finally, pin the other side of the center divider in place down the center of the other side of the bag.

IMG_20190601_203600357a

Stitch the divider in place.  (It will be awkward, sewing from inside the bag, but thankfully it’s just the one short seam.)  IMG_20190601_203851646a

The bag is finished!  IMG_20190601_204455660a

Options for personalizing your bean bag tote are endless.  Here’s a colorful bag made from a placemat and some scraps.

IMG_20190525_090517268aw RSRIMG_20190525_090452050 aw RSR

Here’s one I made out of the bag the corn came in.  Who could resist using a ‘whole corn’ bag to make a ‘corn hole’ bag.  I know, *groan*!

whole-corn-corn-hole-bag RSR