
So, you’ve made a cool set of bean bags for your Cornhole game. Now, how to transport them. Grocery sack? Old box? Better, here’s a diy bean bag tote that will make you look like a pro.

Finished tote dimensions are approximately 12″ x 6″ x 6″
Start with these pieces of sturdy fabric:
- Bag 19″ x 11″ (cut 2)
- Handles 15″ x 4″ (cut 2)
- Center divider 7″ x 12″ (cut 1)
General Construction Steps:
- Fold each handle strip the long way, right sides together, and sew lengthwise with a 1/4″ seam, to make a tube. Turn right side out and press flat.
- Fold center divider in half right sides together, to make a 7″ (h) x 6″ (w ) piece. Sew two of the open sides with a 1/4″ seam. Turn right side out, press and sew the open end shut.
- Sew one of the side seams on the bag. Reinforce with an extra row of stitching. (I used French seams.) Hem the top edge.
- Then finish and attach the handles; centered on each side.
- Center the divider on one side of the bag and stitch it in place along one edge of the divider.
Your piece will now look something like this. This view is the ‘inside’ of the bag laid out flat:

A closer view of the measurements:

- Sew the other side seam and the bottom seam of the bag. Reinforce both seams with an extra line of stitching or your preferred reinforcing method.
Your bag will now look something like this, turned inside out

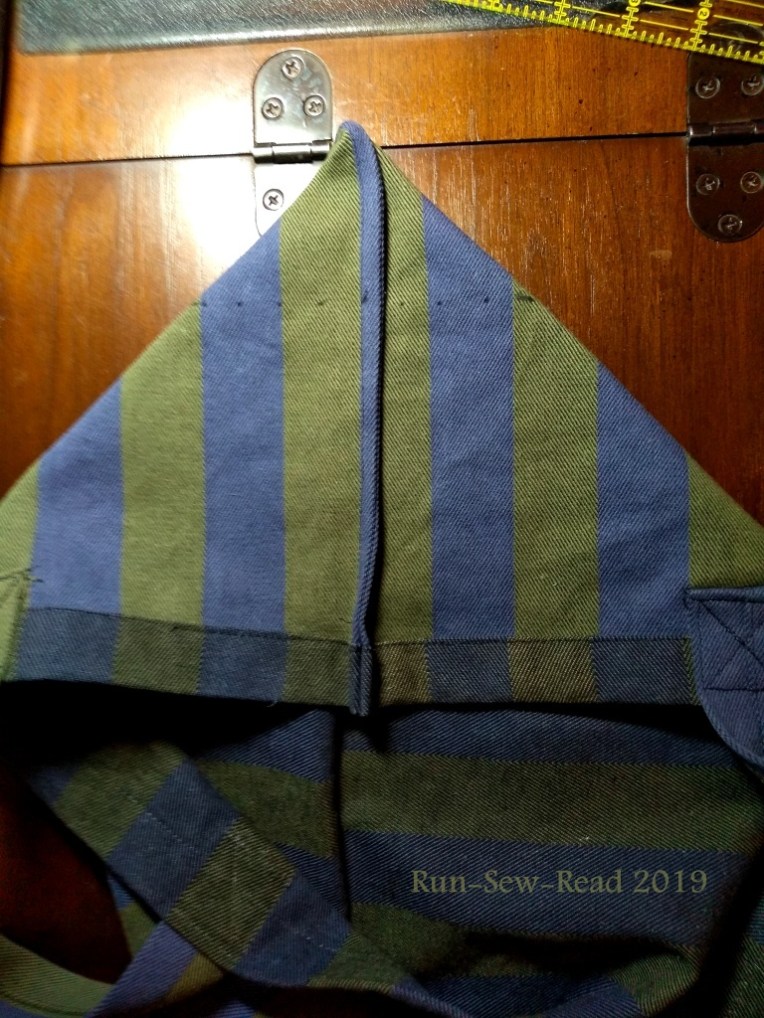
- Measure and mark for mitering the bag corners. The miter seam should be 5 1/2″ long (2 1/4″ from the center line.)

The stitching line marked:
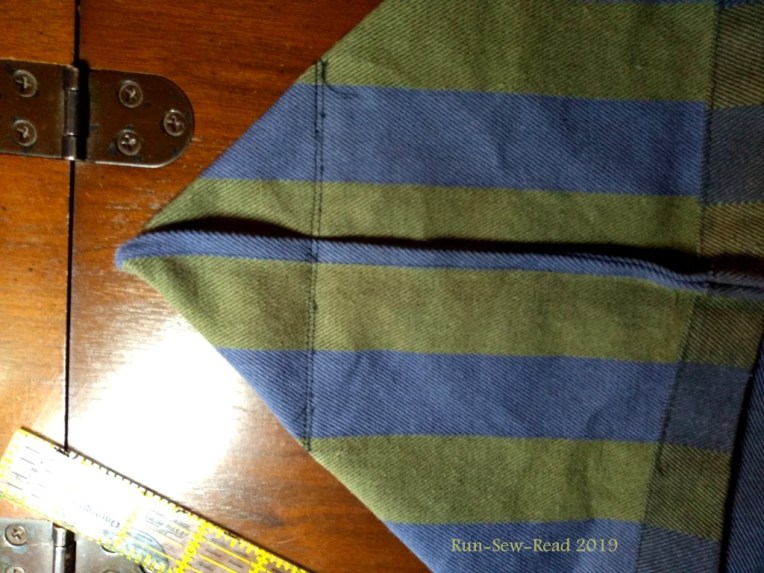
- The miter is stitched and then reinforced with a second row of stitching.
- Turn the bag right side out, and tack the mitered corner in place.
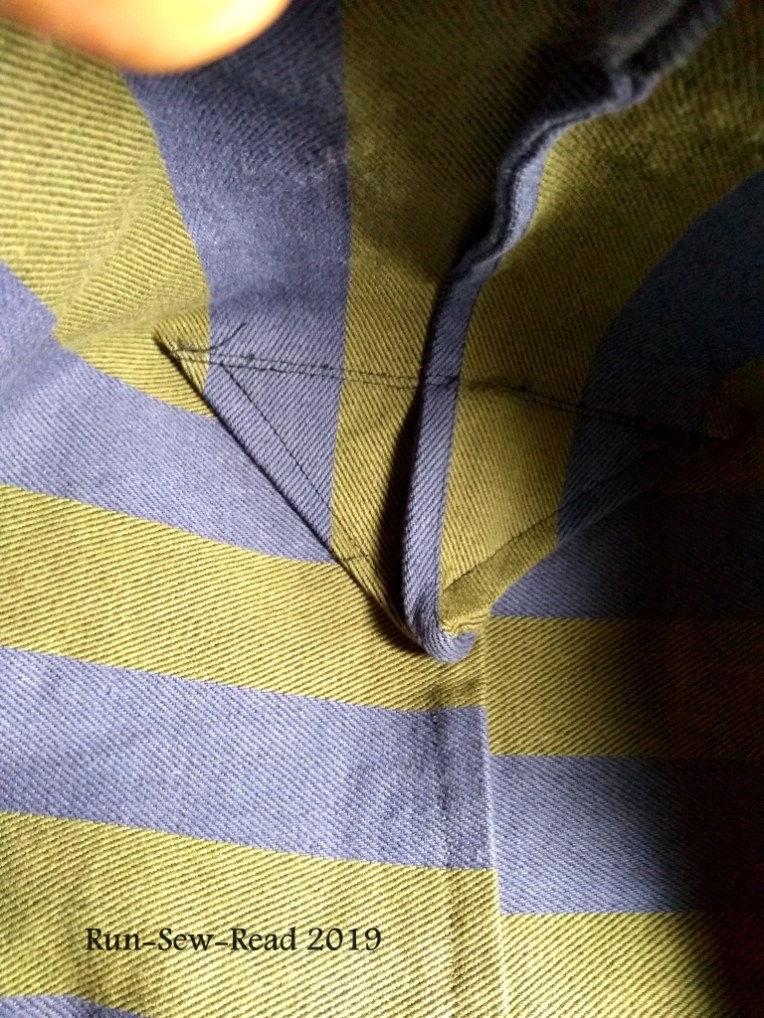
- Then repeat the steps for mitering the other corner.
- And now finally, pin the other side of the center divider in place down the center of the other side of the bag.

Stitch the divider in place. (It will be awkward, sewing from inside the bag, but thankfully it’s just the one short seam.) 
The bag is finished!
Options for personalizing your bean bag tote are endless. Here’s a colorful bag made from a placemat and some scraps.


Here’s one I made out of the bag the corn came in. Who could resist using a ‘whole corn’ bag to make a ‘corn hole’ bag. I know, *groan*!

