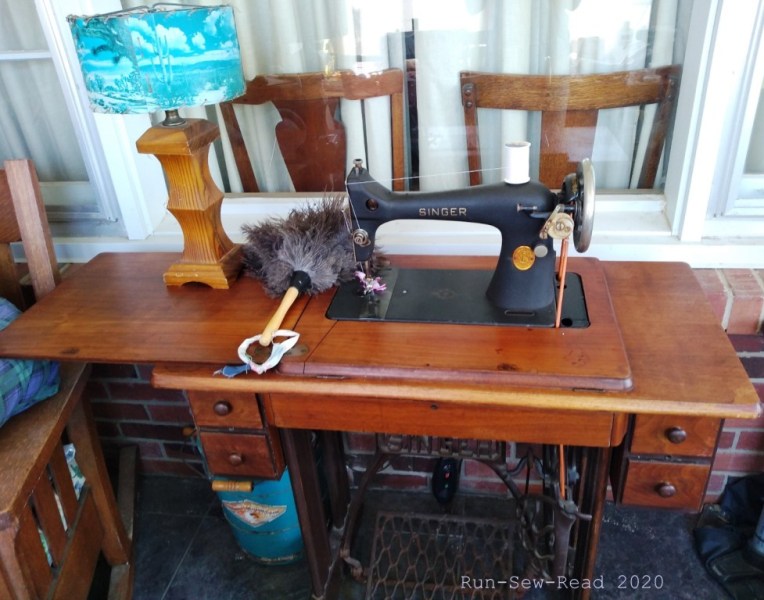
She is 75 years old and still dependable. ‘Vera’ is my Singer 127 treadle sewing machine, manufactured in the early 1940s and originally purchased in Indiana in February 1945. Some of the masks I’m making require several colors of thread. It’s a total drag to rethread the machine multiple times for one mask batch. So, I’ve called upon my older machines. For now, Vera is handling the ecru thread color.
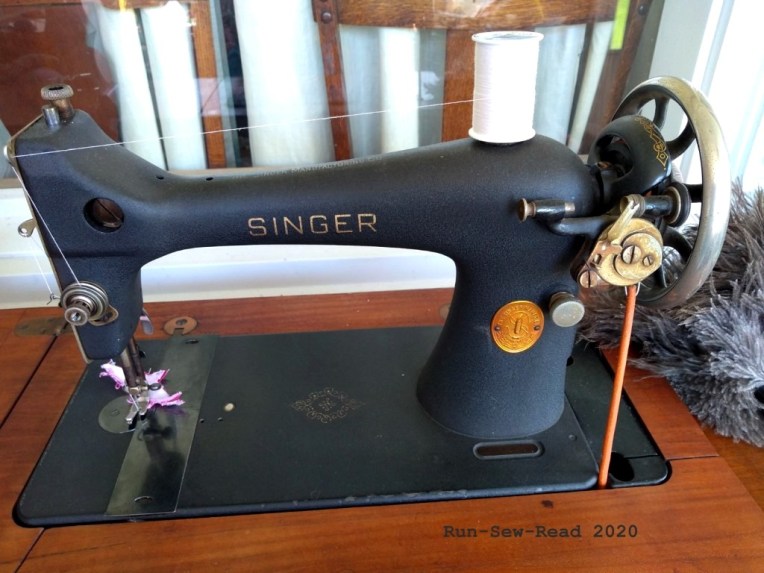
Vera has the rare black ‘crinkle’ finish, and blackside metal plates. The lamp isn’t sitting on the cabinet for decoration; it’s a necessity. There’s no light on the machine since it isn’t electrified.
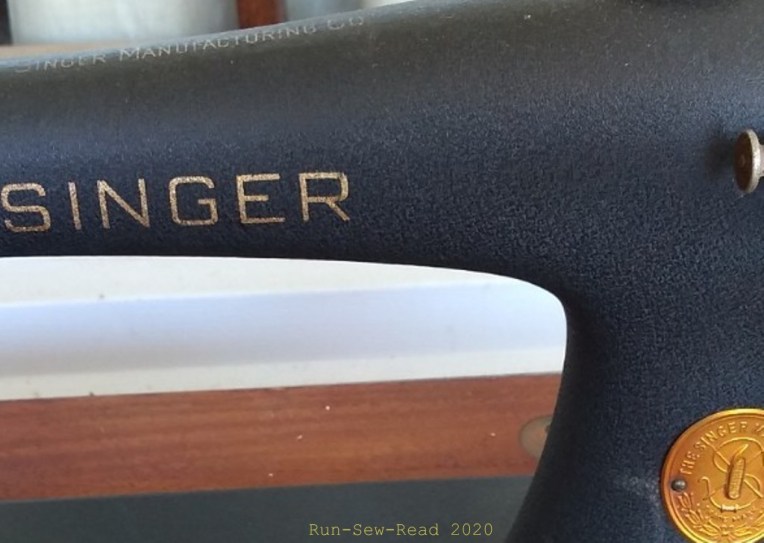
Here’s a closer view of her crinkle finish and black metal plates. The plainness of the finish and lack of embellishments says ‘wartime’ to me.
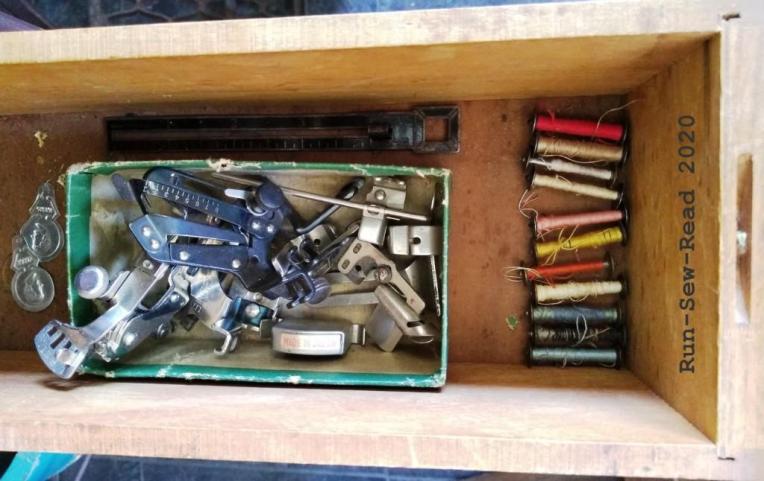
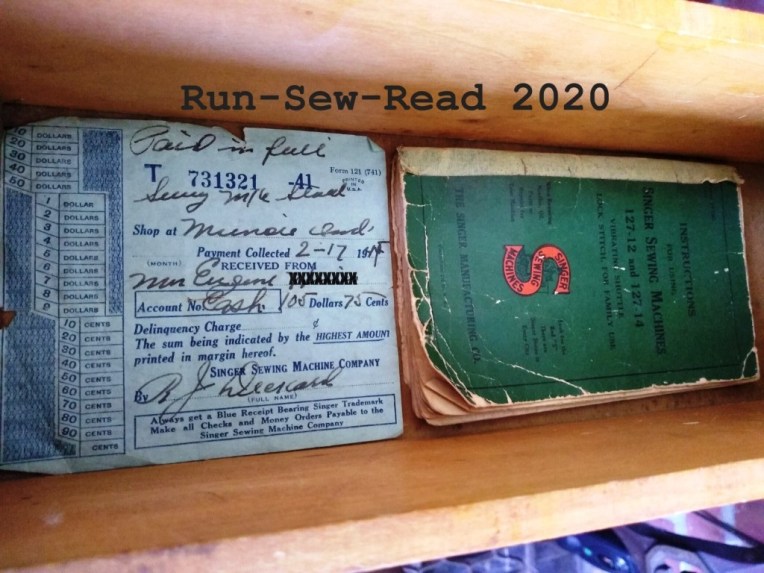
In the cabinet there’s a well-stocked drawer of presser feet, an old metal seam gauge, needle threaders, and a good supply of bobbins. (It is a ‘vibrating shuttle’ machine, which uses long, narrow bobbins.)
Another drawer holds the original purchase receipt, and user manual. Her original purchase price was $105.75.
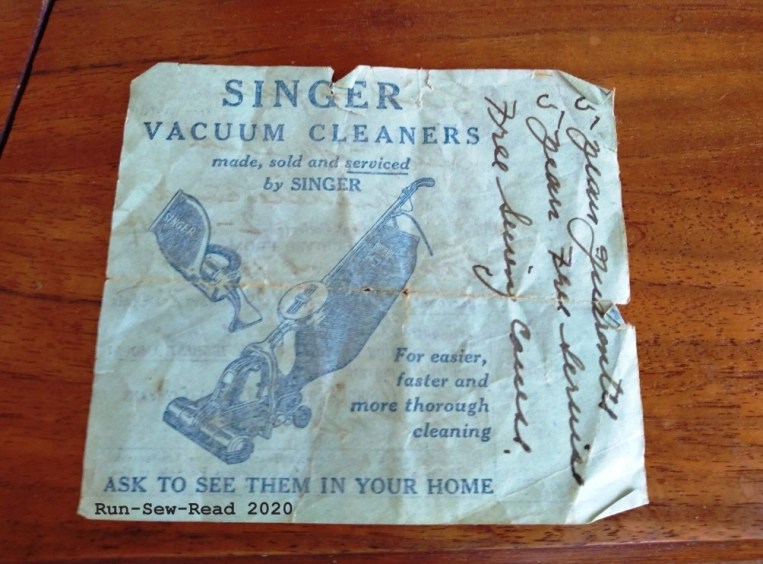
The handwritten note on back of the receipt says:
5 year guarantee
5 year free service
Free sewing course
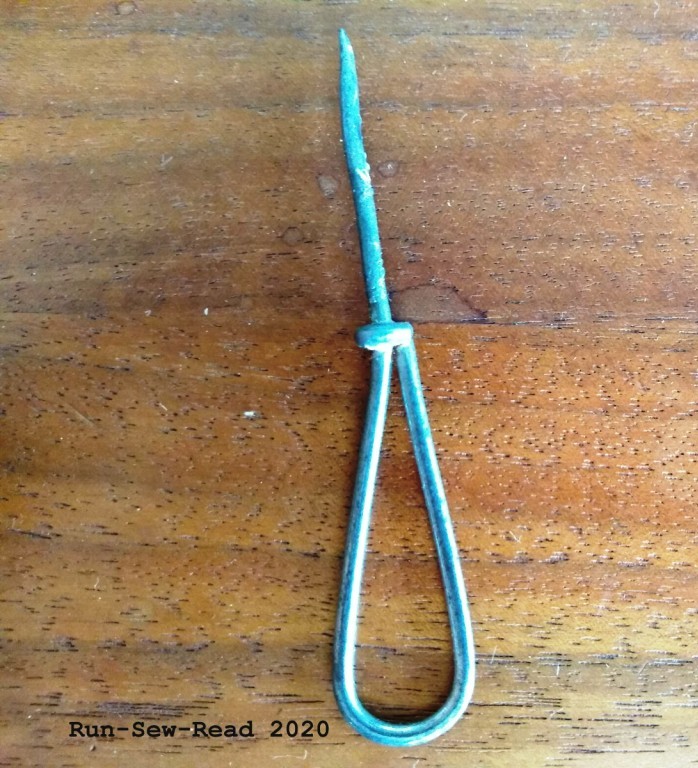
In another drawer is the all-important sharp pointed tool for piercing a new treadle belt. It serves as a bodkin, too.
Sewing with a treadle machine is like patting your head and rubbing your stomach at the same time. Your feet work the pedal, while the right hand is on the hand wheel, to be the starter, speed controller, and ’emergency brake’. That leaves only the left hand to maneuver the fabric. When it all gets going, the sound and feel is mesmerizing.
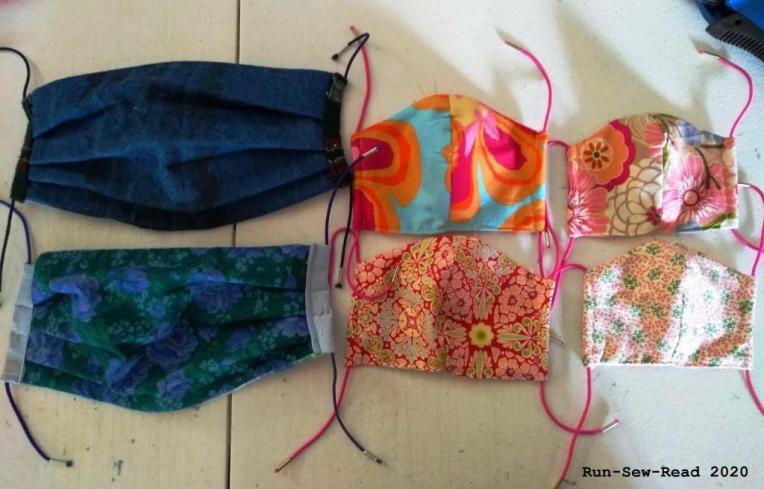
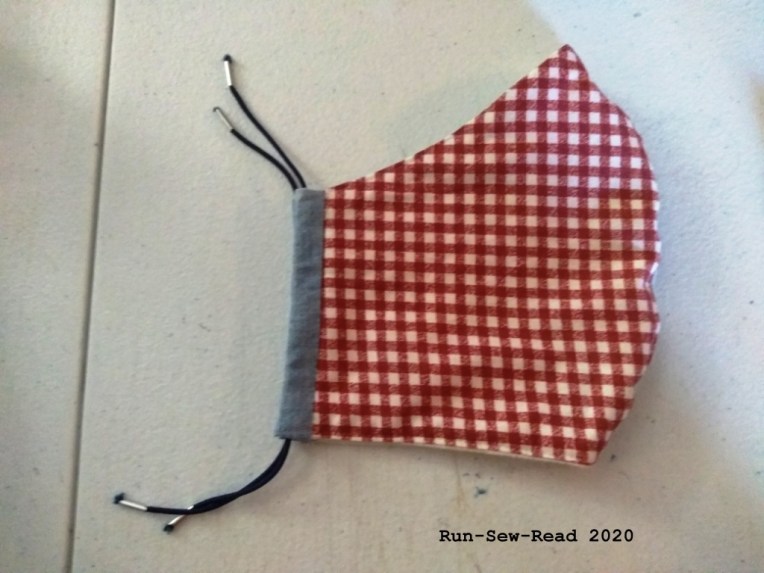
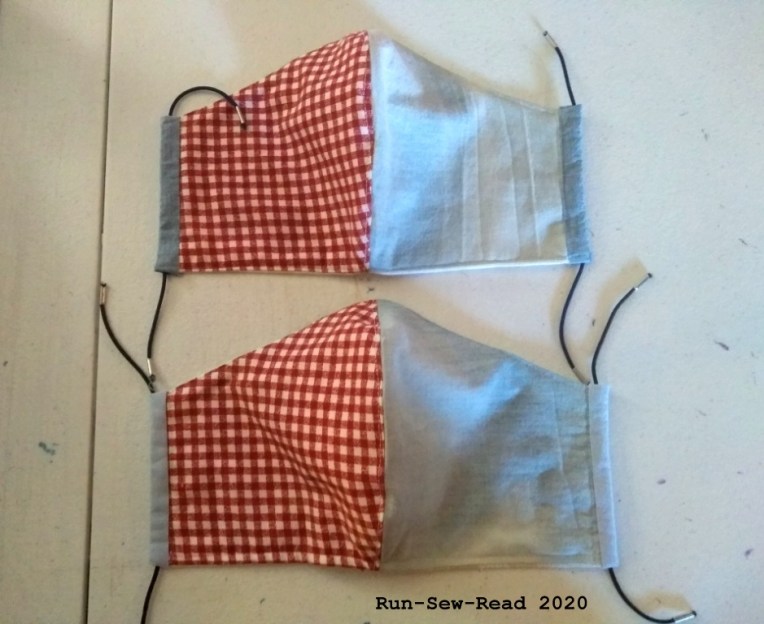
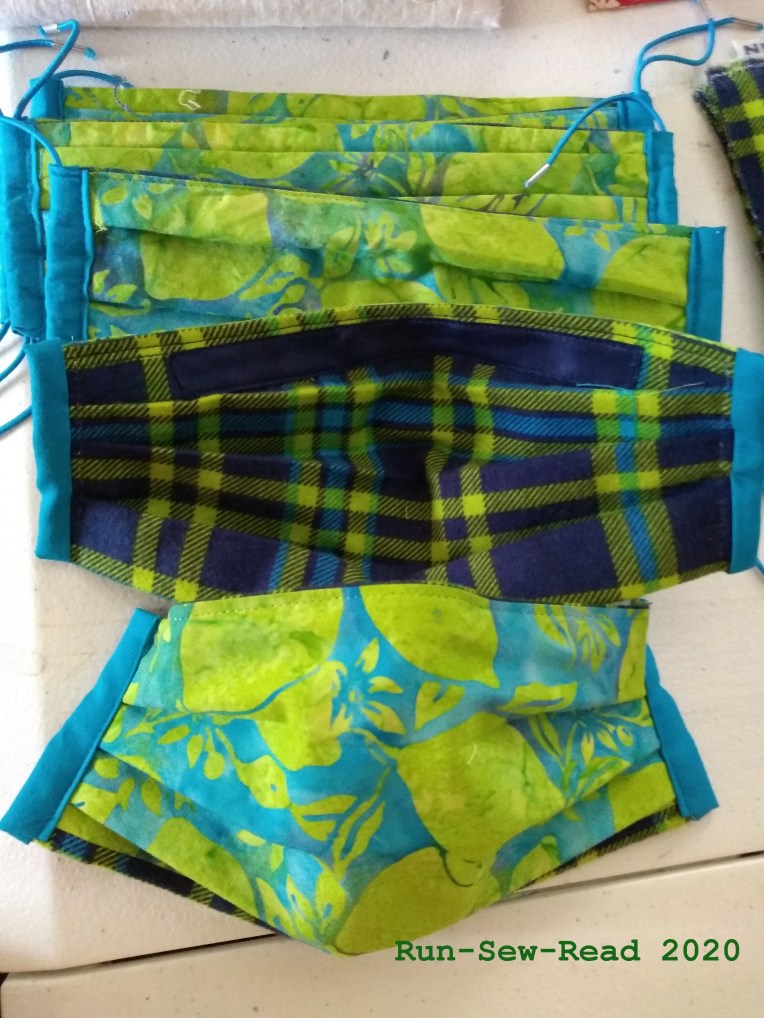
The mask-making frenzy is less of a frenzy now, but masks are still needed, and will be needed for months to come. I’m making a few masks each day, and trying out some of the other designs available on the internet. I had been making the pleated masks, but I now also love making the shaped mask version that doesn’t have pleats.
For the shaped masks, I’ve used the fitted mask pattern by Tina Elmore-Wright, downloaded from the Joann mask-making page.
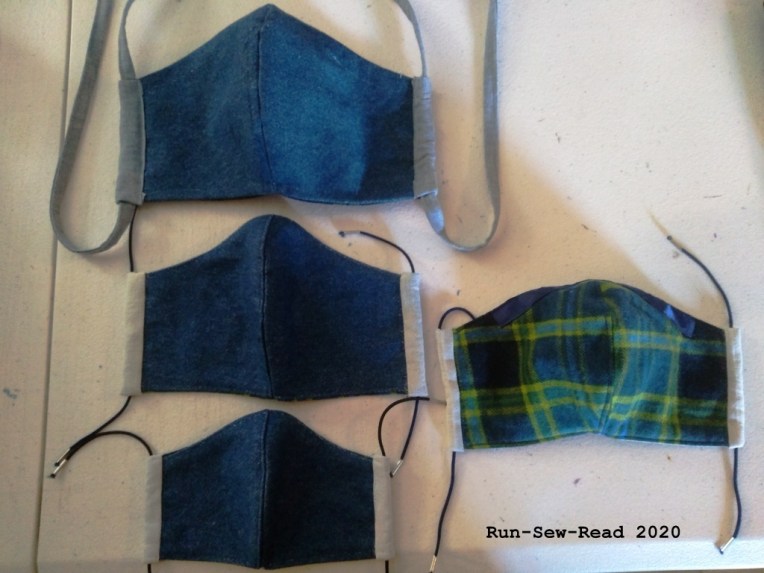
The pattern has four different sizes, from infant to men’s/large. My brother the transit driver gave a thumbs-up to the men’s mask. The second largest size is for women/teens. That one fits me well.
Shown below are all but the infant size.
It makes it fun to do sets of family masks.
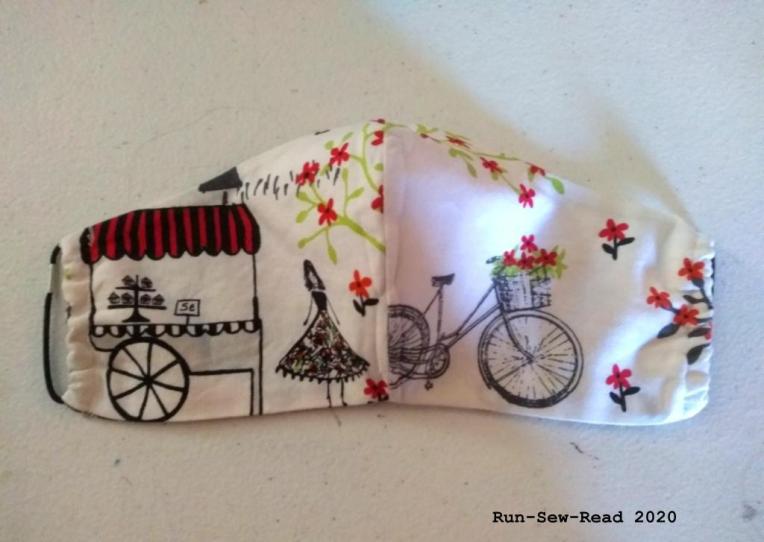
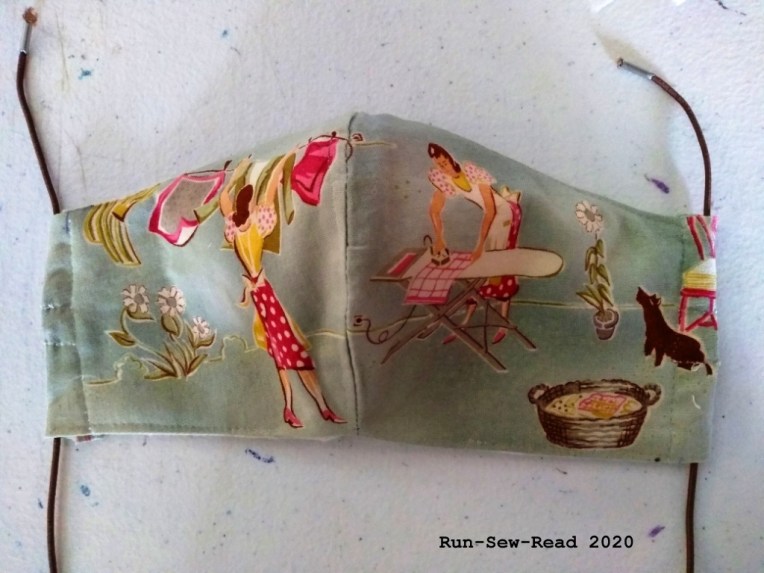
It’s fun to use with prints.
A word of caution: The pieces need to be cut in mirror images.
Otherwise, you’ll end up with two right or two left pieces, which can make for some er, unplanned combinations.
There is still a need for the masks in the health care and care home sectors. Then as businesses prepare to reopen in the coming weeks, they will need masks for staff, customers and visitors.
Thank you to health care workers, care home workers, and front line workers everywhere. You are keeping us going.
Creating fun compositions for family and friends has given me a chance to indulge my creativity.
This slideshow requires JavaScript.
I’ve given them to neighbors up and down my street, and across the back yard. When a neighborhood diner gave out free drive-through breakfasts, I reciprocated by giving them some masks. Initially, I expected most people to say ‘no thank you’ when I offered masks. Turns out no one has declined. Everyone wants a mask. Everyone.
I’ve made a few batches of masks for care home and hospital staff. It bewilders me that it is individual nurses and aids who are desperately seeking these simple protections to keep their patients, coworkers and themselves and families safe. Where are their employers in all of this?
This mask, that can cover an N95 mask, is what I started out making. But it turns out N95 masks are like unicorns. No one I’m giving masks to has one, or knows where to find one. (Awesome tutorial here: https://www.instructables.com/id/AB-Mask-for-a-Nurse-by-a-Nurse)
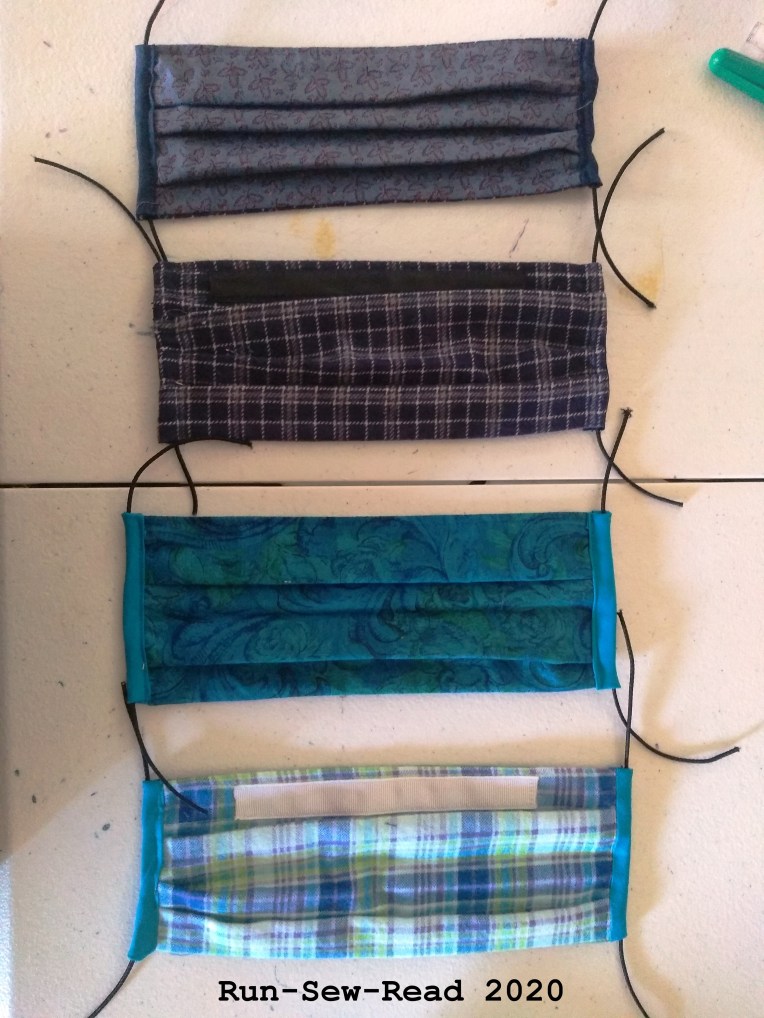
So, I’ve switched to the simple flat pleated design based on two 9″x6″ rectangles. It’s much faster to construct and requires less fabric. Another huge bonus is that it fits in a regular #10 envelope, and costs only a 1st class postage stamp to mail. This has enabled me to get them to out-of-town friends and family quickly and economically. Mine are substantially based on the pattern from the Turban Project. https://turbanproject.com/face-masks-pdfs
One of my biggest frustrations is about the friends and family who want to learn, or relearn to sew, to help fulfill the huge need for masks right now. I want badly to invite them over and have them sew with me, but I can’t because of the need for social distancing.
Carry on, mask warriors. You are doing important work.
A heartfelt virtual hug to those in isolation or quarantine, or who have loved ones out of reach. My wheelchair-bound mom is in a locked down care home. The most I’ve been able to do for her is send her a mask, and send masks to the staff, and text her ‘Happy Easter’.
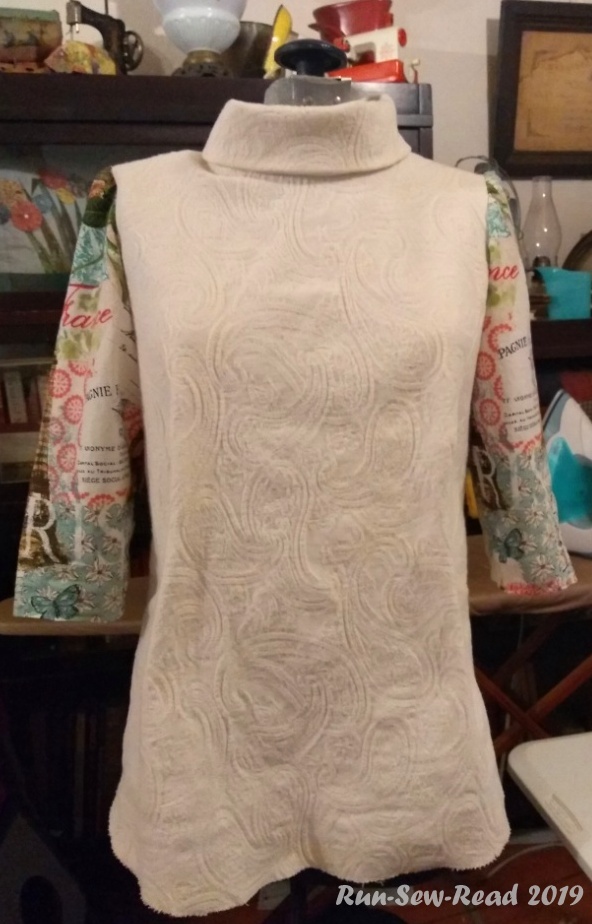
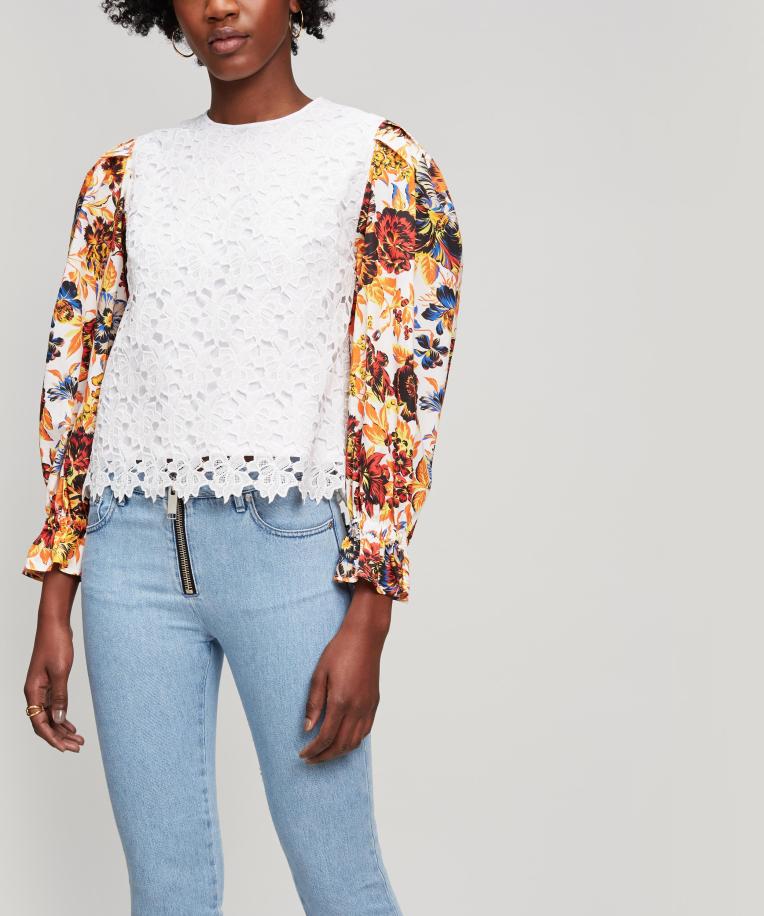
Back in January, I purchased this Tilly and the Buttons‘Orla’ top pattern. It’s now September, and finally I’ve made an Orla top. The pattern was a joy to use.
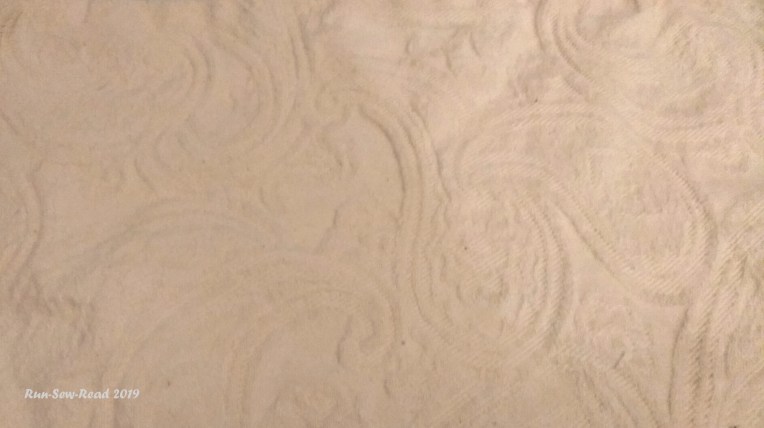
I wanted to make a top with print sleeves and a solid colored torso. This cotton upholstery fabric in my stash seemed right for the torso. It was salvaged from sofa cushion covers I’d made years ago. There were worn spots on the fabric, but there were enough good areas to carve out the body of a blouse from it.
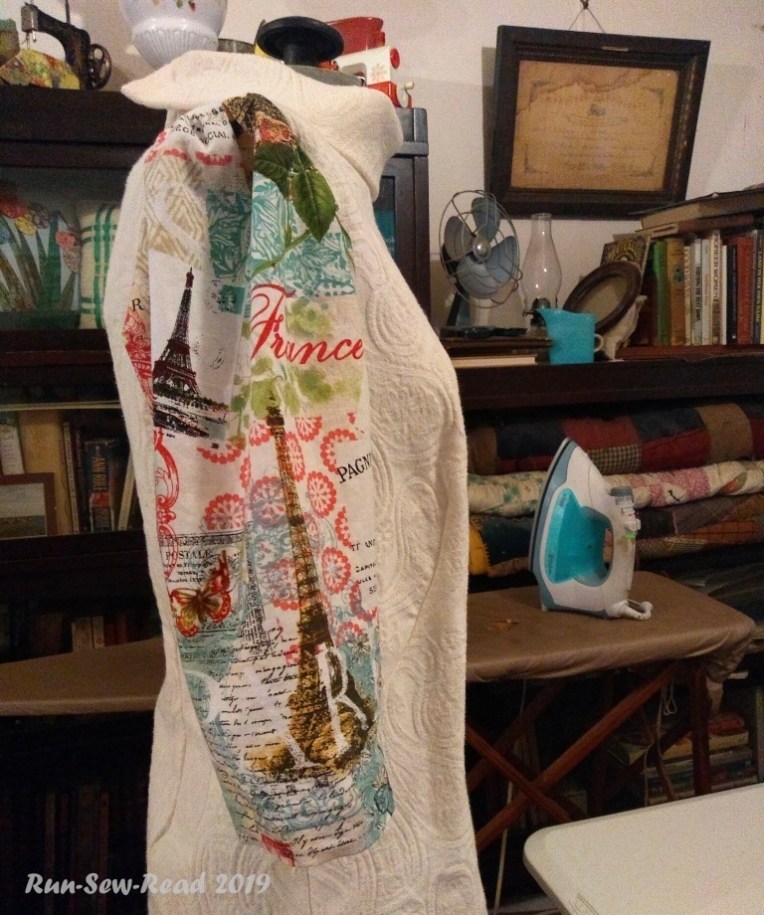
This Paris print cotton was something I simply liked when I saw it in the store, so I bought 1/2 yard for the sleeves. My plan was to make a muslin shell to test the pattern, and if things turned out well, it would be a wearable muslin.
Voila! A wearable muslin!
Where I deviated from the pattern:
Adjusted the sleeve length to a 3/4 sleeve.
Used a stand up/rolled collar instead of the pattern options.
Added a few gathers to the top of the sleeve rather than the pleat in the pattern.
The pattern suggests using lightweight drapey fabrics, but I used the heavy cotton, and I like the result.
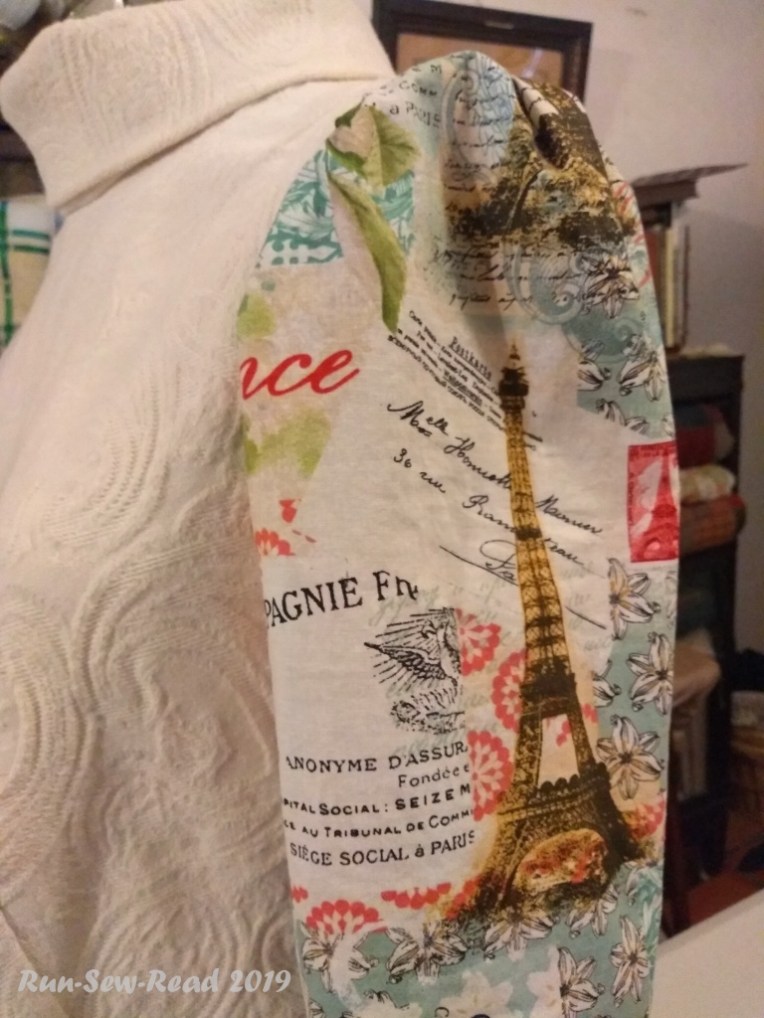
For bicycling and night activities, I incorporated some reflective elements. I used reflective fabric for ‘hem tape’ on the sleeves. At night, the hem can be flipped out for visibility. There’s also a reflective covered button for the back closure.
A few more comments on the Orla pattern: (I’ll definitely make more ‘Orlas’.)
The pattern size measurements ran true-to-large. I’m so used to pattern measurements not working out, that I decided to make a larger size than the pattern info indicated. Well, the pattern measurements were right on this time. On the first fitting, the blouse was way too roomy. I ended up taking it in two whole sizes, and could have gone down a third size.
The front curved darts are a pretty feature, and were easy to sew. But they became a challenge when I had to downsize the garment.
(Ghastly lighting in this new selfie spot! Yikes!)
This picture was my inspiration. I saw it in a Liberty of London ad last year. Obviously, I didn’t stick close to the image. I still want to make a top similar to this. Maybe for Spring.
It occurred to me recently that as I create bright-colored summer dresses, I’m channeling Lilly Pulitzer in a way.
A couple of my dresses:
So, I looked up Lilly designs, and sure enough, the cosmic connection is undeniable. There are some differences; for instance, I almost always put a collar on my dresses, while ‘Lillys’ seem to all be sans-collar. Lillys are also more shaped. They have darts in front, back and bust. I liberally omit darts.
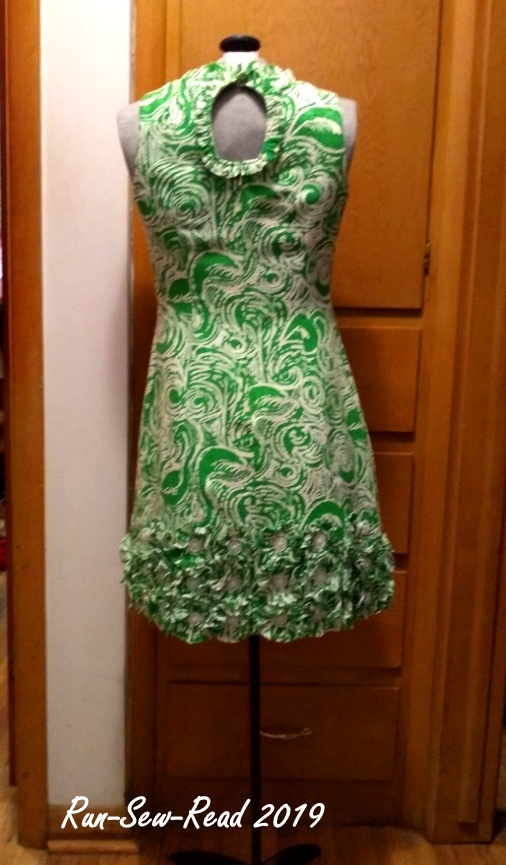
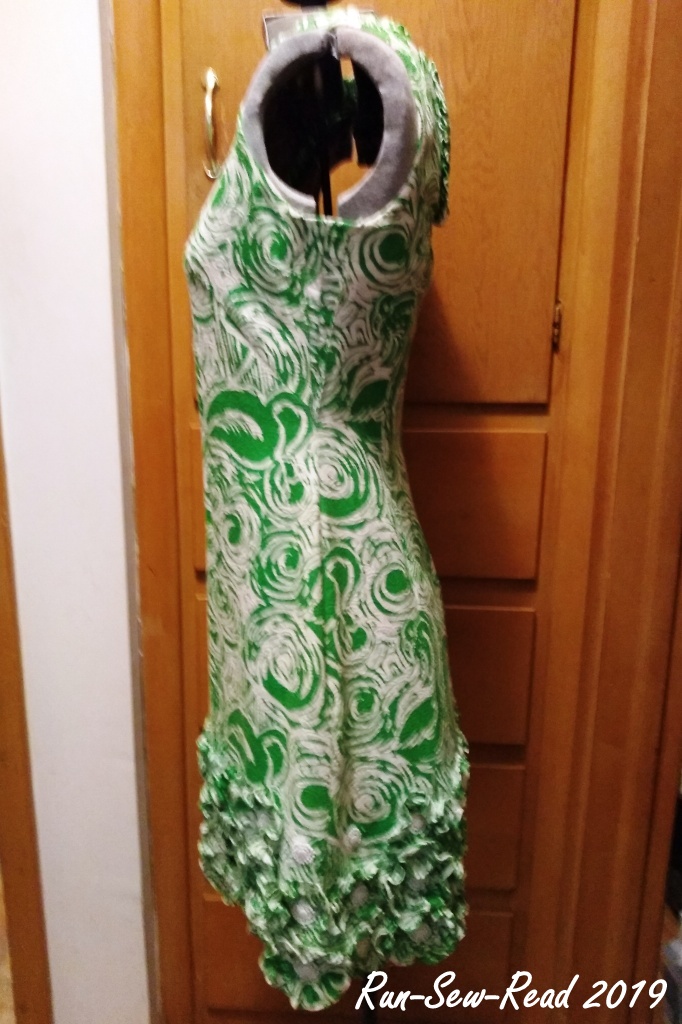
Not long after I looked up images of Lillys, there was the real thing hanging on the rack in my fave vintage clothing store; on the half-price rack to boot! I tried it on. It was quite snug through the bodice. When zipped up, it felt like a corset,… but fit otherwise. There was no way it wasn’t coming home with me. I’d figure out how to make it fit.
The dress
The dress is from the Lilly Pulitzer ‘Jubilee’ collection; a limited edition to celebrate her 50th year of the line. I believe it is from 2009. (This isn’t vintage, but the store attendant told me they had made an exception for this label and design. I’m glad they did!)
Cool Lilly details:
Lining. The outer fabric is a middle-weight woven soft cotton. The entire dress is lined with white cotton batiste/lawn fabric. It feels quite comfortable, and drapes nicely.
ID tag: When I opened up the lining under the arm, this tiny ‘Lilly’ tag was sewn into the seam allowance. I’m guessing it is to help ID a counterfeit.
Pockets! (I always intend to add pockets to my dresses, but it doesn’t get done if I’m in a rush to finish the garment. Then I always intend to go back and add pockets later, but sigh, that doesn’t happen very often. Note to self: Add pockets. Every time.)
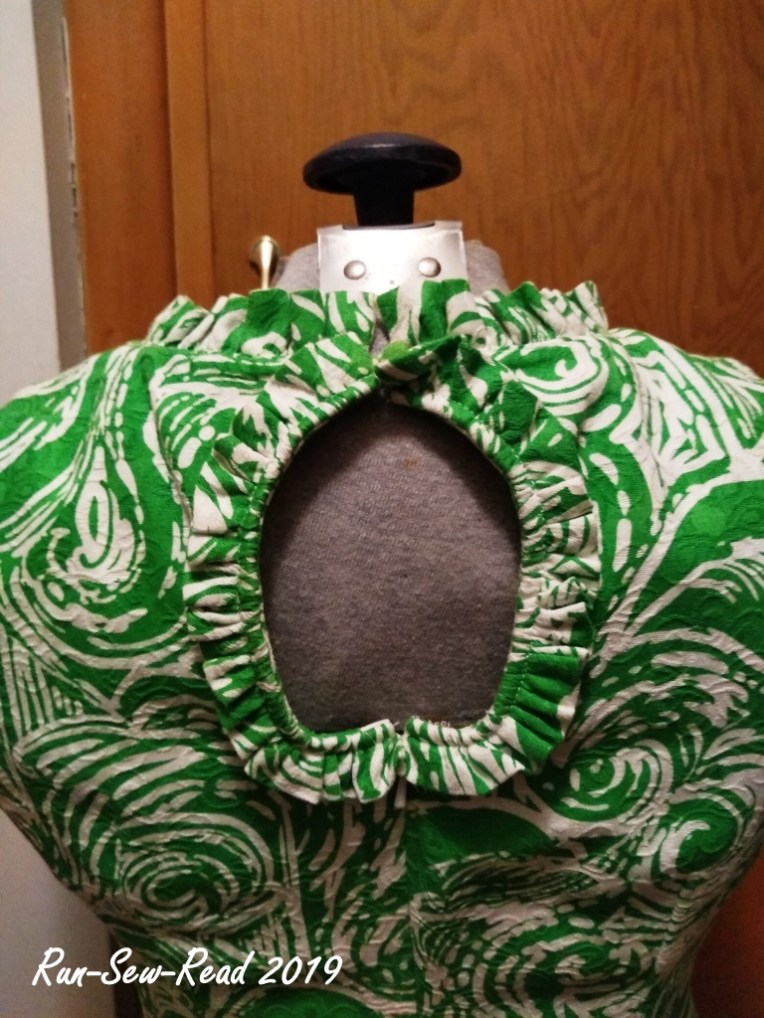
Keyhole back. It is a nice feature that adds interest but doesn’t require special undergarments.
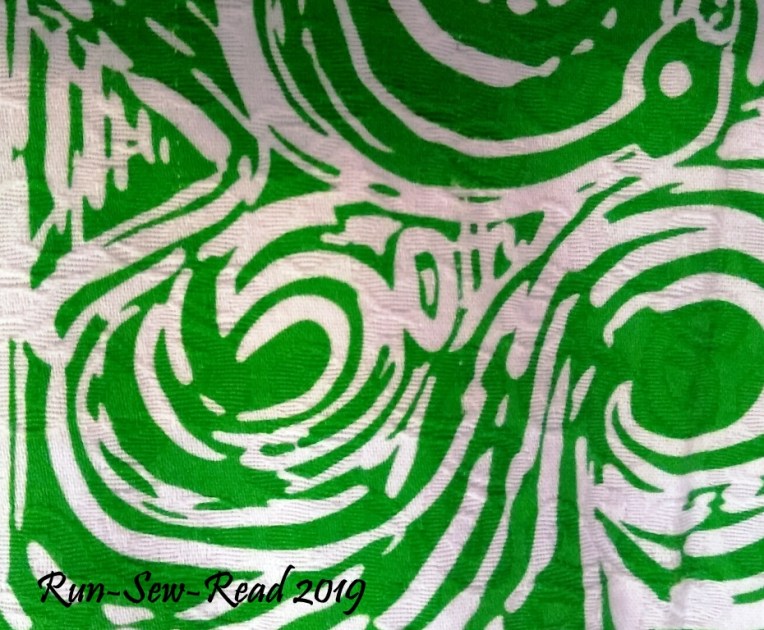
Unique Prints: All Lilly Pulitzer prints have ‘Lilly’ embedded somewhere in the print.
This Jubilee Collection print also has ’50th’ embedded in it.
And now, the alteration:
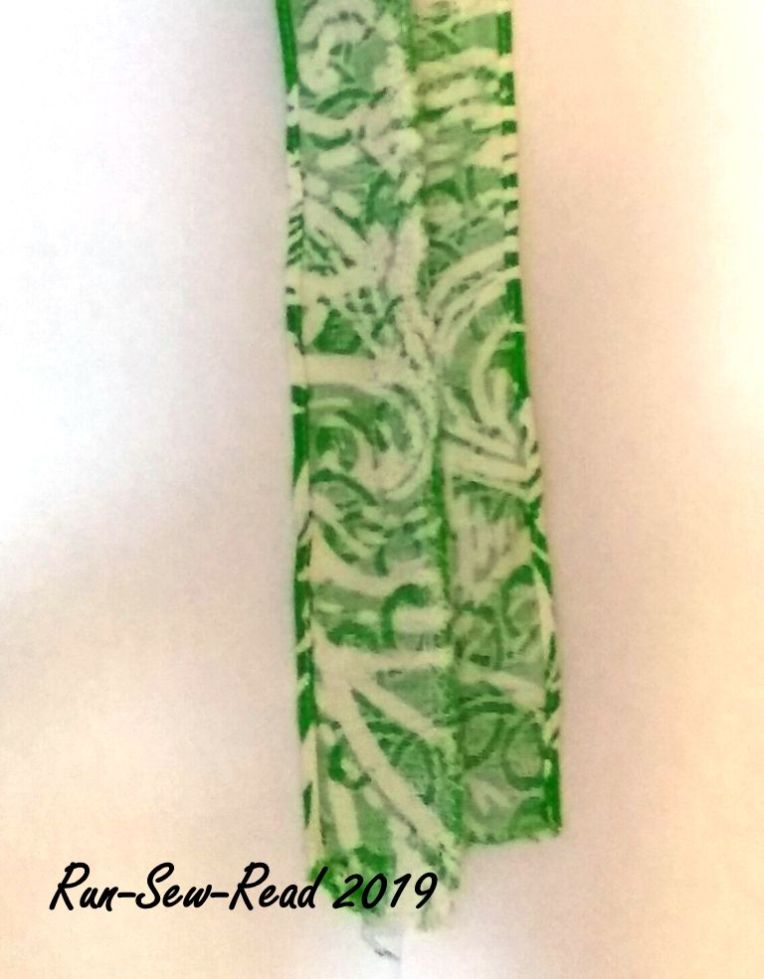
To expand the bodice, I had to find some spare fabric in the dress. The side-seam allowances were normal; not wide enough for expansion. The hem was narrow. No excess fabric there. My solution was to remove two of the ‘flowers’ on each side of the lower edge.
Two flower strips straightened out, pressed flat and then sewn together side-by-side, made a 9″ x 2″ strip. This was plenty wide enough to expand each side of the bodice. Here is one of the strips:
The strips were used to make a V-shaped inset to the side seams under each arm.
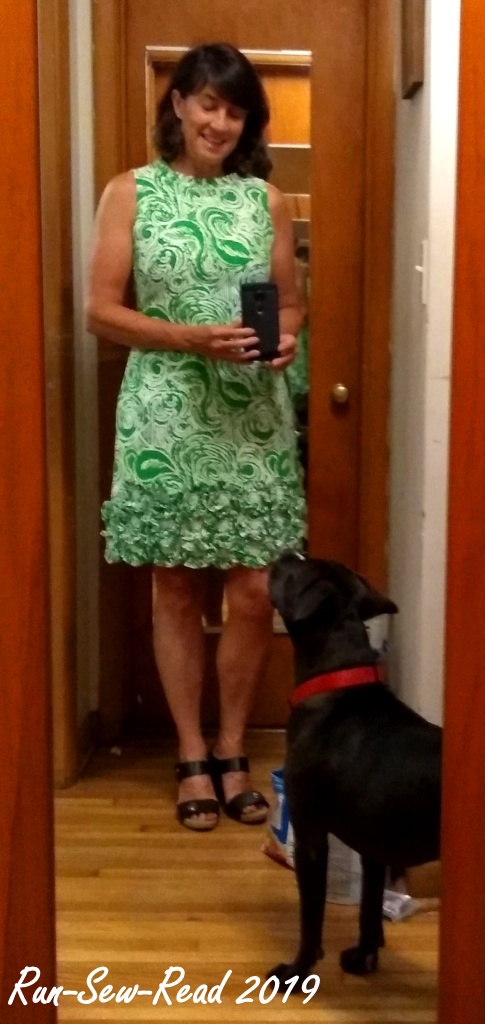
Mission accomplished!
The dress now fits comfortably. Once I’d gotten past the tedious process of unpicking the stitching on the four flowers, the actual altering process was surprisingly quick and smooth. No frustrations at all.
Myrtle the sewing pup-prentice, was dying to help the entire time. She finally found her role, hiding the ugly stack of paint supplies in my selfie.
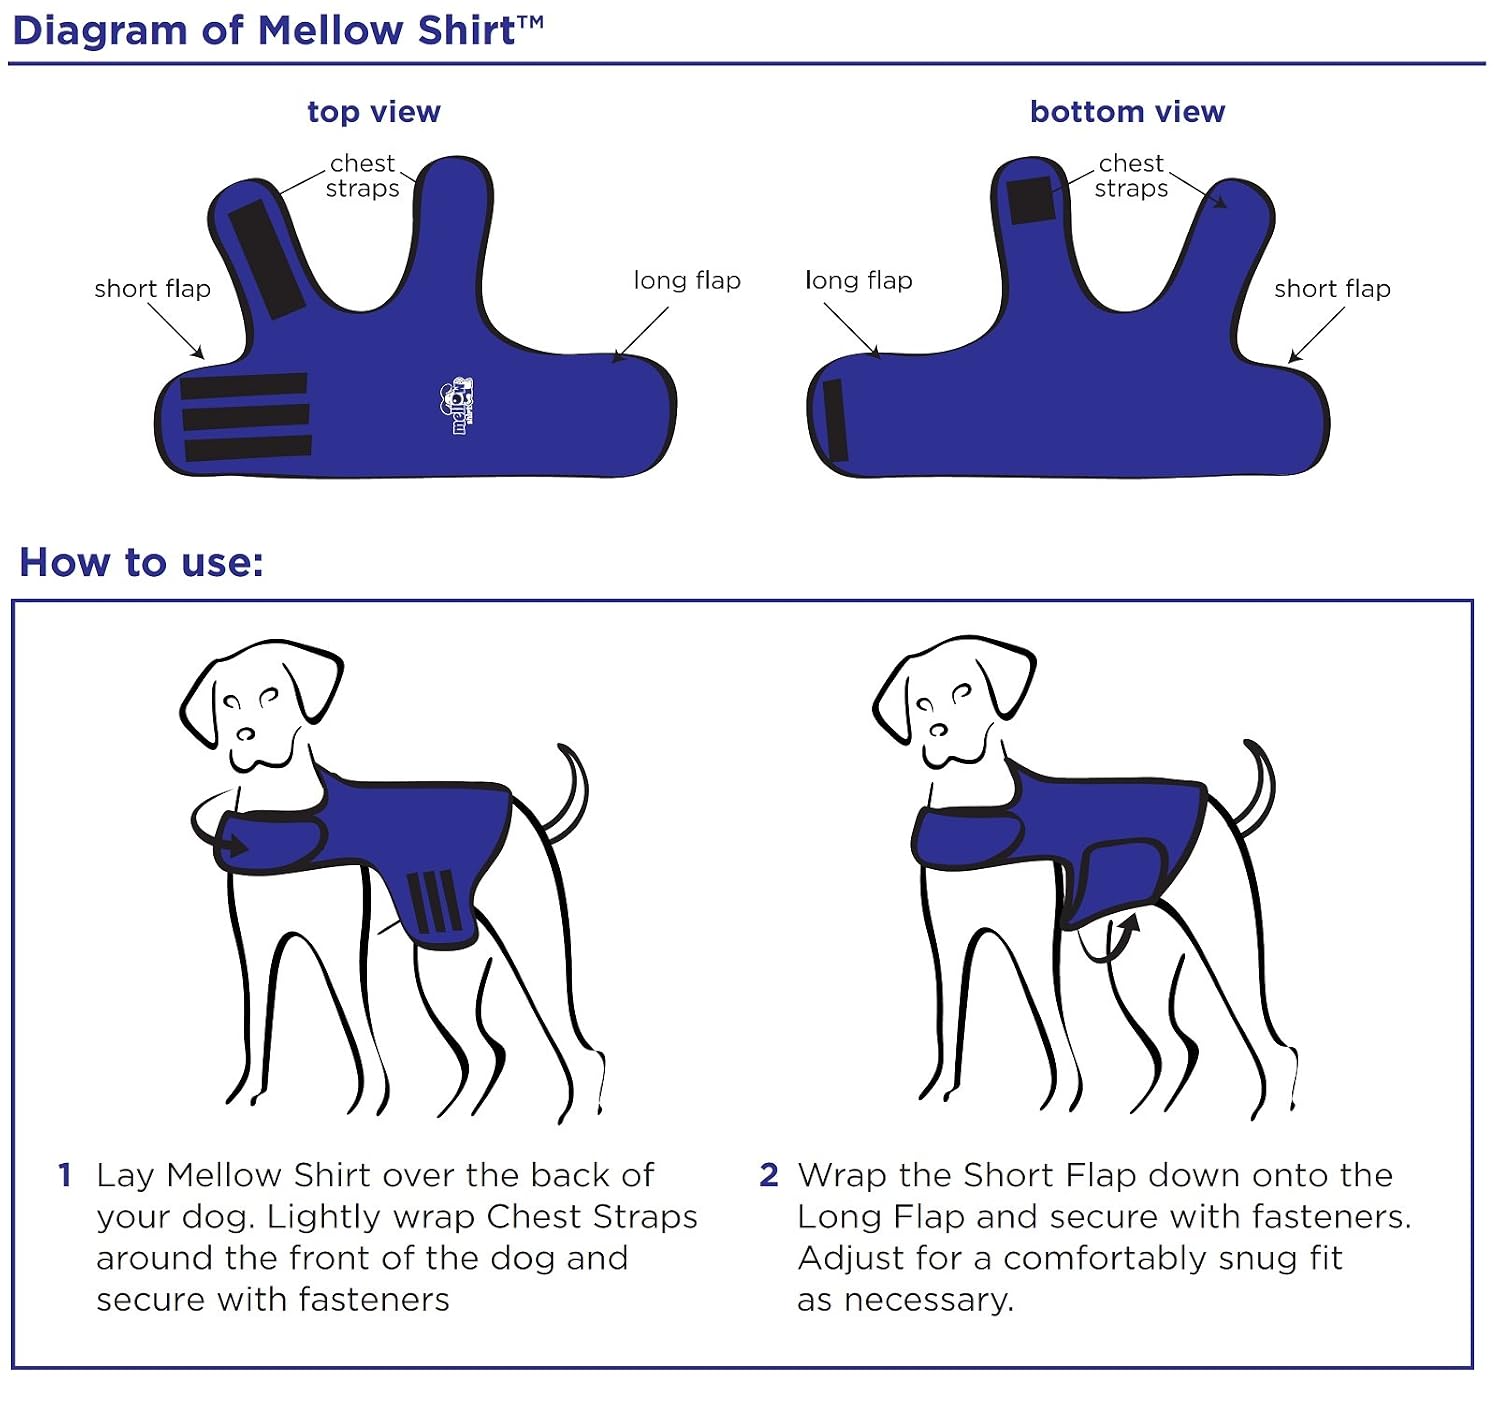
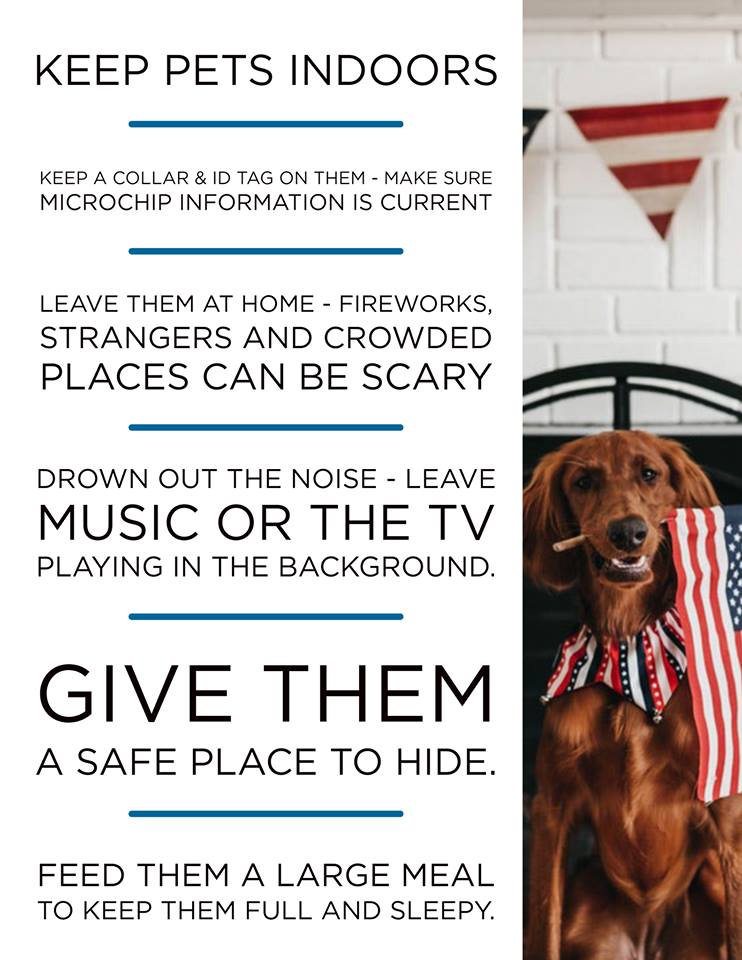
I may end up buying the authentic Thundershirt for Myrtle (or one of the smorgasbord of other brands now available on Amazon, such as this one called Mellow Shirt“).
But first I want to see if Myrtle needs it and if it will calm her during fireworks season. We’ve had three nights of fireworks in the neighborhood so far. The first night, she was visibly agitated, even in the house when I was with her, trying to comfort her. She was startled and barked at every boom.
So, I’ve mocked up a DIY compression vest for her. The first mock up is made of terry cloth, to be soft and cool.
The next mock up will be all or part netting, and stretchier:
While wearing the terrycloth vest, she immediately began sitting and laying down more, while not showing signs that the vest bothers her.
However, the real test hasn’t occurred yet. The fireworks have been quiet in our ‘hood since that first night.
I’ll be watching and tweaking the vests all week, hoping that by July 4th, we’ll have something that keeps her from being frightened.
The vest has not taken away her energy, and by that I mean her desire to play with the baby robins in the neighbor’s tree.
The fantastic Victoria and Albert Museum in London is hosting a Mary Quant exhibit this year. With it they’re putting on workshops and special events. If like me, you can’t get to London this year, there’s this! The museum has commissioned a dress pattern to be designed in the style of Mary Quant. It’s now available here, with written and video instructions and tutorial:
This easy-to-use sewing pattern has been designed exclusively for us by Alice & CoPatterns. The design includes two neckline options, two pocket options, three collar finishes, and two sleeve finishes – all inspired by Mary Quant’s iconic designs. It’s a classic A-line mini which sits just above the knee – you can shorten it if you want to show a bit more thigh, or lengthen to turn it into a more 70s style maxi-dress.
Finished tote dimensions are approximately 12″ x 6″ x 6″
Start with these pieces of sturdy fabric:
Bag 19″ x 11″ (cut 2)
Handles 15″ x 4″ (cut 2)
Center divider 7″ x 12″ (cut 1)
General Construction Steps:
Fold each handle strip the long way, right sides together, and sew lengthwise with a 1/4″ seam, to make a tube. Turn right side out and press flat.
Fold center divider in half right sides together, to make a 7″ (h) x 6″ (w ) piece. Sew two of the open sides with a 1/4″ seam. Turn right side out, press and sew the open end shut.
Sew one of the side seams on the bag. Reinforce with an extra row of stitching. (I used French seams.) Hem the top edge.
Then finish and attach the handles; centered on each side.
Center the divider on one side of the bag and stitch it in place along one edge of the divider.
Your piece will now look something like this. This view is the ‘inside’ of the bag laid out flat:
A closer view of the measurements:
Sew the other side seam and the bottom seam of the bag. Reinforce both seams with an extra line of stitching or your preferred reinforcing method.
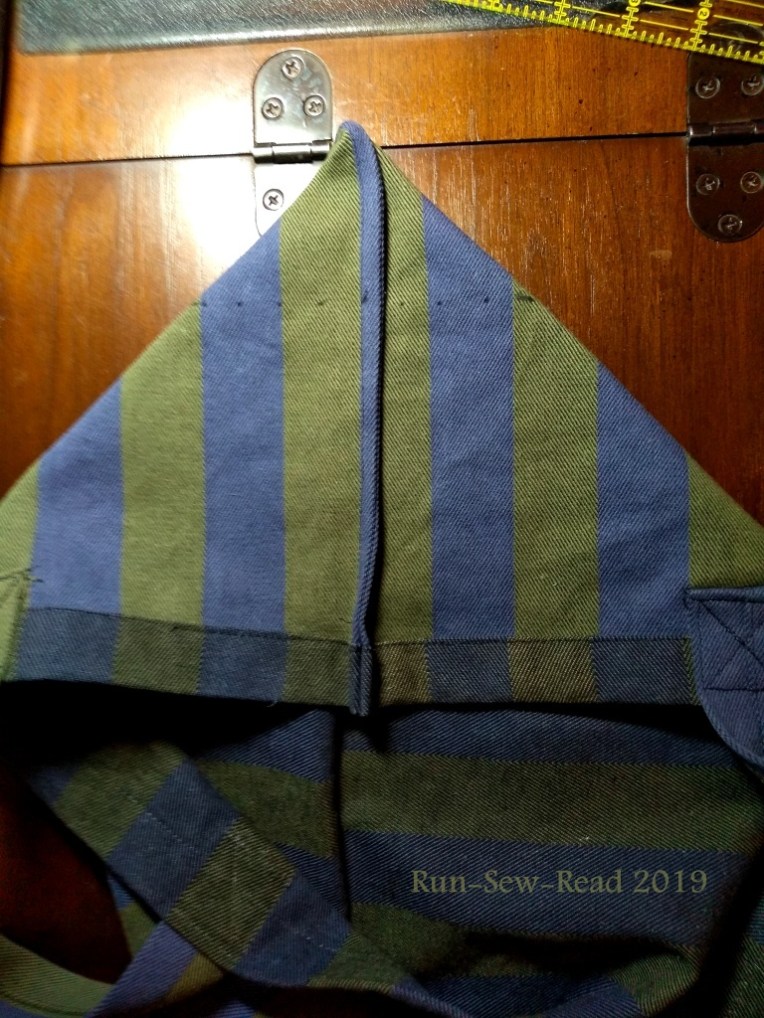
Your bag will now look something like this, turned inside out
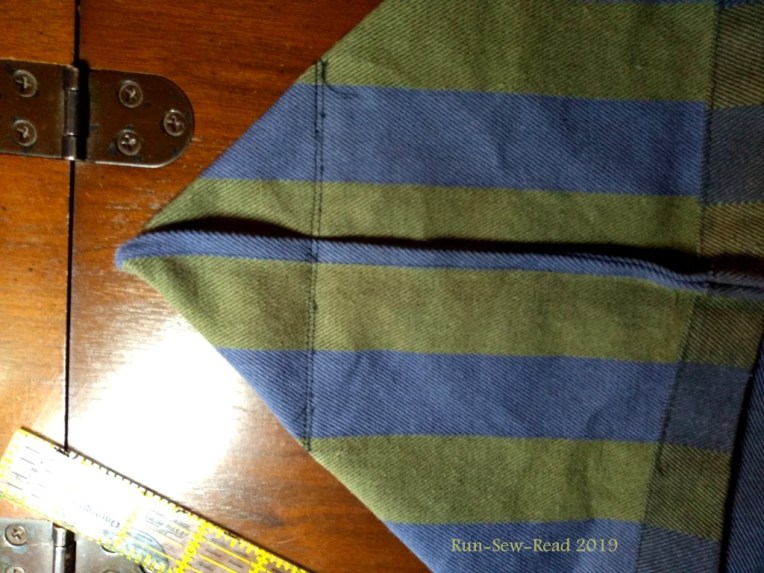
Measure and mark for mitering the bag corners. The miter seam should be 5 1/2″ long (2 1/4″ from the center line.)
The stitching line marked:
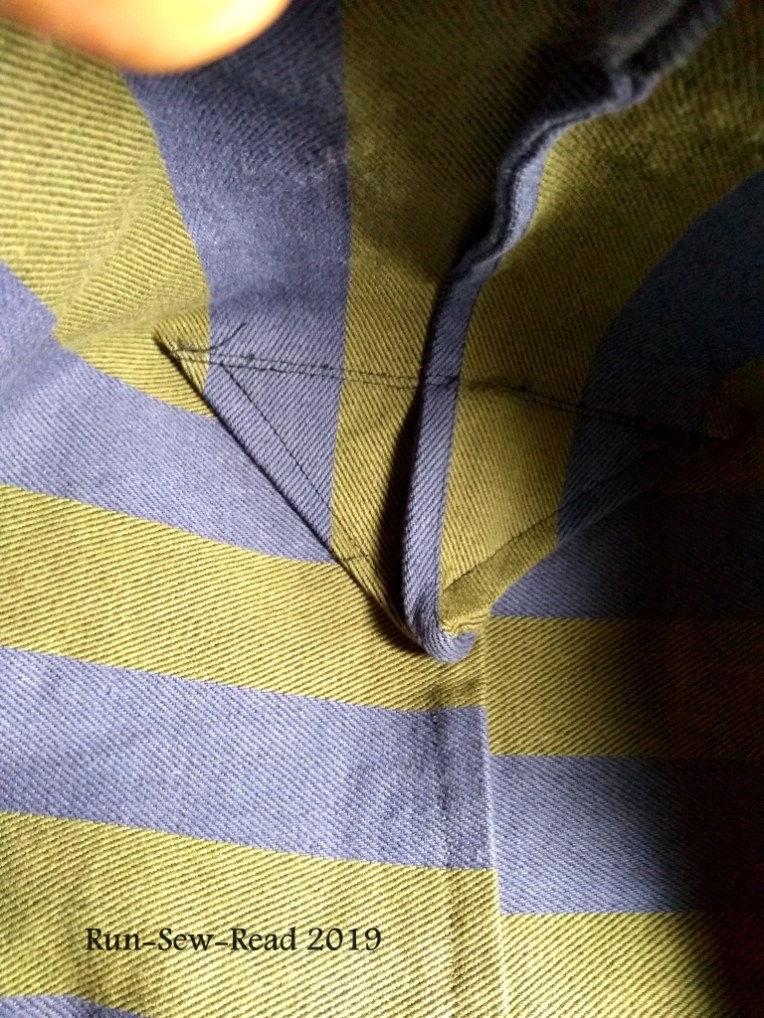
The miter is stitched and then reinforced with a second row of stitching.
Turn the bag right side out, and tack the mitered corner in place.
Then repeat the steps for mitering the other corner.
And now finally, pin the other side of the center divider in place down the center of the other side of the bag.
Stitch the divider in place. (It will be awkward, sewing from inside the bag, but thankfully it’s just the one short seam.)
The bag is finished!
Options for personalizing your bean bag tote are endless. Here’s a colorful bag made from a placemat and some scraps.
Here’s one I made out of the bag the corn came in. Who could resist using a ‘whole corn’ bag to make a ‘corn hole’ bag. I know, *groan*!
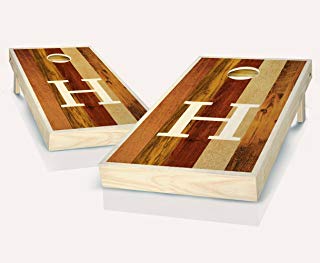
Yay, the season of outdoor get-togethers and yard games is upon us! (Memorial Day, Fourth of July, Labor Day, and more.) For my family, it started with Mother’s Day, when all of us sibs converged on Mom’s house for the weekend. One of my jobs was to bring bean bags for the Cornhole game. My brother made nice wood Cornhole boards, and I made a new set of bean bags.
Cornhole is a totally awesome game for tailgaters, festival goers, and family get-togethers. It is a bean bag toss where you try to toss the bag through the hole in a board 20+ feet away.
The boards can be purchased or custom made. Boards can have really lovely designs. Here is a monogrammed set available on Amazon.
The popularity of the game is evident from the range of products available on Amazon.
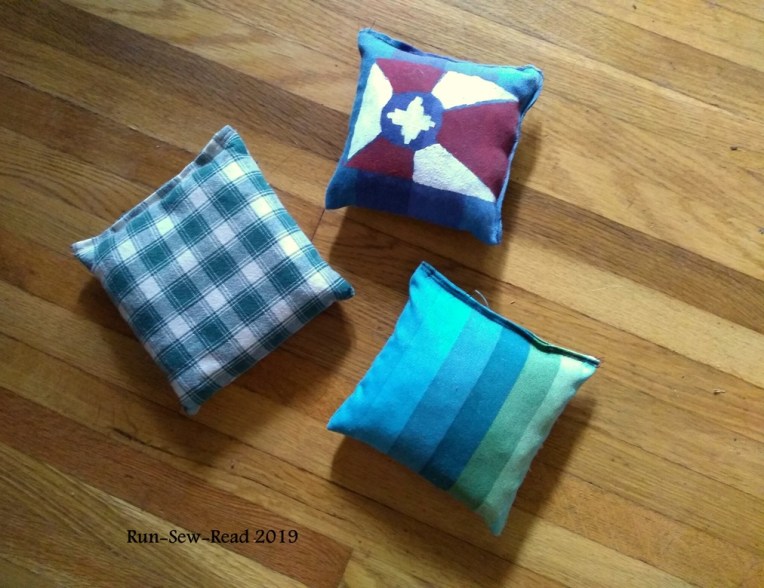
A set of Cornhole bags is eight (8) bags–4 in one color, and 4 in a different, contrasting color.
The bean bags are square, made of cotton duck, or similar heavy duty fabric, and filled with feed corn or a synthetic material that resembles corn in weight and consistency.
Each finished bag should be 6 inches x 6 inches, and weigh 16 ounces when filled.
The internet has numerous tutorials on making Cornhole bean bags. Do a search on Google and YouTube, and you’ll find some excellent instructions.
So, this post is less a tutorial, and more a compilation of tips I’ve picked up from making the bags.
Constructing the bags:
Start with 7″-7.5″ fabric squares. You’ll need 16 squares for 8 bean bags. Err on the side of cutting the squares larger, not smaller:
Stack two squares, right-sides together and sew all sides with a 1/2 inch seam allowance, leaving a minimum 3-inch opening on one side, for adding the corn.
[Stitching lines and opening:]
Reinforce the seams! Reinforce by adding a second row of stitching in the seam allowance. Then zig-zag or overlock the edges for even more reinforcement.
[Alternatively, reinforce by sewing the edges with French Seams. Tutorial here. ]
Then turn the bags right side out and get ready to fill them.
Filling the bags…
Whole corn for the filler can be purchased at a farm store or feed store. The price is usually less than $10 for a 40-50 lb bag of corn. I buy it at this regional store. https://www.atwoods.com/atwoods-whole-corn-40-lbs.html
Freeze the corn for 24-48 hours, to kill any little bugs and things that might be waiting to come out.
Before weighing, sift the corn through a colander to eliminate as much of the corn dust and other ‘stuff’ as you can. Then measure out 15 – 15.5 ounces of corn for each bag. The other .5 oz or so will come from the weight of the fabric.
With a funnel, load the measured corn into the bag.
A funnel made from a plastic gallon container works well because it has a big enough opening for the corn to pass through. A standard kitchen funnel doesn’t have a big enough opening.
To close off the bag, push the corn down in the bag as far as it will go, and then secure it there with pins or a long needle. For this, I prefer to use a long ‘doll needle’. The 5″ needle is easy to insert, and the one long needle holds everything in place. (Actually, a doll needle comes in handy for so many things, that I recommend keeping one in the sewing kit.)
The picture below shows how the doll needle holds the corn back from the stitching area, to give you room to maneuver the open end of the bag under the presser foot.
That little bit of extra room in the top of the bag is important not just for room to sew, but also for the finished bag. Bags stuffed too tight with corn can potentially burst on impact.
⇒Remember to reinforcetheclosure with a second row of stitching, and maybe even a third row.
Get creative with the bags! Try patterns and fabric paints.
Then, you are ready to play!
The bags (and extra corn) should be stored in a rodent-proof container.
Additional tips on bags and peace brought to you by John Lennon of Bag.