This savory yeast bread is something to make when you are going to be home all day. Seriously, it takes awhile. In the 1990s, it was a winner of the Pillsbury Bake-Off challenge. I clipped the recipe from a magazine back then, and am still making it to this day.
The bread has quite a variety of ingredients, and requires several steps in addition to the full yeast bread making process. It’s totally worth it.
This bread, is the reason I …
- Roast, skin, and chop fresh Poblano peppers from the little grocery store around the corner.
- Grow a tomato plant each summer, and harvest, chop and dehydrate the tomatoes;
- Keep two bricks of Monterrey Jack cheese and two cans of black beans on hand. The recipe only calls for one of each, but I want extra on hand.
- Keep frozen 1/2-cup portions of plain yogurt on hand.
(You can buy sun-dried tomatoes and canned chopped green chili peppers, which is actually what the recipe calls for.)

Here is a store-bought fresh Poblano (next to my pitiful attempt at home-grown), and after roasting for 15 minutes in the air fryer.


Home-grown, dehydrated chopped tomatoes

Now, about making the bread.
Here is the list of ingredients:
½ cup sun-dried tomato, without oil, chopped
1 (15-ounce) can black beans, drained
½ cup nonfat plain yogurt
2 teaspoons cumin
1 teaspoon dried oregano leaves
1 teaspoon dried parsley flakes
1 garlic clove, minced, or 1 teaspoon garlic powder
5 ½ to 6 ½ cups all-purpose flour
2 tablespoons sugar
1 tablespoon salt
2 packages fast-acting dry yeast
1 cup water
½ cup canola oil or other vegetable oil
1 egg
1 (4 ½ -ounce) can chopped green chili, drained, or 2 T. finely chopped jalapeño pepper
2 cups (8 oz.) Monterey Jack cheese, cut into ½ -inch cubes
The Southwest flavor steps in pictures:
Measure the spices and add to the food processor with the beans (drained) and yogurt.

Process until well-blended
Stir in the chopped pepper and dried tomato.


…
[Add the bean/spice, tomato and pepper mixture to your yeast sponge, then stir in the rest of the flour, knead, and set the dough up for its first rise.]
…
After the first rise, punch the dough down and shape into loaves. With a knife, slice into the dough loaves, and push the cheese cubes into the cuts.


Pinch the dough shut around the cheese.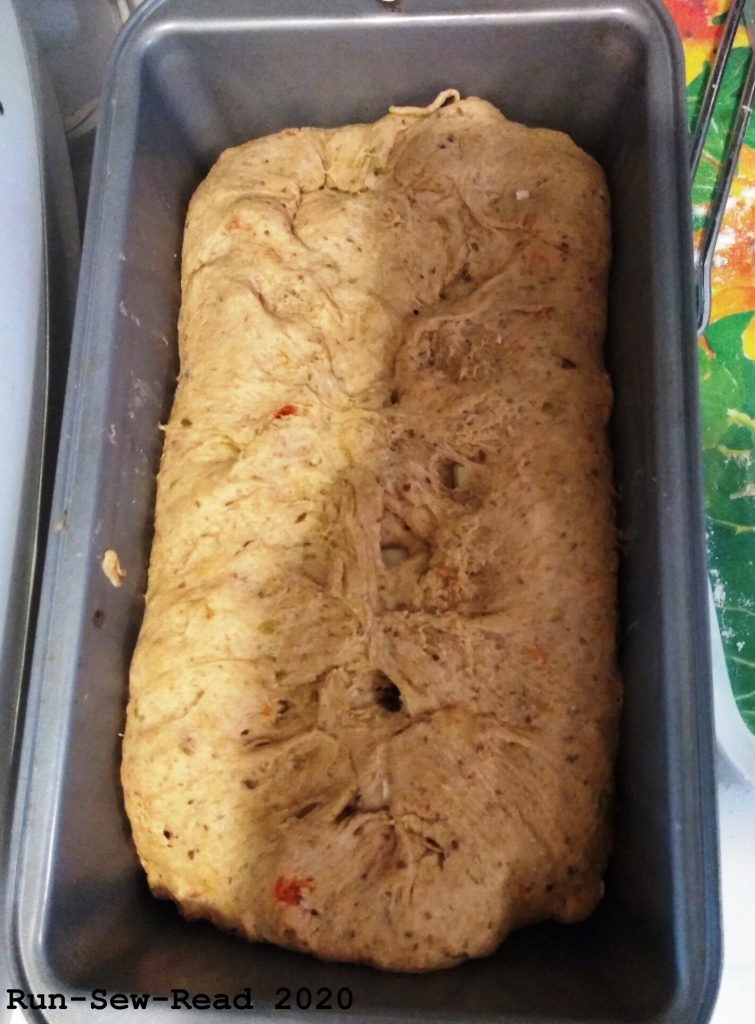
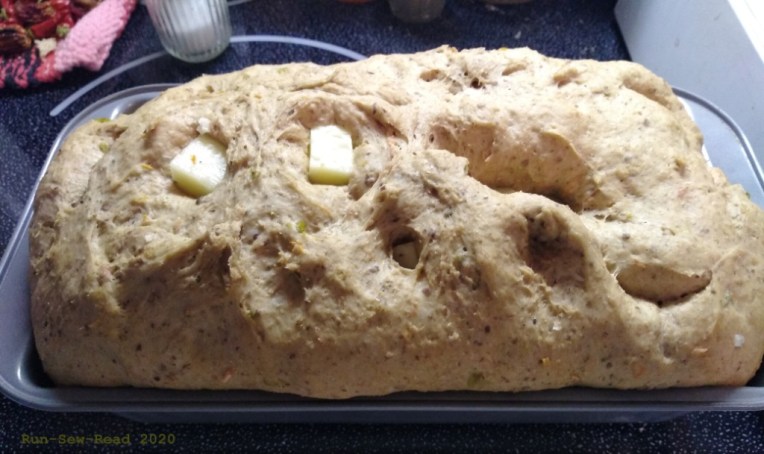
Let rise until double in size. If some of the cheese becomes exposed, it’s okay. (If you do want to pinch it back into the dough, be very gentle about it so as not to deflate that part of the loaf. )
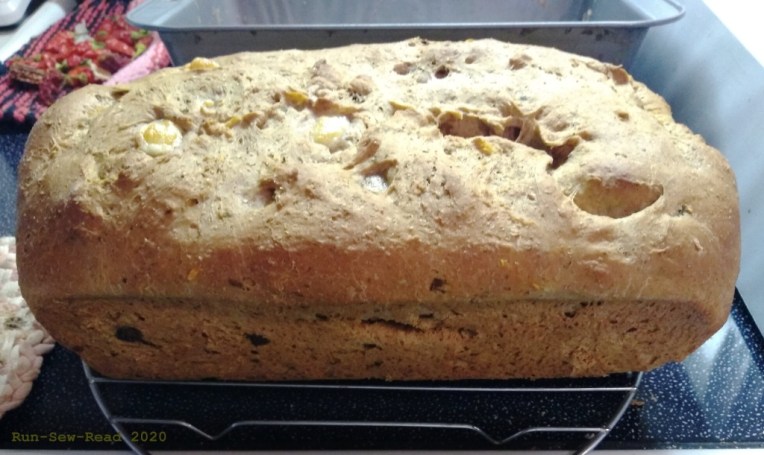
Bake 30-40 minutes, depending on loaf size.

After cooling, here is the first slice (on my gorgeous cutting board made by my brother).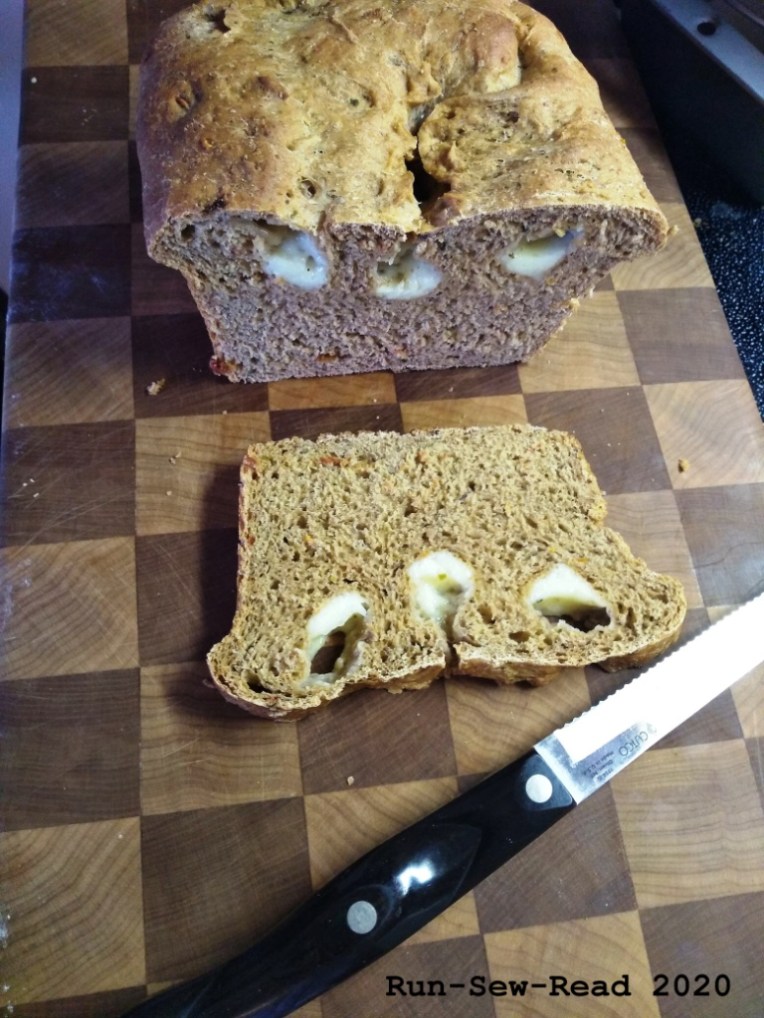
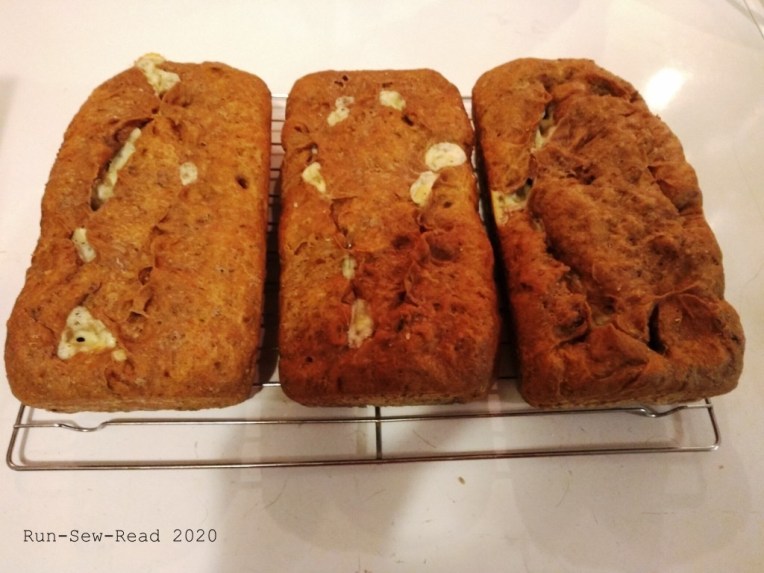
Here shown in better light is another batch, made in three smaller loaf pans.
I serve the bread warm with butter.

You can find the recipe online here. http://www.dvo.com/recipe_pages/bake-off/Southwestern_Pockets_of_Cheese_Bread.php
Or download my PDF version here: SOUTHWESTERN POCKETS OF CHEESE BREAD