The county fair and a campout

The night before my recent trip to the vintage clothing store, I went to the county fair.  I enjoyed looking at all of the hand crafted items, and home grown produce of the local 4-H’ers.

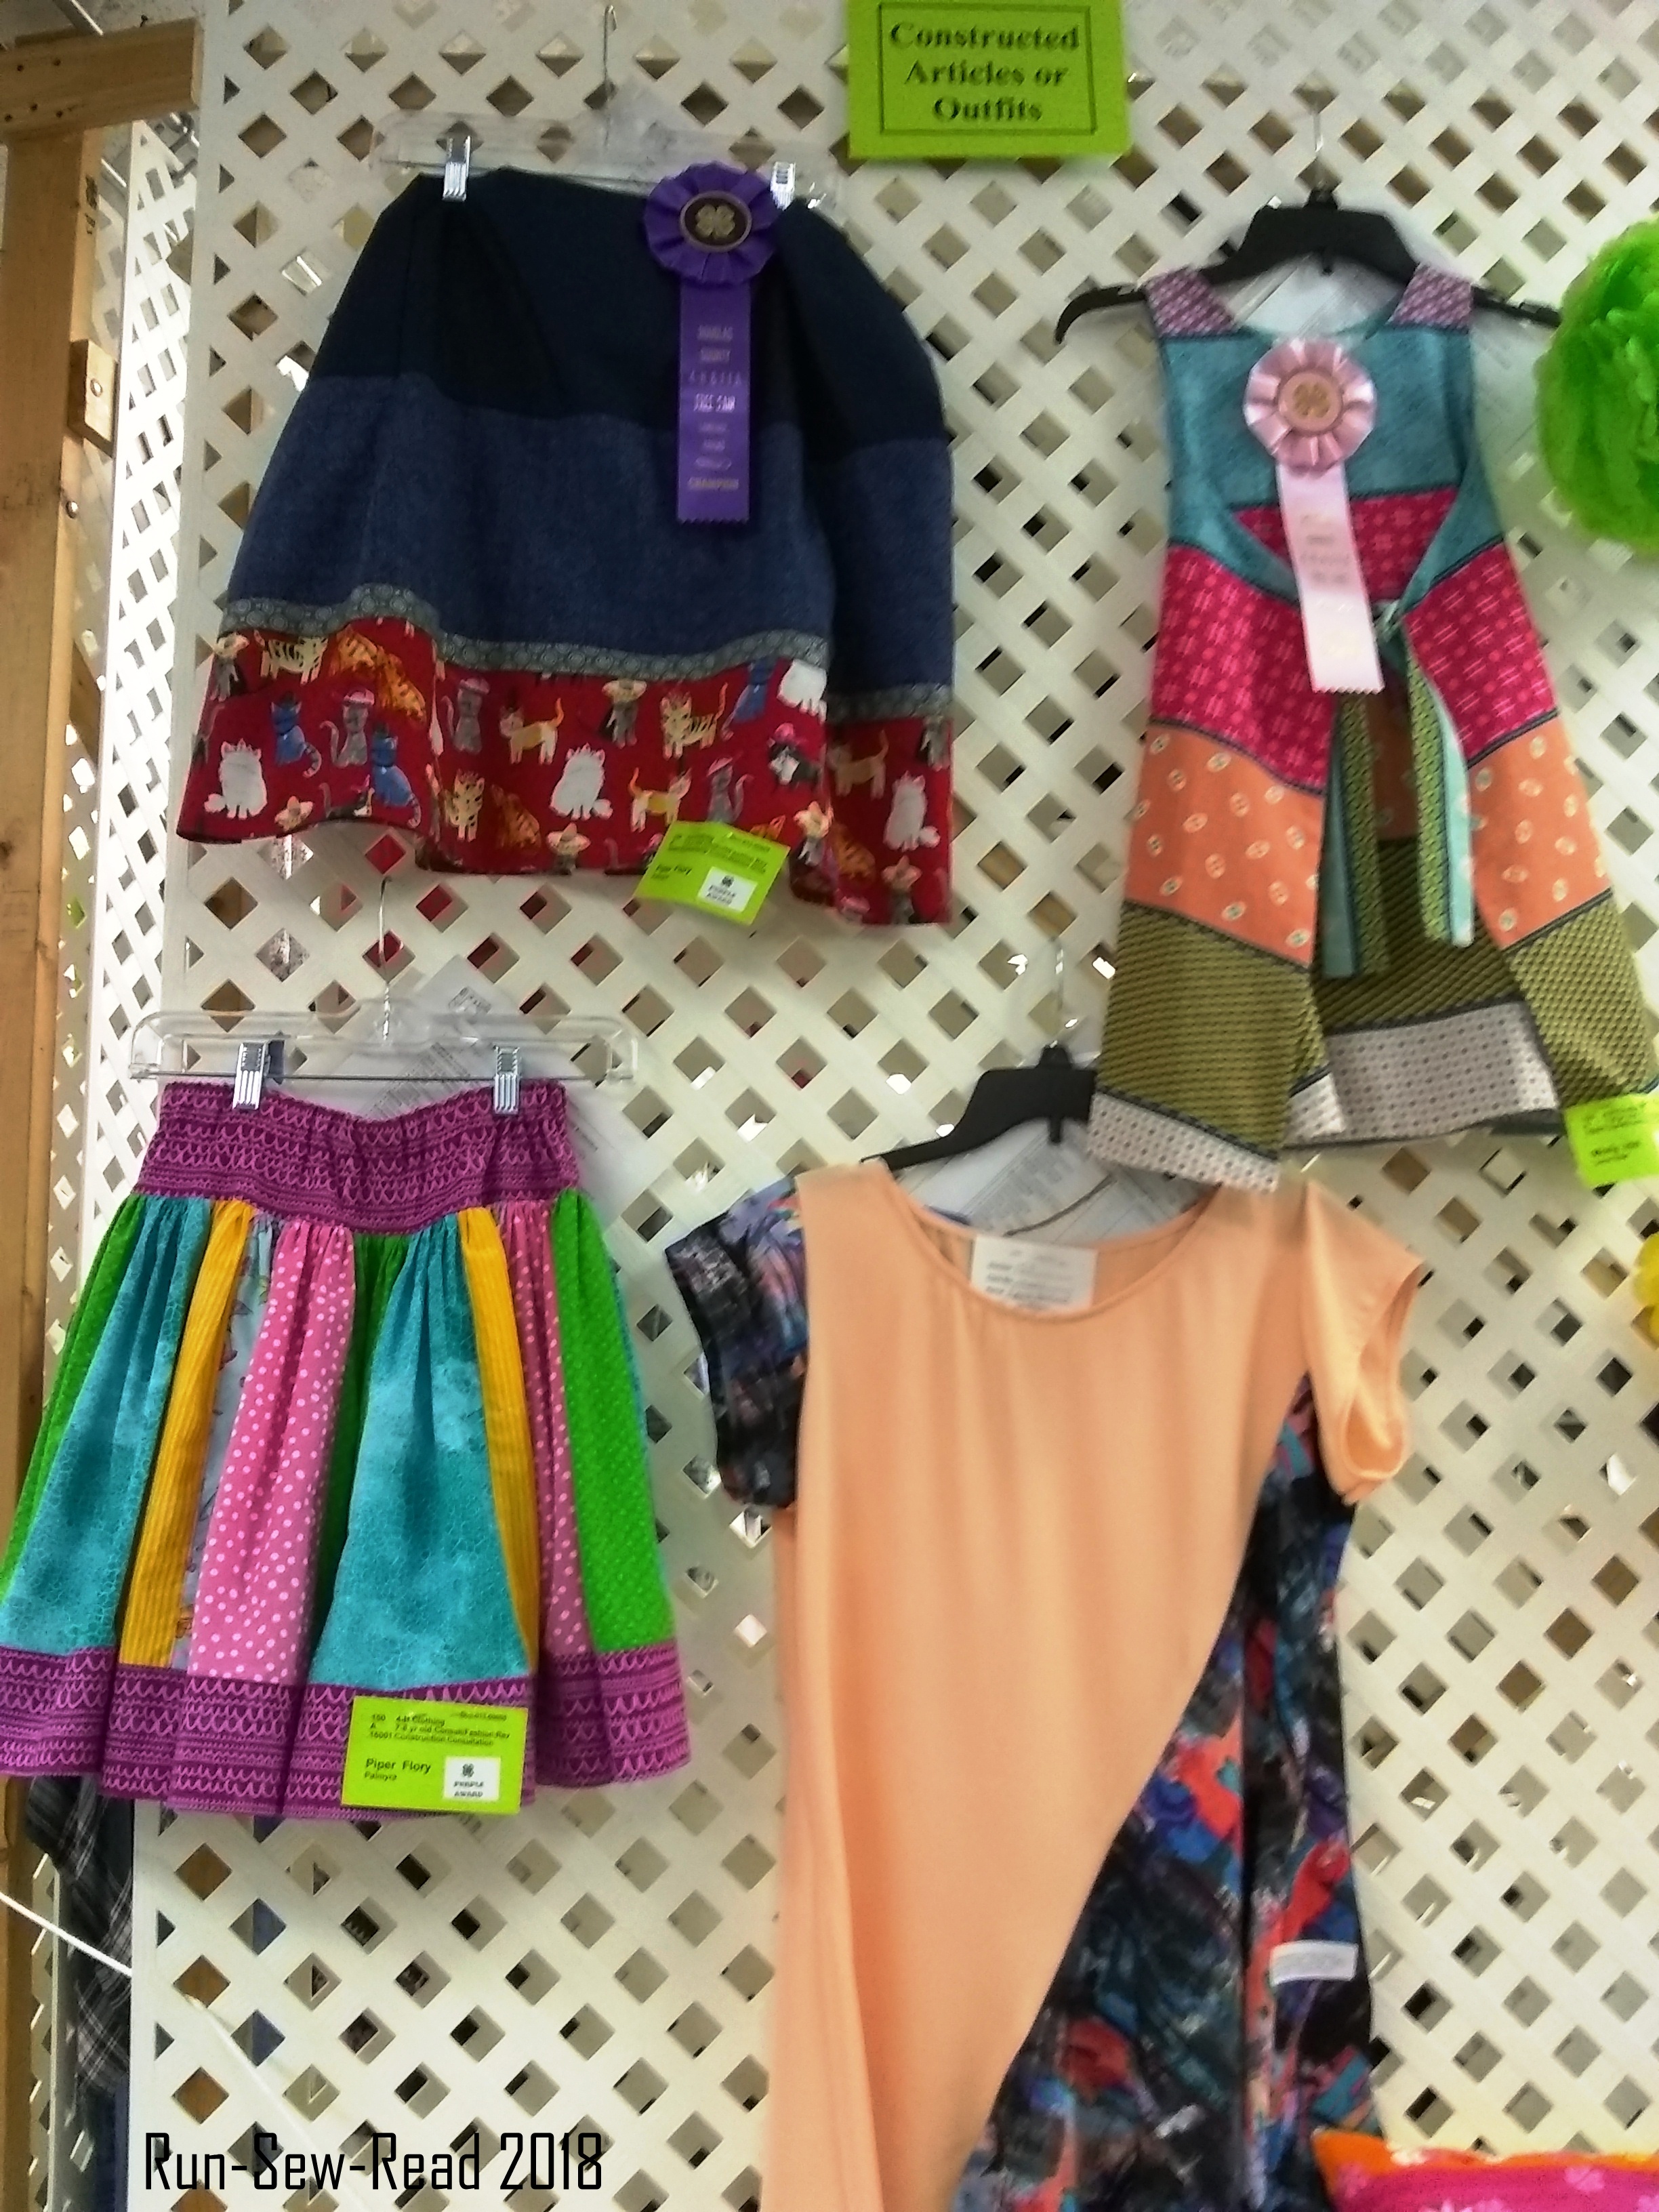
There were some excellent handmade garments on display, by teens and by grade schoolers.  To my distress, what you see here was all of the constructed garment entries this year.  This downtrend makes me want to stop what I’m doing and personally try to reverse the trend and bring young people into the wonderful world of sewing and handmade clothing.

DG County Fair garment construction teens

DG County Fair garment construction grade school age

There was beautiful home grown produce.

This slideshow requires JavaScript.

There was gorgeous woodworking, and a fun repurposing challenge.

This slideshow requires JavaScript.

The foods entries were great.  They had everything from breads and baked sweets to canned and dehydrated produce.  I was too busy admiring to remember to take a picture.

Over in the animal buildings, there were newly shorn sheep in fabulous jackets.  Two of my favorite jackets were the high necked trench coat and a fabulous hot pink number.  The sheep were quite friendly, too.

This slideshow requires JavaScript.

As for the other animals, there was a handsome rooster that did a great cockadoodledoo, but refused to do a repeat performance for my camera.  There was a lovely dairy cow who looks great with purple accessories, a perfect pink pig that belongs in Charlotte’s Web, and a spotted pig on the loose, who had the prettiest floppy pig ears.

This slideshow requires JavaScript.

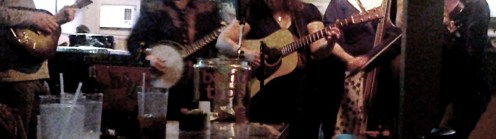
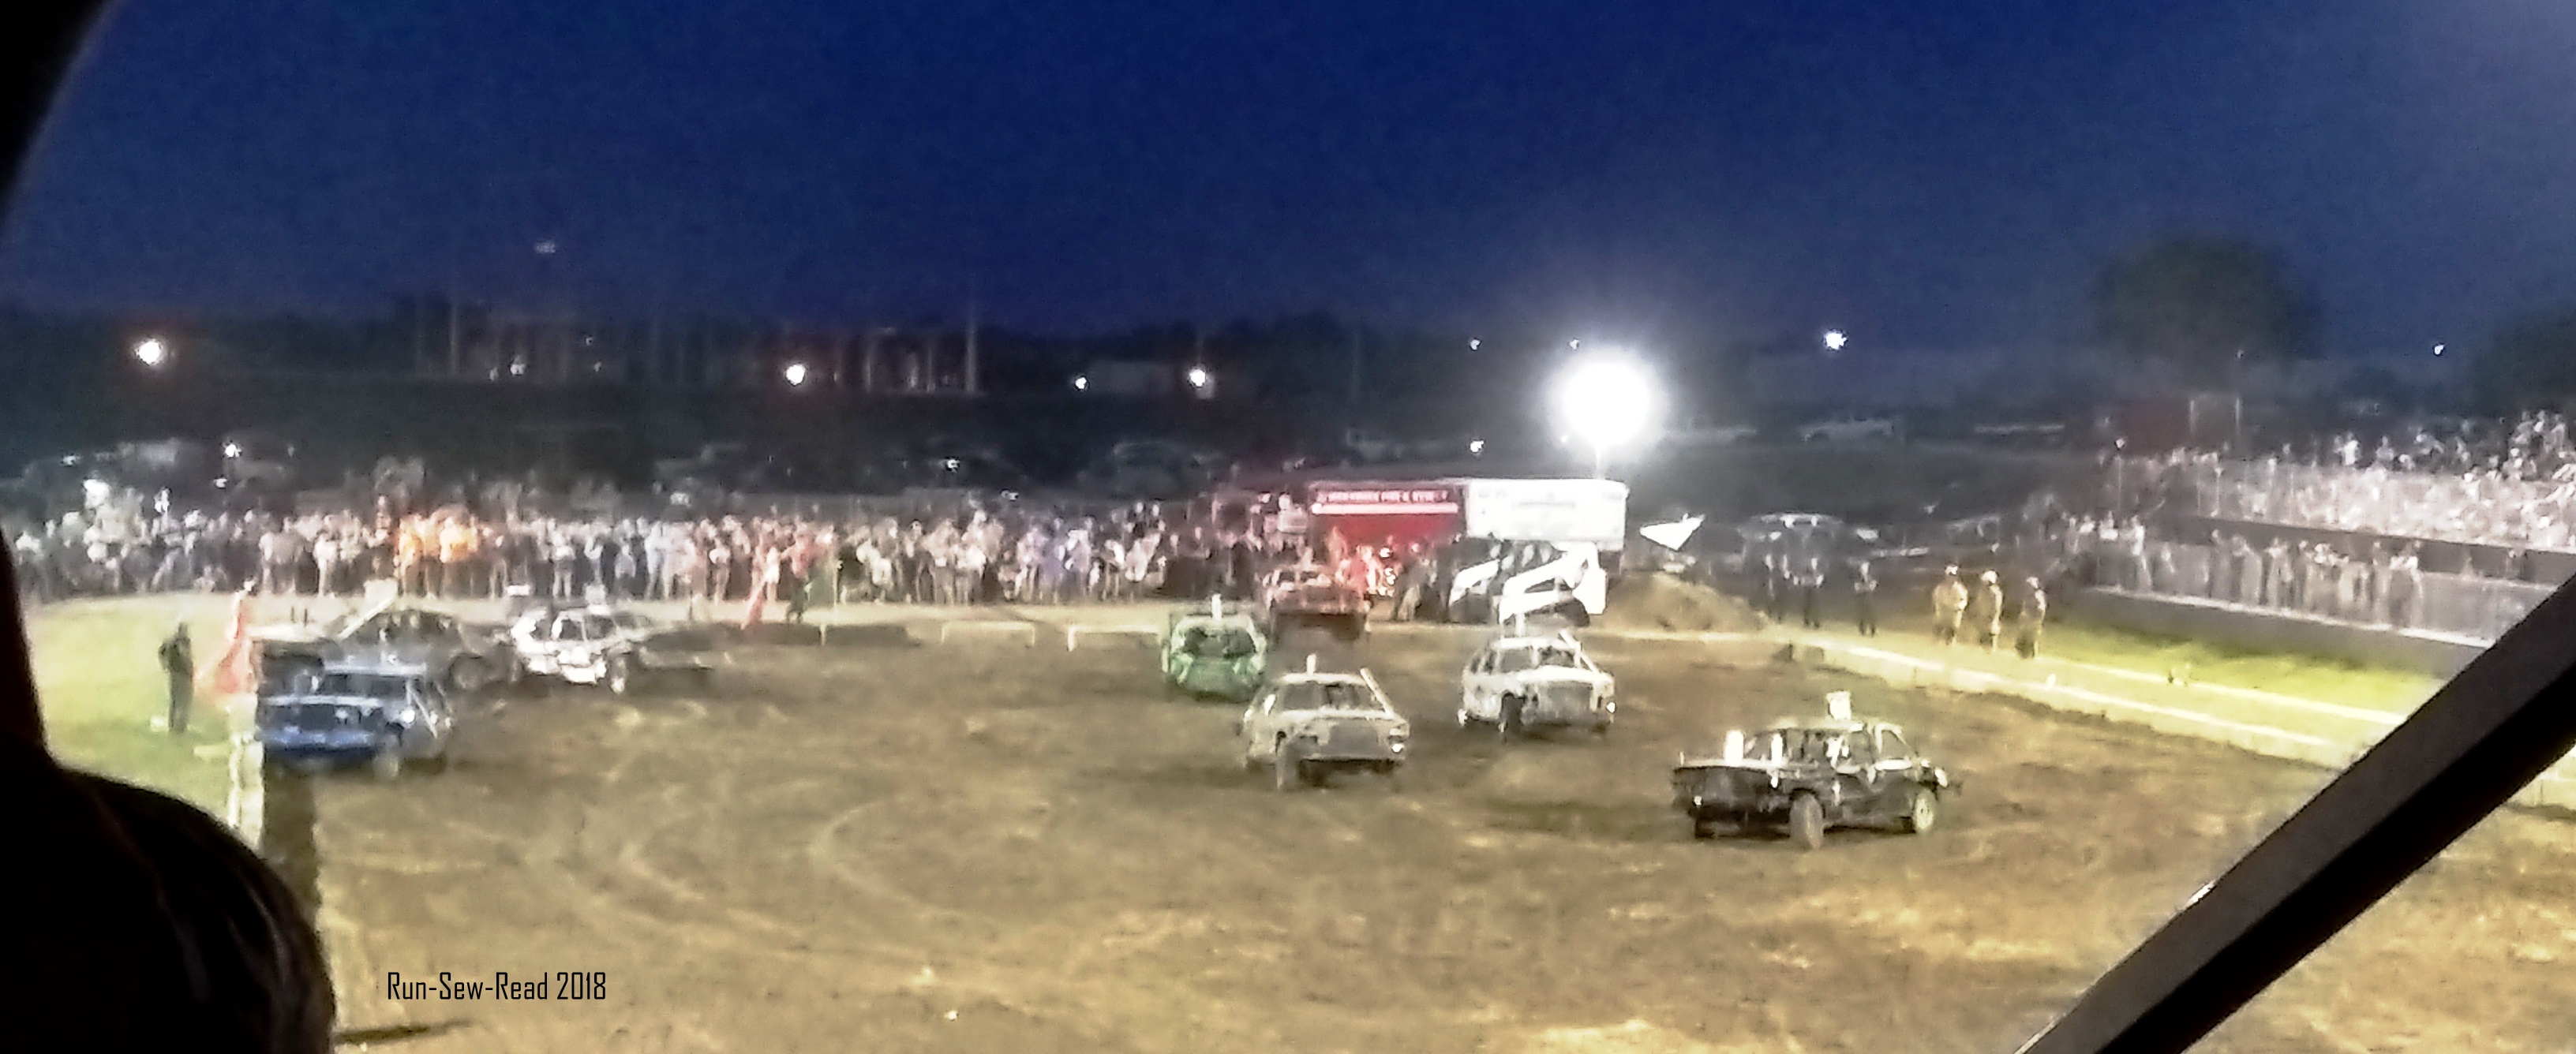
It was demolition derby night, too!  This event was packed; standing room only.  This picture should come with sound.  The motors were loud, and the crowd roared with appreciation.

DG County Fair Demolition Derby

Campout!  

That night, hotel rooms in town were scarce and pricey, but that didn’t matter to me, because I’d opted to take advantage of the gorgeous weather forecast.  I packed my tent, chair, backpacking stove, and breakfast, for an overnight at the lake campground just outside of town.  The lake was a CCC (Civilian Conservation Corps) construction project in the 1930s, and has been nicely preserved.  My siblings and I loved visiting this lake when we were growing up.  Point of trivia:  William S. Burroughs had a little cabin at this lake in the last years of his life.

On this particular night, my thirtysomething nephew came out with his lawn chair.  We sat and talked while looking out over the lake until 1am, mostly sharing fun memories about the lake and about our siblings, parents and grandparents.

This slideshow requires JavaScript.

1920s Homemaker

Twice a year, I get to be a 1920s homemaker for a day, 1920s dress

And bring this 3-room house at the Kansas Oil Museum to life. Lease House 3

My few hours there are simple and precious.

On arriving, I first thread the treadle sewing machine, and put the treadle belt in place, and then wait for willing seamstresses and seamsters to arrive.

This slideshow requires JavaScript.

When no one is at the sewing machine, I can do some sewing myself, or knit, or …

Hang dish towels on the line, Lease House 1

Sweep the front porch and pull weeds,1920s house front

Tidy up the kitchen,1920s kitchen

Tidy up the parents’ room (which doubles as the nursery),1920s bed & Living room 2

Tidy up the front room (which serves as the sitting room, sewing room, play room, and kid’s bedroom),

This slideshow requires JavaScript.

Or visit the grocery store.

This slideshow requires JavaScript.

Back at ‘my’ little house, at certain times of day, the kitchen is not well lit, but is always charming.  1920s kitchen table

At Christmastime, the house is heated by a cast iron wood stove, so I bake a pineapple upside down cake on the stove.Pineapple upside down cake

The house is called a ‘shotgun house’, because if you shoot a gun through the front door the bullet will pass through the back door.  I haven’t tried it.  1920s house from the front door

My favorite moments are when a little visitor takes in the whole scene and then looks up at me and asks me if I live there. ❤  My answer is always, “Yes, but only on special days like today.”

1920s back yard

This post was inspired by a lovely post on Everyday Women of the 1920s by The Pretty and the Kitsch.


Recycle Routine (p.s. it’s easy and awesome!)

Back in early April, I wrote that a change was coming to my household routine.  And now the details:  On April Fools Day, I cancelled my weekly residential curbside garbage service, and replaced it with a DIY recycle routine.  Before the switch, I spent several weeks considering:

  • What I was throwing away each week (i.e., the number and type of items discarded, and the volume);
  • How much I was paying for weekly curbside garbage service ($56 quarterly);
  • How many times I wasn’t home on garbage pickup day, or merely forgot to set the bin at the curb;
  • How much an occasional trip to the landfill would cost in money and inconvenience ($25 per load, apx five miles away, open on weekends).

Then I decided to give the recycle routine a 3-month trial period.  I began taking all of my paper, glass, metal, and most plastics to the local recycle center.  Yard clippings got mulched and/or composted.  I was already composting food waste.

Recycle bins

The Verdict:  This isn’t foolish; it’s awesome!  I never want to go back to curbside garbage service.  I feel good about recycling and being more aware of buying non-recyclable stuff.  Correction:  I feel great about it.  I save a little bit of money, but that’s not even the biggest benefit.  The routine is better and easier.  Honest!

The recycle center is less than a mile from my house, and is open 3 days a week.  Gone is the problem of being away on garbage day, or forgetting to put the bin out at the curb.

The recycle center is like a reverse grocery store.  You park, put your items in the grocery cart, push the cart around to the various labeled disposal bins, and drop off your items.  I’m in and out of the recycle center in 2-5 minutes.

Recycle1

About that curbside garbage bin:  I no longer have the big, ugly, dirty garbage service bin in my yard.  Instead, I have three small baskets under a kitchen cabinet, for paper, plastic and ‘other’.  The ‘other’ basket holds cans, foil and glass.

Recycle bins kitchen--RSR

The biggest volume of my weekly curbside garbage was weeds and bush trimmings.  Those now get mulched and/or composted, thanks in part to the little chipper-shredder I bought with the initial savings from the cancelled garbage service.

chipper shredder-RSR

There are some items the recycle center won’t take, such as Styrofoam and cheese wrappers.  I seldom get styrofoam packaging, and I don’t consume a lot of cheese.  When I do have a cheese wrapper, I take it with me on my next trip to the grocery store, and put it in the garbage can at the store entrance.  In other words, I take it back to the place where I bought it.  Is that ethical?  I’m still contemplating that.  I store other non-recyclables out of the way in my shed, for taking to the landfill.  I’ve only had to make one trip to the landfill so far, and had a free coupon for it.

Has this new recycle routine changed how I shop?  Yes, a little bit.  For instance, recently, I was trying to choose between two brands of whole wheat flour; each the same price.  Then I noticed that one was in a paper package, but the other in non-recyclable, cheese-wrapper-type plastic.  So, aha, I chose the paper package.

How good do I feel about my recycle routine?  The recycle center reminds me at the end of every visit.

Recycling Center sign-RSR

Something new I learned:  Disposable wipes contain plastic.


A running start on 2017

Very happy New Year’s wishes to all!   Here’s to a fabulous 2017.  As for 2016…what the heck was that all about?  I wish peace to those who badly need it, and peace of mind to those who are worried about incredible changes on the horizon.

shirt-and-medal-2016-17-rsr

It was calm and 32F last night at 11:45pm for the Run in the New Year 5k.  Because I’m a wimp, I dressed to stay warm while waiting to start.  Yes, I know the advice is to dress as if it were 20 degrees warmer, but I don’t care.  Being cold even for five minutes, is not my thing.  Which means starting to shed layers even before reaching the half mile point.

run-in-the-new-year-2016-17-30-seconds-to-start-rsr

The course followed our riverfront.

The race starts and ends at the Kansas Sports Hall of Famea super-inspiring place to look around before and after the run.

run-in-the-new-year-2016-17-waiting-to-start-rsr

Who could not be inspired by looking at Jim Ryun’s shoes and USA apparel?

jim-ryun-shoes-and-shirt-rsr

And beloved football coaching legacies, fambrough-rsr

and numerous other great Kansas athletes.

Back at home today, two kitchen appliances will not make the journey with me into 2017.

The bread machine died yesterday.  After I failed to break into it to try to repair it, it is now in the trash bin.

bread-machine-in-the-trash-rsr

This slow cooker that has never met my expectations or needs, is in the charity donation box.  horrible-old-crock-pot-rsr

The slow cooker has been replaced by my new love, the Instant Pot pressure cooker, to which I’ve pledged my devotion for 2017 and beyond.

instant-pot

Today I am listening to college basketball; cleaning out and reorganizing my home ‘office’ nook; and being inspired about 2017.

Whatever your goals and aspirations for the new year, I wish for you to enjoy the journey.  Yes, I believe in a better world.


Juneathon ’15, day 7

My ‘day 7’ Juneathon fitness installment was a bicycle ride for groceries; the urgency brought on with the discovery that I was out of ice cream.  Bicycled a total of 3.2 miles.  Aside from that, it was a lovely but very hot Sunday, in which I stayed cool by doing as little as possible.


Juneathon, day 5

Last night after the sun went down but before it was completely dark, I did my 1.2 mile loop.  I love long Spring/Summer nights!  A big storm was brewing, so it was overly humid.  After I got back from my run, I thought I’d never stop sweating.

Today I did my mile commute walk.  Then, tonight I tried a new soup recipe that ended up tasting less than satisfactory. It was too rich and made me feel sluggish.  So I dragged myself out the door for a quick run, to try to jump start my metabolism and boost my energy level.  It was an awful run.  My posture was off, due to my stomach being full.  But I did feel more alive after it was over; which was the goal.


Making yogurt even easier

Yogurt, hmmm.  I’ve gone from avoiding yogurt my whole life because of the tangy taste, to making it an essential part of my daily diet for these last three years.  It is a great way to get more calcium and protein.  I’m sold on the probiotic effect on my digestive system, too.  It makes my stomach feel calm virtually all the time.   Furthermore, I’ve concluded that making it myself from skim milk, in quart (liter)-sized batches, is the only way to go.

At first it was a challenge to keep enough, but not too much, prepared yogurt on hand. But then the process became a well-settled part of my food prep routine.  It helped that I discovered a couple of tricks to cut an hour, and my least favorite step, out of the yogurt-making process.

Ingredients:

  • 4 cups (or 1 liter) skim milk
  • 1/2 cup non-fat powdered milk
  • 1/2 cup plain yogurt with active cultures, to use as the ‘starter’.  (Check for ‘active cultures’ somewhere on the label.)

Steps:

1.  Pour the skim milk into a microwavable container.

2.  Stir in the non-fat powdered milk.

Yogurt ingredients

3.  Microwave the milk until almost boiling.  (This takes 5 minutes in my microwave. Occasionally mine has actually started to boil.  It doesn’t ruin the batch but it boils over, so I have to clean my microwave.)

4.  Let the milk cool until lukewarm.  This takes about an hour in my kitchen.  This is my least favorite step, but it is necessary.  If the milk is too hot when you add the yogurt starter, it will kill the active cultures.  However, if you don’t want to wait out the cooling process, you can do my alternate method. 

(*alternate Step 4*)  Freeze your yogurt starter ahead of time, in 1/2 cup portions.  Then, instead of waiting for the hot milk to cool, put one of the frozen starter packets directly into the hot milk when it comes out of the microwave.  This method has worked for me every time.  It eliminates the annoying hour-long cooling process.  The frozen yogurt cools the milk to just the right temperature, while the hot milk thaws the yogurt.

Frozen yogurt starter

5.  Once the milk has cooled to the right temperature (or with the alternate method, once the yogurt has completely thawed in the warm milk), gently stir the yogurt starter into the milk, and then set the mixture in the yogurt maker and leave it plugged in for 4 to 8 hours.

Yogurt mixture

Yogurt making

Sometimes it is hard to tell how set the yogurt is.  I spooned a small amount here to test the consistency.  If not as thick as you want it, give it more time.  The picture below was taken at 4 hours.

Set yogurt

6.  Once the yogurt has set to your liking, chill it in the frig.  When chilled, it will be thicker on the bottom, with some liquid on top.  Stir it up and then remove 1/2 cup from the batch, to freeze as the starter for your next batch.  I label the starter according to its generation from the original store-bought starter.

Yogurt starter

Is the powdered milk a necessary ingredient?

No, but they say it adds more solids to the finished product.  I think that’s true.  It also boosts the calcium and protein content.

Yogurt not set after 4 hours?

Give it another 4 hours.  If it still isn’t set, stir in another 1/2 cup of plain yogurt (room temperature), and give it a few more hours.  I’ve probably had fewer than 5 batches ever, that didn’t set the first time.  Of those few rogue batches, I’ve never had one that didn’t set using the follow-up steps.  You will be successful.

How do I use the yogurt?

Mainly in smoothies, which I make ahead in pitcher-sized quantities.

Strawberry Smoothie

 On yogurt makers:

It’s true you don’t need to buy one; certainly not an expensive one.  I spent less than $20 on mine, because I caught it on special.   Also, I held out for a yogurt maker that does the quart-sized batch.  The makers that come with individual serving cups look unnecessarily tedious to me.

Until I broke down and acquired a yogurt maker, I used a metal enamel bowl (such as the large one in this set), and an inexpensive candle warmer.  That setup worked great.  This is not the candle warmer’s intended use, so if you try it, make sure you do it safely.

Yogurt equipment

Are you partial to “Greek” yogurt?

I make that too.  In other words, I occasionally strain a batch of fresh yogurt and keep it on hand for use in place of some of the sour cream or mayonnaise in certain recipes.  Straining it then means doing something with the whey (aka liquid protein) that’s drained off.  You can dispose of it (bad), or find a use for it in other foods (good).  Stay tuned…

Beautiful Sunday

I am still smiling from yesterday evening–first, a very exciting basketball game, and then some great local bluegrass music.

Bluegrass-w

Today we’ve had a gorgeous day for being outdoors–working in the yard, and giving the car a good wash and wax.  It was also perfect for meeting today’s Janathon requirement.  I did a jog to the grocery store and walked back home with my trolley of groceries, 3 miles total.  Tomorrow morning I visit the podiatrist.

Last night and this morning, I also experimented with bread recipes.  I tried combining this no-knead bread recipe with this recipe for whole wheat potato bread.  The results were quite encouraging.  I have to tweak it to get it just right, and when I do, I’ll post what worked.

An Afternoon in the Kitchen

Sunday afternoon, while it was bitter cold outside, I tackled some indoor tasks:

First, I cleaned the rusted lid of my big cast iron dutch oven.  The rust was pretty bad, so I ended up using two different methods to get it all.  I had stored the pan in my shed, for use on the occasional camping trip.  Then the shed ceiling sprung a leak, and guess what was sitting under the leak.  Anyway, the two methods worked great.  I loved the potato and salt method.  For less severe rust, this would be ideal.

Some of the worst rust spots called for something more, so I then tried this baking soda paste scrub.  That finished the job.

So then I needed to re-season the pan and lid, which meant I’d be using the oven most of the afternoon.  It was a good day for a hot oven.

In the end the restored lid looked like this.  Tada!  I should have taken a ‘before’ shot.  No, it’s better that I didn’t.  Trust me, it was bad.  IMG_5807w

While the dutch oven was seasoning, I made some homemade dishwasher detergent tablets, which I had been wanting to try for some time.  They were easy to make, with four simple ingredients from the grocery store–epsom salt, borax, washing soda, and lemon juice.  I now used the tablets on two loads of dishes, and can give the recipe a thumbs-up.  The dishes look clean and bright, with no residue.  I do have to put vinegar in the rinse dispenser, but that’s the case here regardless of what detergent I use.  The tablets smell great, too.

My tablets look like this.  The ones in the instructions looked smoother, which makes me think I should add a bit more lemon juice next time.    IMG_5822a-w

Then I mixed up a batch of bread using the no-knead method.  I love making bread.  It rose the rest of the day, and then I baked it the following morning.

The dough looked like this in the morning, before I punched it down and shaped it into a ball.IMG_5809w

Here is the finished loaf.  It is bigger than it looks in the picture.   IMG_5812w

Yes, that is the newly-restored dutch oven.  I’d been using a smaller one for this recipe, but with the bigger one cleaned up, I wanted to test it out.  I like the result.

The holiday running streak continues.  We were treated to a warmer sunny day yesterday; great for a late-afternoon run.