
Last month I ordered a new phone and case. When they arrived, the case didn’t fit the phone. Dollar Store to the rescue. At the Dollar Store, I found some cases that were the correct width, but too short. They were flexible material, so I decided to try cutting one to make it fit. I bought two, in case I messed one up. Here’s how the process went.
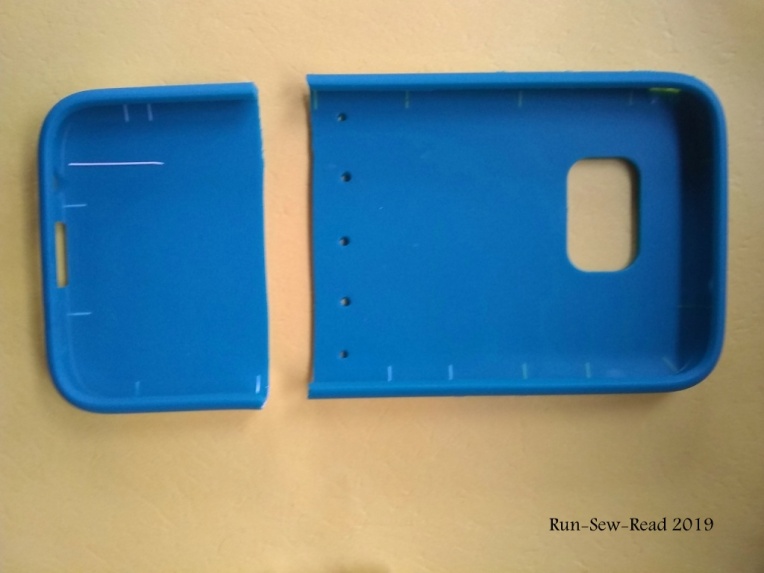
Cut the case in two, to increase the length. The case is a rubbery material, so strong shears are needed. I used kitchen shears. (The picture below shows the finished black case on the right, and next to it the turquoise one in progress.)

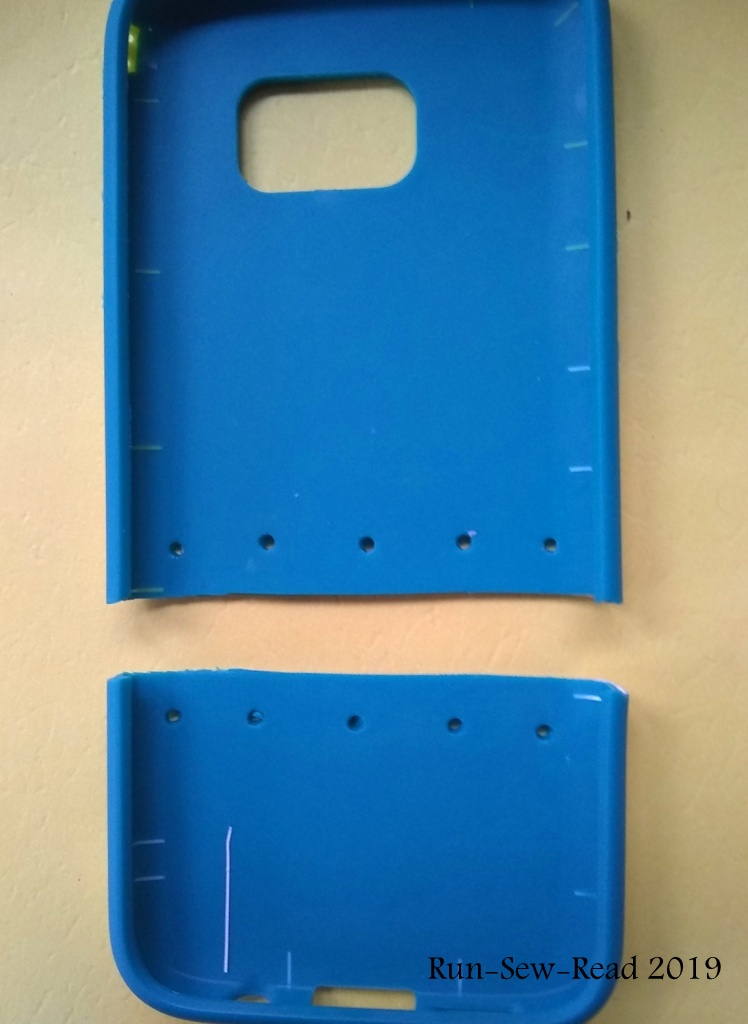
This shows the additional length needed to fit over the phone. Next I punched holes in both pieces, to stitch in a piece of fabric to bridge the gap.
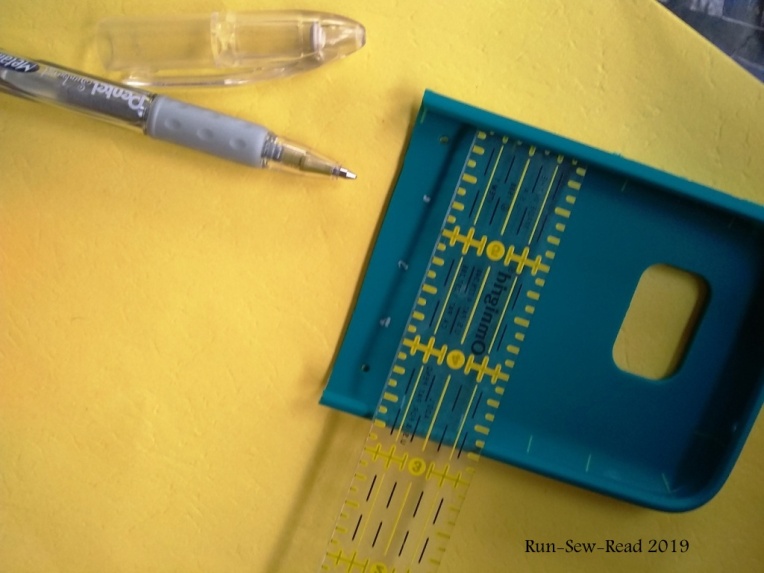
Marking and punching the holes:
The locations of the holes were first measured and marked, using a simple ruler and gel pen.
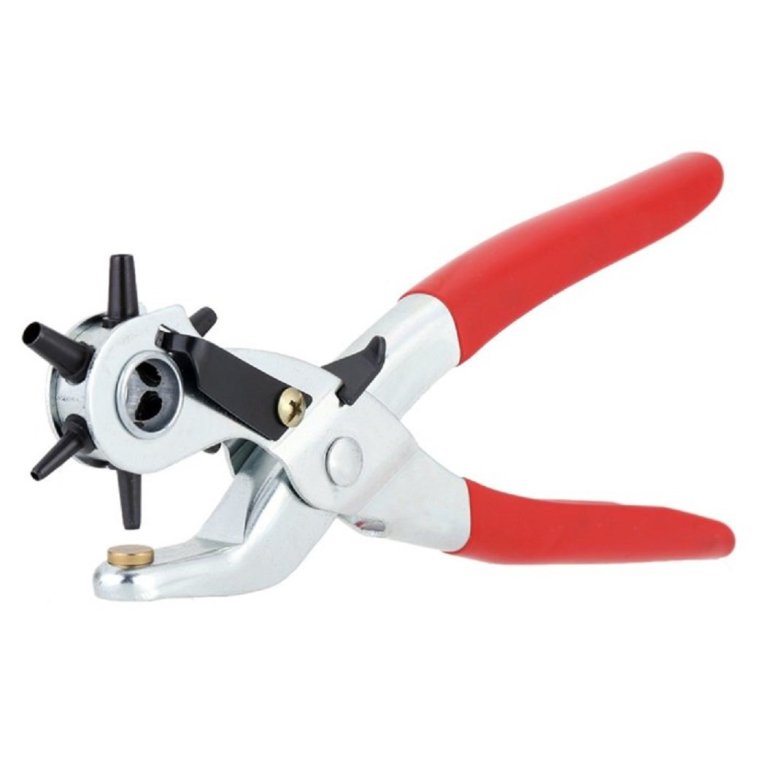
A leather punch worked great for punching the holes. My leather punch isn’t the exact one pictured, but is substantially similar. It was $7 well spent. I use the punch all the time for making belts fit, and numerous other ‘hacks’. Click the picture to go to the punch on Amazon.
When one side was punched…
I used those holes to mark where to punch on the corresponding piece. 
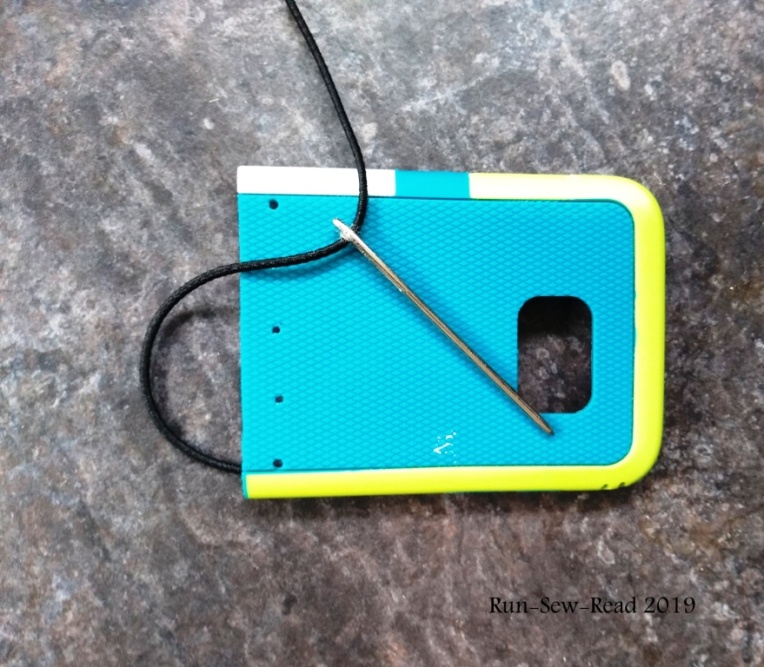
Then, using cotton yarn and a darning needle, I stitched a scrap of woven belting to each side, to bridge the gap. Almost any durable fabric could be used. Think denim, duck canvas, vinyl, etc. Just make sure the edges are bound to prevent raveling.
Using the kitchen shears again, I adapted the back holes for the photo lens and sensor. This first attempted adaptation wasn’t very pretty, but it did its job. 
On the other case, I omitted the fabric, and simply laced the two pieces together with elastic cord.
The cord lacing fits as well as the fabric piece. It was easier to do, and came out looking a lot nicer than the fabric, I think.

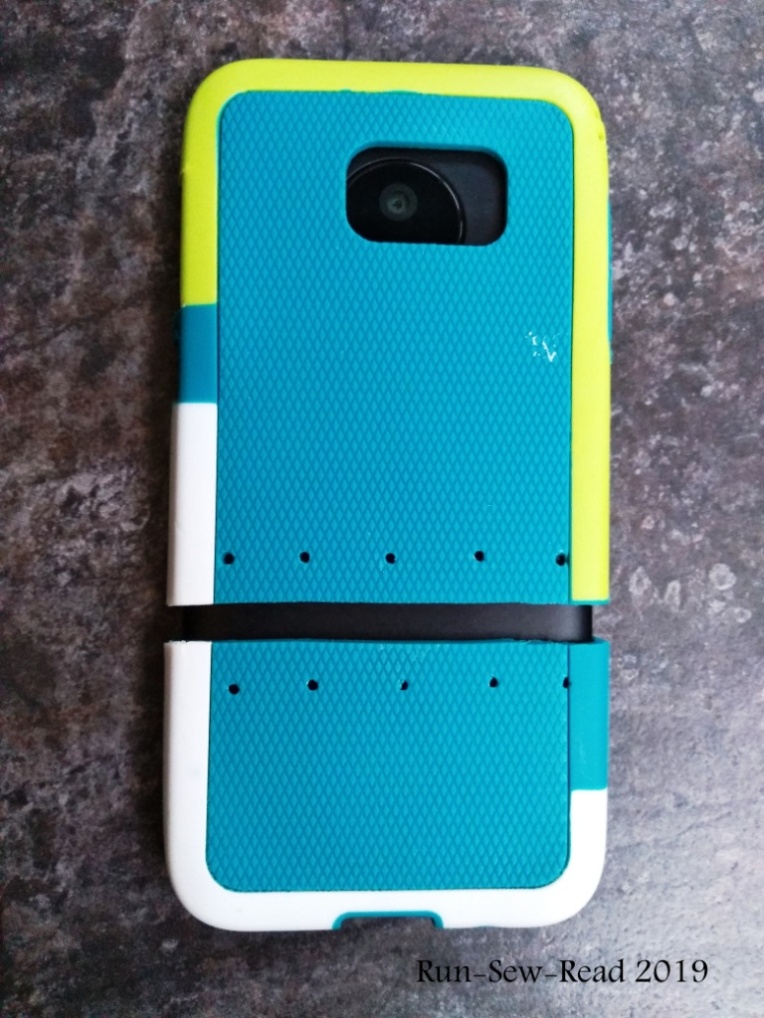
Here’s a side view. With the kitchen shears, I modified the side cutouts to match the control buttons on the phone.

From the front, the cases look like this.


The verdict:
The DIY cases worked out great. They never came loose from the phone, and they did their job of protecting the phone while I ordered another case that was supposed to fit the phone. When that case didn’t fit, I ordered a third case. After three failed attempts to get a proper case, I gave up. There were other issues with the phone too, so the phone was returned, and I ordered a different phone and case. The DIY Dollar Store cases got me through while waiting for the ‘right’ phone and case to arrive, and they would have lasted a long time, if I’d kept that phone.
Have a lovely Easter. We sang this in church on Easter morning when I was little.

Well done, Diana! The lacing is beautifully executed.
LikeLike
Thanks! The lacing was a happy accident. 🙂
LikeLike
My wife just declared you a genius. She sees all the old cases that my son and I have because of changing phones.
Morning has broken is truly a beautiful song.
I don’t know how I missed this post earlier.
LikeLike
Haha! She’s giving me way too much credit, but thanks. It’s hit and miss with what phone cases you can find at the dollar store, but if you make a mistake, you are only out a dollar. 🙂
LikeLiked by 1 person
We have enough here…she will buy one at a yard sale for 50 cents thinking it will fit one of our phones…you are helping her redeem herself!
LikeLike
That’s awesome! You’ll have to share some of her creations.
LikeLiked by 1 person