I ran; I sewed; I read

I ran.  

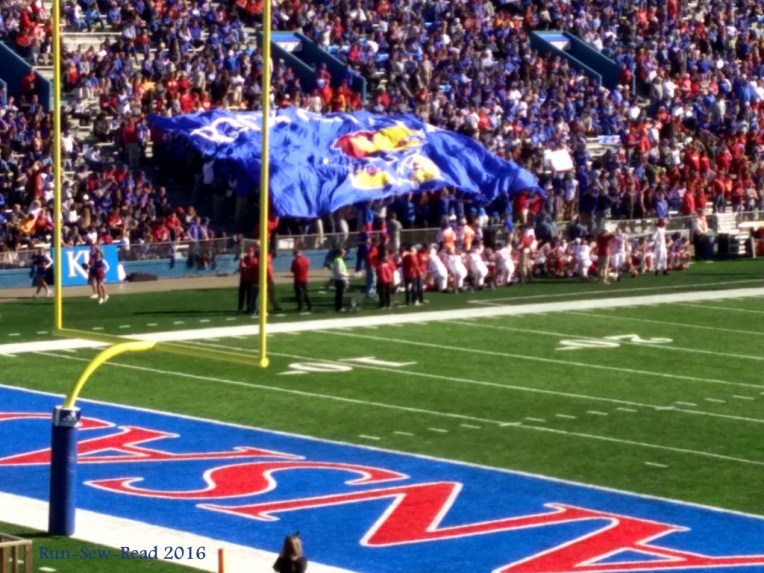
This morning was my fave annual 10k trail run.  There were muddy creek crossings. STD creek crossing 2 2018

STD muddy hand

STD muddy legs

There was a dam to scale.  It was ‘dam’ high and steep.  STD dam wide shotSTD dam

And then came the descent.  STD dam top view

I stayed on my feet for the descent, but in my mind I was one misstep away from doing a spectacular tumble a la Gloucestershire Cheese Roll-style.

At the race finish, a little mud wasn’t going to stop me from savoring a delicious juicy orange.
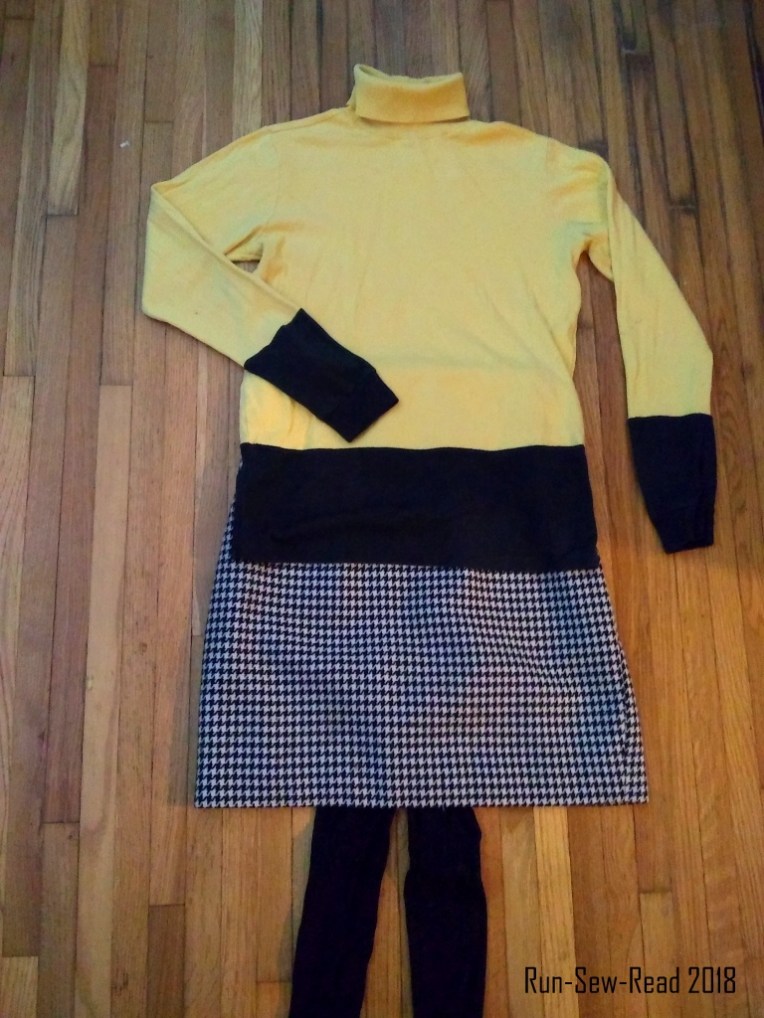
  STD orange

I sewed.  

When getting dressed for the race this morning, I noticed my HRM (heart rate monitor) was way too loose.  I cinched it down to its smallest, but it was still too loose.  The several-years-old elastic was giving out.  So, I quickly threaded the sewing machine with black, and cut a big 9-inch section of elastic out of the band.

Garmin strap repair 1

Then I sewed the shortened band pieces back together.  Garmin strap repair 2

I put the shortened HRM back on, and it was still too big, so I took it off, cut out another 6 inches.  And sewed it together again.  Then it fit, and I was off to the races…literally.  Garmin strap repair 3

I read.

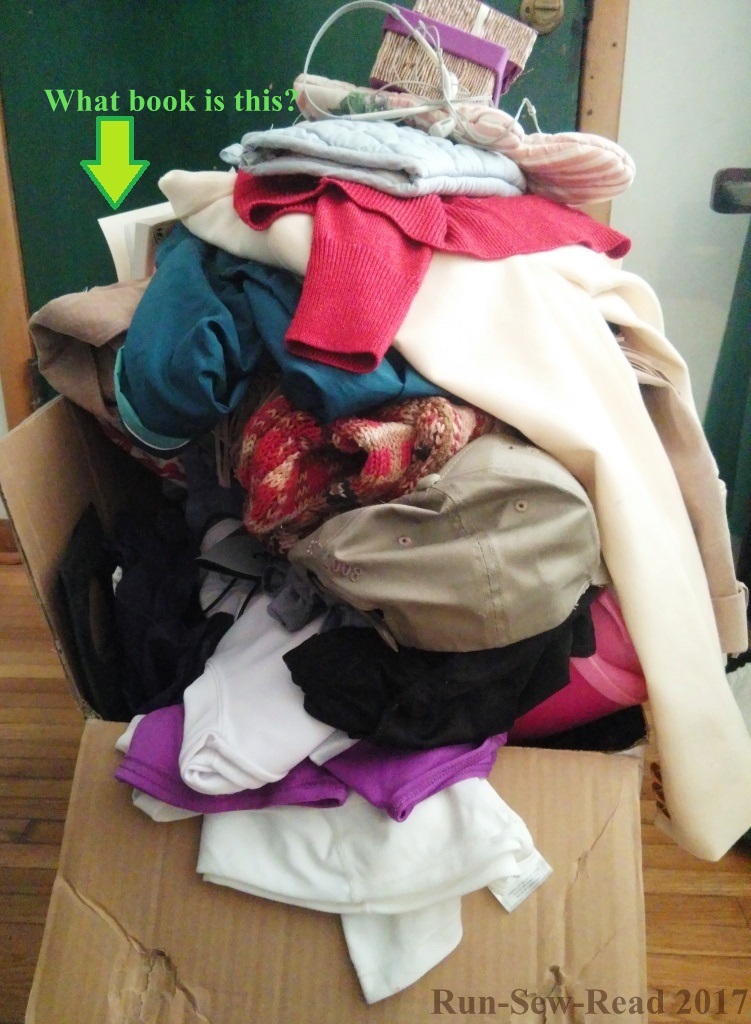
Back home after the race, I plopped myself onto the couch and re-dedicated myself to reading A Confederacy of Dunces.  I’d started it long ago, and liked it, but then set it aside, forgotten.  Now it is one of the books in the Great American Read list, and it is my choice for the Read.

A Confederacy of Dunces


Turtleneck stash busting

Yes, there is such a thing as a turtleneck stash.  Mine was becoming ridiculous.  I wear turtlenecks solo, and under everything from dresses, to sweaters, to t-shirts.  After months and years of washings and wearings, some start to fade.  Some shrink vertically, and become too short in the body and sleeves.  Some develop a bulkier, boxy shape, that doesn’t fit well under other garments.

This winter I summoned the courage to start carving them up.  I loved the resulting composite pieces.  I lengthened sleeves and torsos, and converted regular t-shirts into long-sleeved turtlenecks.

IMG_20180402_162739867-aw rsr(All photos taken under the watchful eye of the pupervisor.)

I attend a lot of college basketball and football games, so wearing a color-blocked garment turned out to be a great way to ‘represent’.

Color blocking made layering more fun.  IMG_20180402_164246137-aw rsr

The color blocked garments were versatile. IMG_20180402_175041886-aw rsr

I also tried lengthening the torso by inserting a band in the middle.  This brown and grey one doesn’t look smooth in the picture, but it actually looks fine when worn.

IMG_20180402_170801338-aw rsr

The turtleneck stash had outgrown the drawer, and then the shelve(s) dedicated to their storage.  Even after cutting and combining several of them, I still have a bunch of old turtlenecks that need to be boxed up for donation.  That will happen once turtleneck wearing season is over.


Coco dress and the pup-prentice

After seeing many great examples in the blogosphere, of the Coco dress pattern by Tilly and the Buttons, I finally downloaded the pattern and gave it my own try.  The pattern is wildly popular, and now I know why.  It was fast to make, the fit perfect, and the style cute and comfortable.  There’s no need for me to do a full pattern review.  It’s been done elsewhere, by better reviewers.  You might want to start by checking out the Coco Pinterest gallery.

So, about my version:  I went wild with the print.  This fabric had been sitting on my stash shelf for several years.  It is a spandex swimsuit knit.

dress mannequin - rsr

This fabric is stretchier and lighter weight than the pattern recommends.  But, it worked really well, with the exception of the collar, which drapes like a cowl instead of staying rolled in place.  For lightweight fabric such as this, I suggest using an interfacing in the collar for extra body.

Because the print isn’t crazy enough (hehe), I went through my stash of trims, and added some stripes down the arms.  I’m super happy with the result.

Dress sleeves - rsr

New phone camera doesn’t do so well on mirror selfies. 😡   Not sure if it is the mirror or lighting.  But here is the dress at the end of its first wearing to the office.

dress - rsr

When I originally purchased the fabric, it was to make some quick, wild summer car seat slipcovers.  Those worked out great, too.  But I bought way too much fabric, and the rest sat on the shelf, almost going in the donation box more than once.

The ‘Pup-prentice’

I can’t forget to credit my foster ‘pup-prentice’.  He insisted on helping at every step; even when it meant crawling under my chair and up through the sewing cabinet.


dress2 - rsr w pupprentice


Jeans waist, not waste

I made an executive decision last week, to ban low-rise jeans from my person.  I despise the old low-rise trend; can’t stand wearing them.  They never feel right.

Low-rise jeans are also bad for the body, I think.  They ruin posture and cause expanding waistlines.  They promote slouching and spreading, because slouching and spreading the hips is what you have to do to keep them in place.

The pair of low-rise skinny jeans that caused this epiphany, still has some wear in them, and I like the color and weight.  When I endured the misery yet again of wearing them last week, I resolved to either fix the waist or be content to ruin them trying.

Result:  Waist is fixed!

The jeans before:

  • Low waistband in front;
  • High enough in back;
  • Tiny zipper.

Jeans before--RSR

Here’s how the process went:

  • Unzip the zipper.
  • Detach the front belt loops from the body of the jeans.  (They can probably stay attached to the top of the waistband.)
  • Cut the waistband off, from the center front to the side seam.

Jeans cut waist--RSR

Important:  Do not zip up the zipper.  With the waistband out of the way, there may not be a stop to keep the zipper pull from coming off at the top.  Instead, keep the zipper pulled down, and use pins to position the fly until the insert is sewn in place.

Pin the pockets and zipper to hold them in place.

Jeans cut waist full--RSR

Put the jeans on and identify where the waistband naturally feels right.

Jeans waistband fit--RSR

Cut two pieces of denim to insert in the open space across the front.  The pieces should be roughly the same shape as the open space, but slightly larger than the space on all sides.

Jeans insert--RSR

With the waistband moved out of the way, sew each insert piece to the body of the jeans, right sides together.

Jeans seam--RSR

Flip the insert piece over, and the seam looks like this.

Jeans seam after--RSR

Put the jeans on again, to identify the waistband placement on the insert, and pin the waistband in place.

Topstitch the waistband onto the insert fabric.  (Make sure the belt loops are out of the way of the stitching)

Jeans waistband placement--RSR

Trim the insert fabric even with the top of the waistband.  Fold the center front excess to the inside and topstitch in place.  Inside out, the insert will look like this:

Jeans finished inside--RSR

You will need something to close the gap where the zipper is too short.  I used velcro.  It was easy to place and stitch, and holds the gap closed.  I first added the long velcro shown next to the zipper.  That wasn’t effective.  The short piece above the zipper worked, and was actually easier to put on.

Jeans velcro--RSR

Finished look:

Jeans modeling after--RSR

The insert has a slight indented look, for some reason that I haven’t tried to figure out.  I don’t care.  The waistband feels great.

Howling for Vintage Houndstooth

Minutes before closing time at my fave vintage clothing store last Sunday, I was flipping through the skirt rack, and there was this.  Houndstooth. Plain style.  My size.  Low price.  Score!    The skirt

I imagined the skirt with tights and a sweater.  skirt ensemble

The sides of the skirt stuck out a little bit, where my hips are not as curvy as ‘Ms. Average’ (whom I’ve never personally met).  So, inside, I sewed a line of stitching on the side seams, to straighten things out.

Skirt side seam--alteration lineskirt side seam 2--alteration line

Then steam pressed the altered seam.

It only takes a few minutes, to do this alteration, but makes the difference between a skirt fitting me, and a skirt that sticks out awkwardly on the sides.

modeling the skirt

And speaking of hound teeth…  I’ve just started being a volunteer foster mom for the humane society.  Here’s my first little guy, 3 months old, with the cutest biggest ears on any pup ever.  He was with me for a month for ‘socialization’.  At first, he was completely timid and shy.  But by the end of the month, he was a little tyrant, demanding attention, chewing on shoes and belts, digging holes in the yard, and basically running the house.  In other words, being a delightful growing pup.  He has now been adopted by his ‘forever family’.  ❤ ❤ ❤

DIY Touchscreen Gloves–indulging my inner geek

My one coveted pair of touchscreen gloves, that came as swag in last year’s Run in the New Year 5k, were ‘accidentally’ carried off by my nephew at the end of that very cold but exciting night of college football back in November.  I’ve put him on notice that I will be coming to retrieve them.  But in the meantime, because I need to use my phone when bicycling and running in the cold, I experimented this week with diy options.

In searching online for diy touchscreen gloves, I learned about conductive thread, that can be purchased and knitted (or crocheted) onto the fingertips of an existing pair of gloves.  The reviews are mixed.  I have a hunch this is because people don’t make sure the thread goes all the way through to make good contact with both the fingertip and phone screen.  I considered buying a spool of the conductive thread, which would have made a lot of touchscreen gloves.  But then, I was at a Radio Shack store this past weekend, and happened to see this Graphite Conductive Glue.  radio-shack-conductive-glue

I forked over $6 for the tiny tube, and came home to try it out.  The result is, it was super easy and the gloves work great!

Here’s what I did:

First, I protected my fingers with ordinary invisible tape, because the label says the glue can be a skin irritant.

tape-fingers-rsr

Then I put the gloves on and carefully applied the glue in a circle on the forefinger and thumb contact points.  I used a circular motion to embed the glue into the fibers and make sure it would go through to the other side of the knitted fabric.  Conductivity from fingers to screen is the key, so a topical application of glue only on the outside of the glove won’t work.  glue-on-glove-rsr

To further insure that the glue would penetrate to the other side of the fabric, I pressed my fingers together.  I did this carefully, so as not to smudge the neat circles.  (I did smudge them a bit on the first pair.) embedding-glue-rsr

Once I was confident in my technique, I applied the glue to my most favorite old pair of mittens.  I’m happy with the result.  mittens-done-rsr
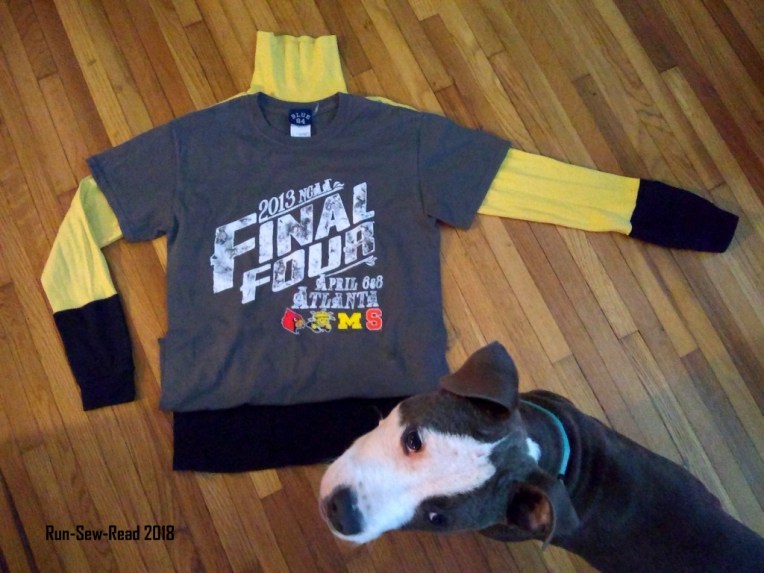
The glue took about an hour to dry to the touch.  Then I tested them on my tablet.  They work very well!  It’s now a few days later, and they are still working very well.

Here is a quick demo of my ‘new’ diy touchscreen gloves in action.

As you can see, I glued all of the fingers on the glove in the video.  I think this was a waste of glue.  I haven’t needed any fingers other than the thumb and forefinger for operating my phone and tablet.

About that skin irritation warning on the label…I suspect the warning applies only to the glue when wet.  I’ve sensed no irritation from the dried glue whatsoever.  But be careful; heed the warning and watch for signs of possible irritation on your own skin.  And follow the label instructions.  Here is the product MSDS sheet.

Additional notes:

  • The dried glue circles are hard, and not flexible.  I was able to restore enough of the fabric’s flexibility by gently bending and curling the dried glue tips.
  • After doing a total of five gloves so far, I think there is still a lot of glue in the tube.  So one $6 tube is enough to do quite a few gloves.
  • How the glue will hold up in rain, snow or the washing machine is still an open question.  I’ll report back when my gloves have been tested in wet conditions and laundering.

Can I do this?

I have to.  Every so often I need to find a new strategy for moving out the old and unnecessary stuff.  Where does it all come from?  I swear, I accumulate stuff even while on a purging mission.  Figuring out a preventative strategy, that keeps the stuff from entering my house in the first place would be the ultimate accomplishment.  Until then, I’m stuck with regular purging missions.  This looks like the one to try.  [40 Bags in 40 Days]  According to the ’40 Bags’ plan, I have until March 1 to form my strategy of purging a bag of stuff for each day of Lent.  Should I really wait that long?

Clutter is everywhere in my life at the moment.  In every room of my house, in my email inbox(es), in my ‘social media life’, in my office, and in my car.  My yard needs more of a cleanout before spring. And then there is my sewing project pile that is massively out of control.

Even my donation box is out of control.

donation-pile-rsr

It is this book.  Which I realized is just more clutter.  Sigh.  I did read it and get inspired…that year.  Sadly, there are some more ‘decluttering’ books further down in the box from other years.  This year I resolved to purge the decluttering books, rather than adding another one to the stack.  This way, others can benefit from them now, as I no doubt did at the time.

donation-pile-closeup-rsr

Everything in the box will go to Goodwill or the DAV, except for two items that will each go to separate drop off sites.

This knitting machine that I’d wanted my whole life has been the source of several experimenting attempts, but made only one complete garment in the entire two decades I’ve owned it.  *embarrassed*  It is going to the local non-profit creative studio.

knitting-machine-rsr

The warm boots will go straight to the homeless diner.  Someone needs a pair of warm boots.  Today.  boots-donation-rsr

Cleaning out is always a raw, unfiltered trip down memory lane.

“This shirt is the one I lent you,
And when you gave it back
It had a rip inside the sleeve
Where you rolled your cigarettes
It was the place I put my heart
Now look at where you put a tear
I forgave your thoughtlessness
But not the boy who put it there.”

It’s the start of the year, when a lot of purging goes on.  Very best wishes with your own projects.

College football and another trip to the vintage clothing store

We had the lead for most of this game, and had some brilliant plays; one that went viral and was featured on ESPN.

But in the end, the ‘Clones rallied and denied us the win.

img_20161112_1346151_rewind-wimg_20161112_1217535_rewind-w

After the game I headed downtown to the really cool vintage clothing store, where I made one great purchase and two gambles.

This fully-lined wool dress needs nothing done to it.  I can wear it to work tomorrow.  $20.

img_20161113_0737005_rewind-w

This dress is too large in the chest and upper bodice, so I’m going to attempt to alter it from the shoulders.  This has potential failure, as I’ve never altered from that end before.  If I ruin the dress I’m out $12.50, and a potentially cute summer dress.

img_20161113_0833169_rewind-w

The sweater is a $15 gamble.  It is huge on me.  Think of using a big lawn and leaf bag in a little kitchen trash can.  It is almost dress length but not quite.  I think I can make it work, over a simple knit dress.

img_20161113_0845264_rewind-w

Libraries, dresses, deer, rain and a rainbow.

This past weekend, I attended a meeting in the ‘Carnegie Building’, in the town where I grew up.  The building was the public library when I was a little girl.  I was sooo upset when they built the new, big modern library and closed this one.  That was years and years ago, when I had to ride my tricycle 10 miles uphill both ways, to get to the library.

(Image source.)Carnegie Library Lawrence

This was my first time in the building since it was the library.  These days, it is a meeting and reception venue.

After the meeting, I shopped the lovely downtown, just one street over from the library.  I stopped in a cool vintage clothing store, and came home with two great finds.  This madras dress will be excellent for bicycling.  I had to take up the hem about 3 inches so it won’t look dowdy with my proportions.

Before–with the new hemline marked with the ironMadras vintage dress-w

AfterMadras dress shortened-w

I wish I could wear the longer length.  But I’m not tall enough, and nothing will change that.

And then this totally awesome gem!    Vintage dress green & daisies

It needs no alteration…, as long as I don’t gain a single ounce.

On getting home that night, I did a run/walk on my 3.5 mile loop.

There was a rain shower in the distance.Rain cloud-w

Deer in my favorite cultivated field.Deer1-arrows
The six deer were hanging out at the edge of the field, but they headed into the trees when they saw me.Deer2

And then as I approached home, a rainbow.Rainbow

Some days are this good.