DIY Mini Rolling Pin (and making dog treats easy)

It was a drag, rolling out dough to fit my baking sheets.  The sheets are ‘jelly roll’ style, which means they are rimmed with a raised edge.  A regular rolling pin is too big to fit within the pan.  My option was to treat it like pastry dough; i.e., roll the dough out on the counter and measure it to fit the sheet, then carefully lift the dough and place it in the sheet; or press the dough into the sheet with my fingers and then roll it with whatever cylindrical gadget I could find to fit the pan.

Some of the gadgets I’ve tried; none of which worked out very well:

IMG_20190427_094616205w

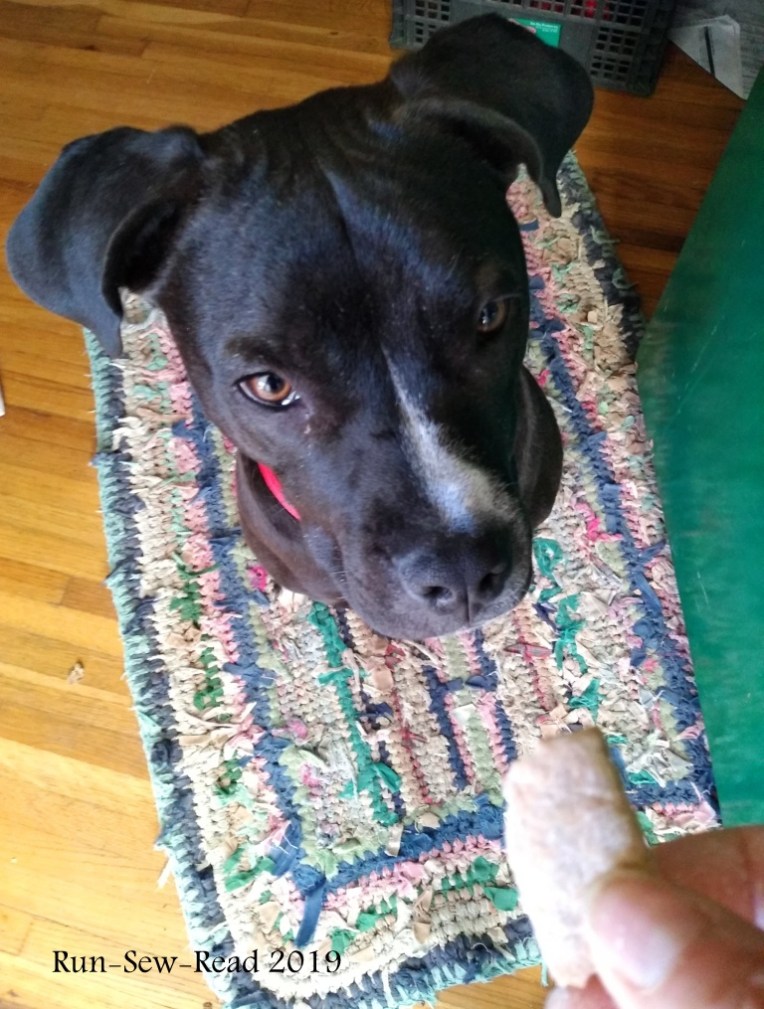
Myrtle-the-pup loves homemade dog treats, and I enjoy making them.  So this issue of rolling out the dough was becoming an all-too-frequent annoyance.

The solution:  I bought a 1.25-inch diameter wood dowel from the craft aisle of the store.  It was $1.50.  They are sold in 3-foot lengths.  At home, with a little saw, I measured and cut a piece to the width of my baking sheet.  Then washed the new little ‘rolling pin’ and coated it with mineral oil.

IMG_20190427_090431927w

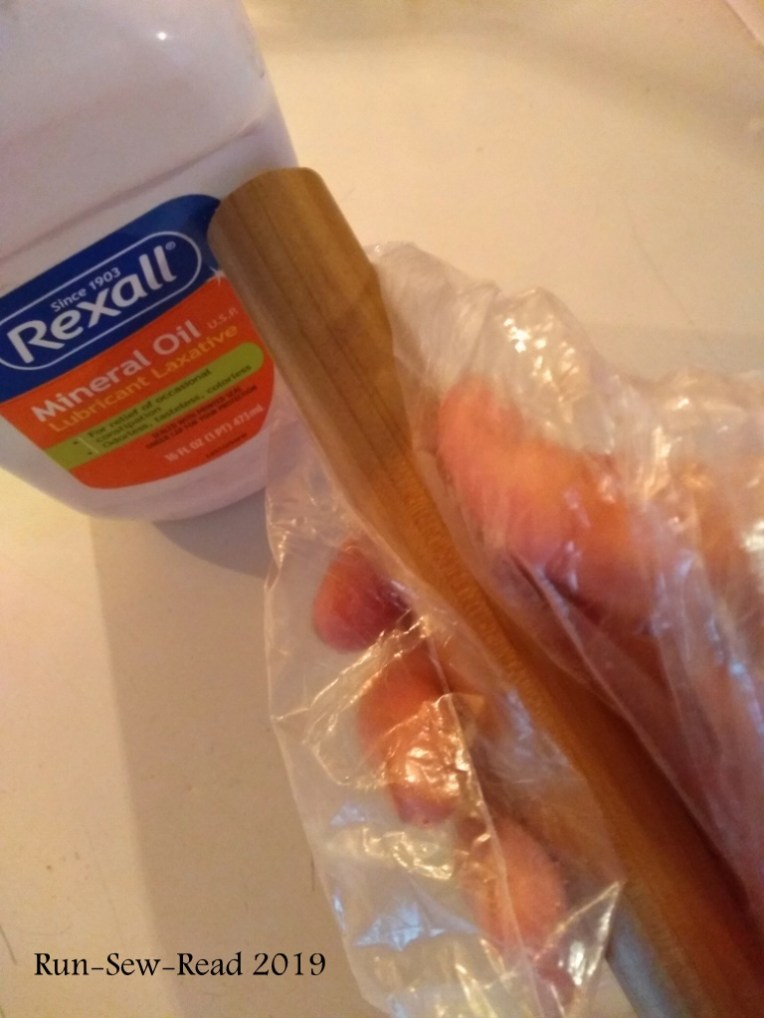
Now, a batch of dough goes from this…

IMG_20190427_084442213w

to this…

IMG_20190427_084629146w

to this with ease!

IMG_20190427_084835390w

For Myrtle’s treats, I score the dough before baking, to be broken into little squares later.  A pizza cutter works great for this.

IMG_20190427_085126271w

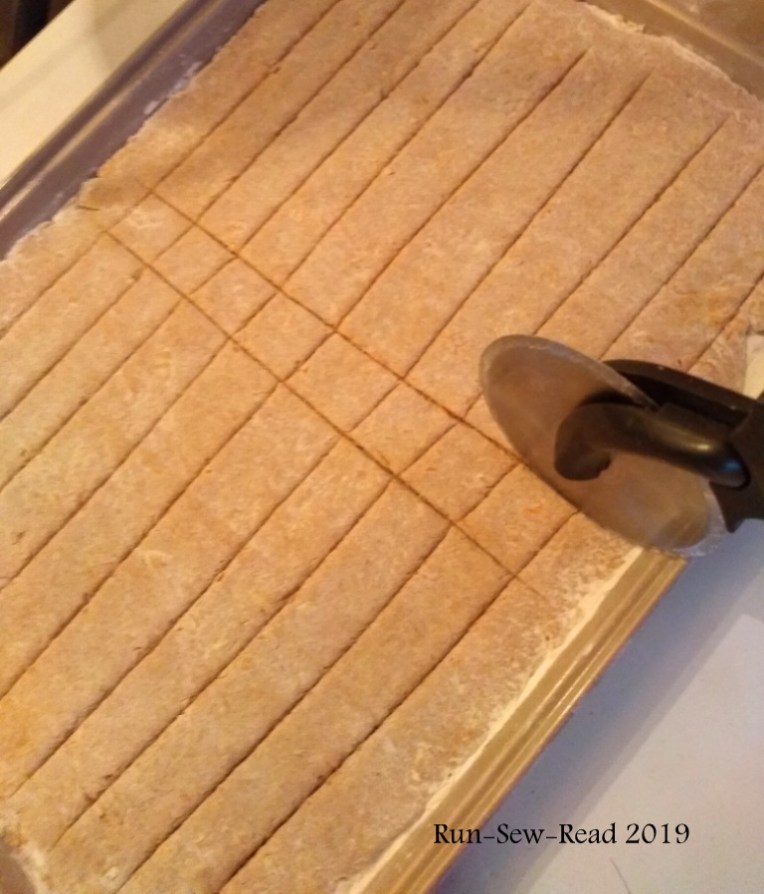
Don’t make the scoring tedious.  The pieces don’t have to be uniform in size or shape.

IMG_20190427_085200213w

(Yes, I have a dog bone-shaped cookie cutter.  But using it is a slow, tedious process.  I do use it for special gifts for Myrtle’s dog friends and cousins, but that’s all.)

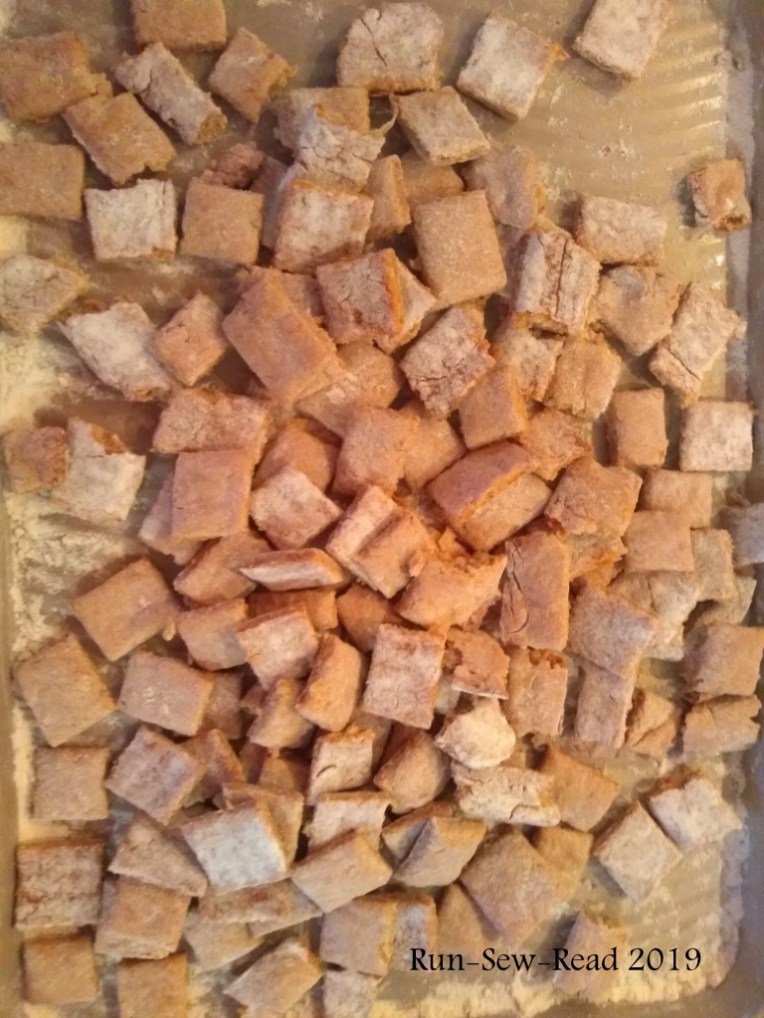
After baking, the treats come out of the oven looking like this.

IMG_20190427_092555578w

After cooling, it only takes a minute or two to break them all up.

IMG_20190427_092938978w

I store the treats in an old Parmesan shaker, for easy dispensing.

IMG_20190427_093306732w

The dog treat recipe I used for this batch is the Apple-Carrot Treats from this page:

https://www.mybakingaddiction.com/homemade-dog-treats/  (The recipe is adapted from this one:  http://fortheloveofpooch.blogspot.com/ ).

The taste-tester approves.

IMG_20190427_093521413w


This slideshow requires JavaScript.

DIY Dollar Store phone case

Last month I ordered a new phone and case.  When they arrived, the case didn’t fit the phone.  Dollar Store to the rescue.  At the Dollar Store, I found some cases that were the correct width, but too short.  They were flexible material, so I decided to try cutting one to make it fit.  I bought two, in case I messed one up.  Here’s how the process went.

Cut the case in two, to increase the length.  The case is a rubbery material, so strong shears are needed.  I used kitchen shears.  (The picture below shows the finished black case on the right, and next to it the turquoise one in progress.)

IMG_20190325_093701252

This shows the additional length needed to fit over the phone.  Next I punched holes in both pieces, to stitch in a piece of fabric to bridge the gap.

IMG_20190417_080216157a

Marking and punching the holes:

The locations of the holes were first measured and marked, using a simple ruler and gel pen.

IMG_20190325_094058699a

A leather punch worked great for punching the holes.  My leather punch isn’t the exact one pictured, but is substantially similar.  It was $7 well spent.  I use the punch all the time for making belts fit, and numerous other ‘hacks’.  Click the picture to go to the punch on Amazon.

Leather punch from Amazon

When one side was punched…

IMG_20190325_094420475a

I used those holes to mark where to punch on the corresponding piece.  IMG_20190325_094553076IMG_20190325_095052635a

Then, using cotton yarn and a darning needle, I stitched a scrap of woven belting to each side, to bridge the gap.  Almost any durable fabric could be used.  Think denim, duck canvas, vinyl, etc.  Just make sure the edges are bound to prevent raveling.

Using the kitchen shears again, I adapted the back holes for the photo lens and sensor.  This first attempted adaptation wasn’t very pretty, but it did its job.  IMG_20190417_075932068a

On the other case, I omitted the fabric, and simply laced the two pieces together with elastic cord.

IMG_20190417_094745546a

The cord lacing fits as well as the fabric piece.  It was easier to do, and came out looking a lot nicer than the fabric, I think.

IMG_20190417_100432655a

Here’s a side view.  With the kitchen shears, I modified the side cutouts to match the control buttons on the phone.

IMG_20190417_075954000a

From the front, the cases look like this.

IMG_20190417_075925300bIMG_20190417_080206165b

The verdict:

The DIY cases worked out great.  They never came loose from the phone, and they did their job of protecting the phone while I ordered another case that was supposed to fit the phone.  When that case didn’t fit, I ordered a third case.  After three failed attempts to get a proper case, I gave up.  There were other issues with the phone too, so the phone was returned, and I ordered a different phone and case.  The DIY Dollar Store cases got me through while waiting for the ‘right’ phone and case to arrive, and they would have lasted a long time, if I’d kept that phone.


Have a lovely Easter.  We sang this in church on Easter morning when I was little.