Painting smock made from a man’s shirt

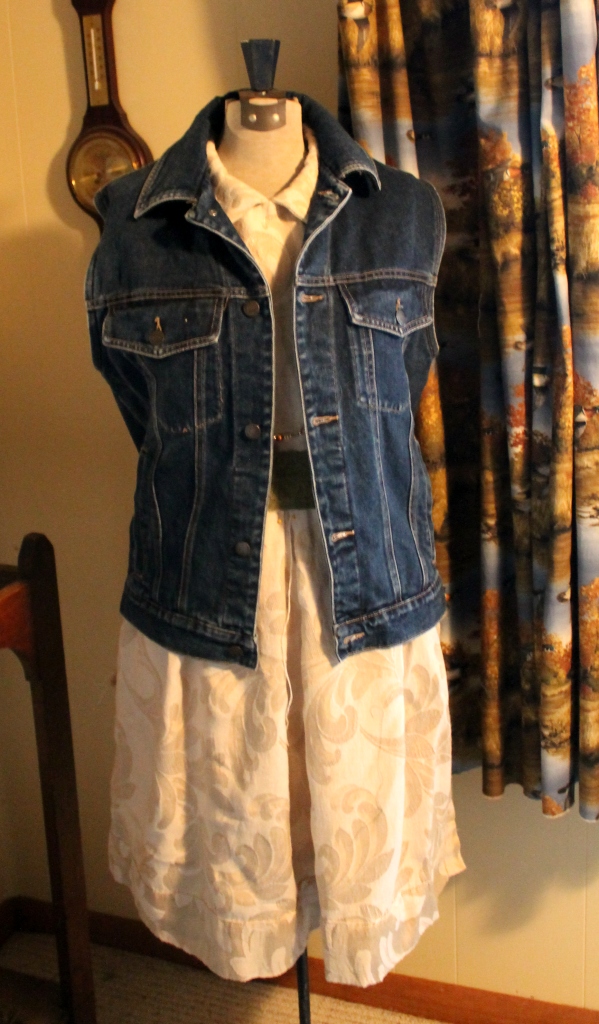
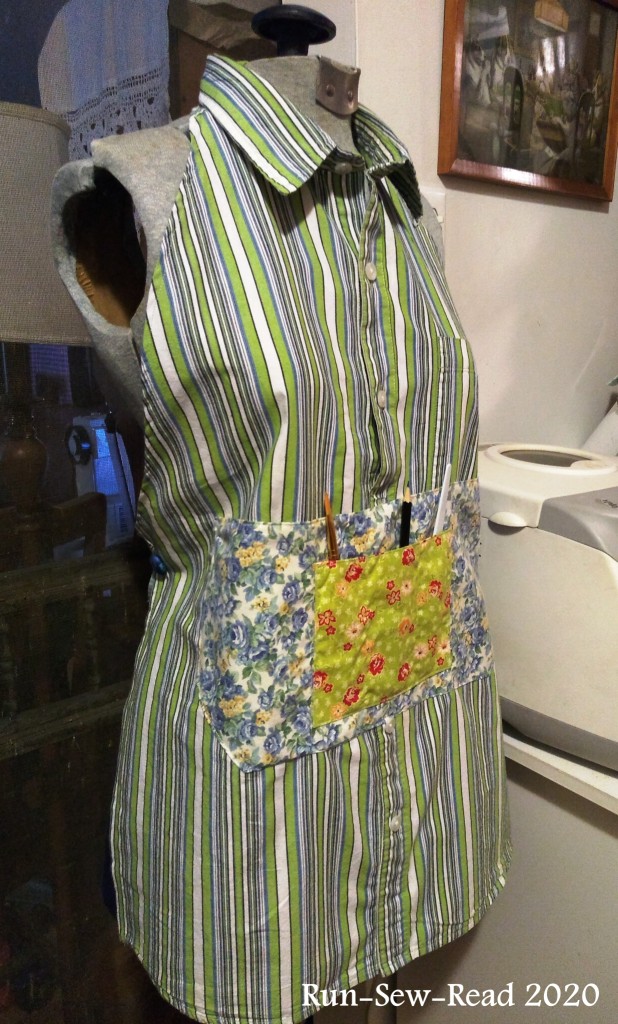
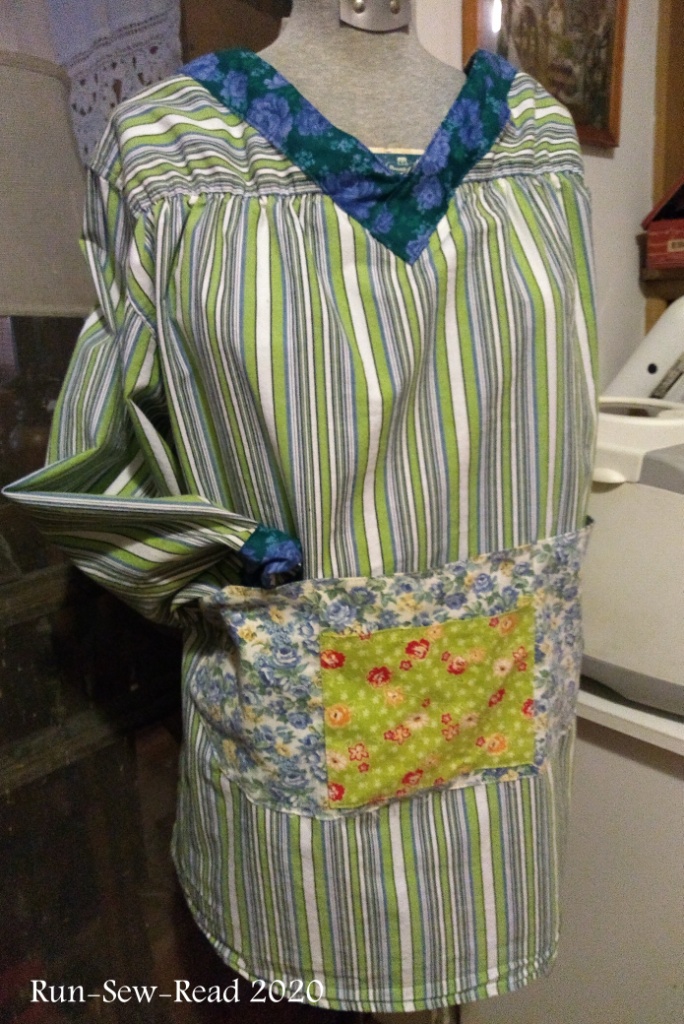
This was a Christmas gift for my mom, who’s wheelchair-bound, with advanced Parkinson’s. She can no longer sew, and wants to try painting. So I made her a painting smock, upcycled from a man’s shirt.

The pockets and other add-ons are made with fabrics from my stash.

Here are some of the details.

  • The front pockets can hold supplies.
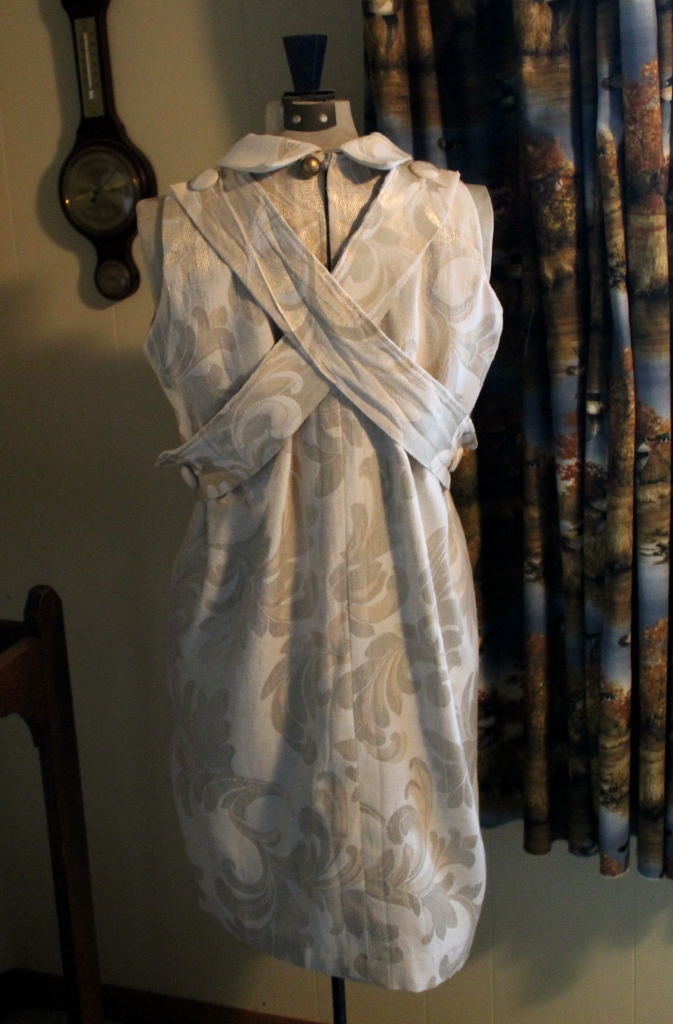
  • The ties go around the shoulders; not across the back, so she can get the apron on from the front, without being lifted out of the chair.

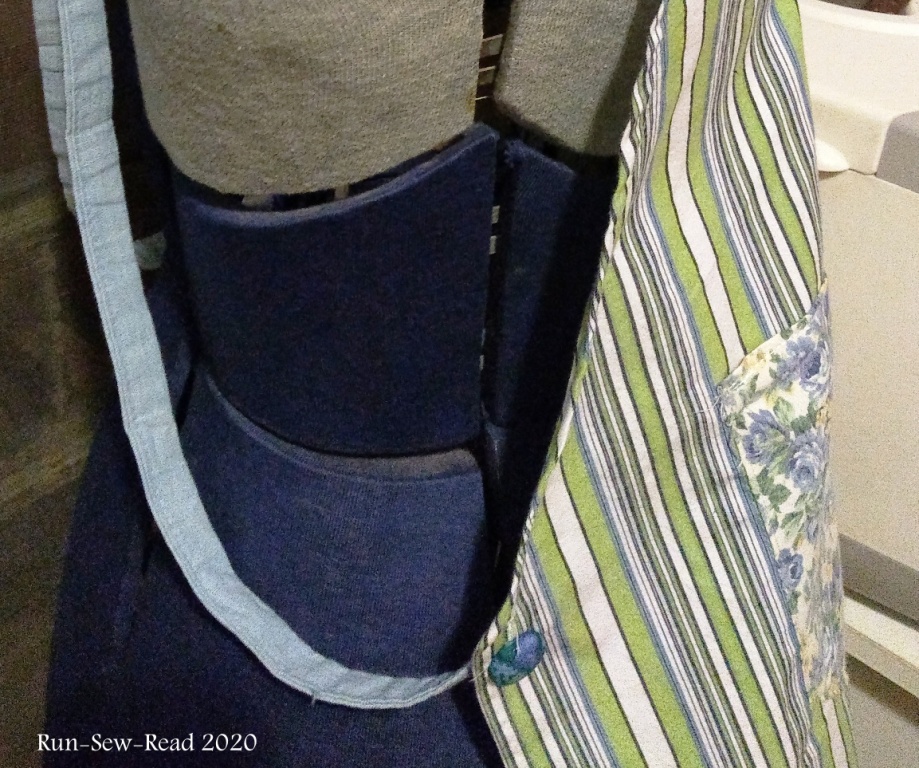
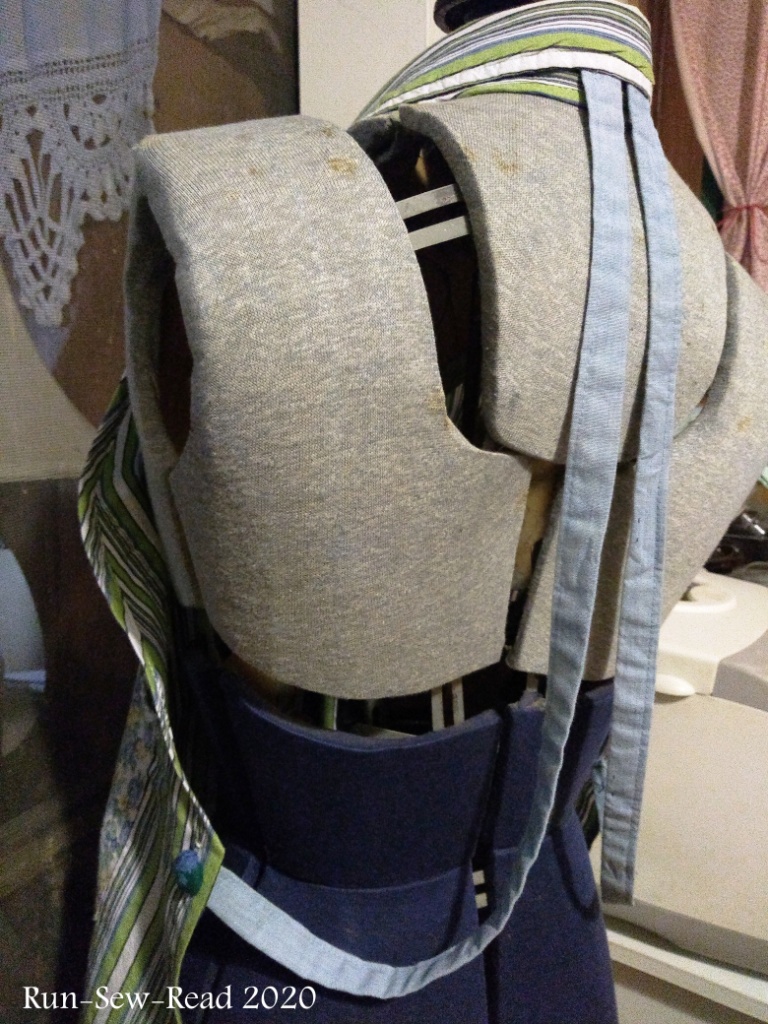
To protect her sleeves, I made these coordinating sleeve gaiters from chambray in my stash. You can also see the shape/template of the apron as it was cut from the front of the shirt.
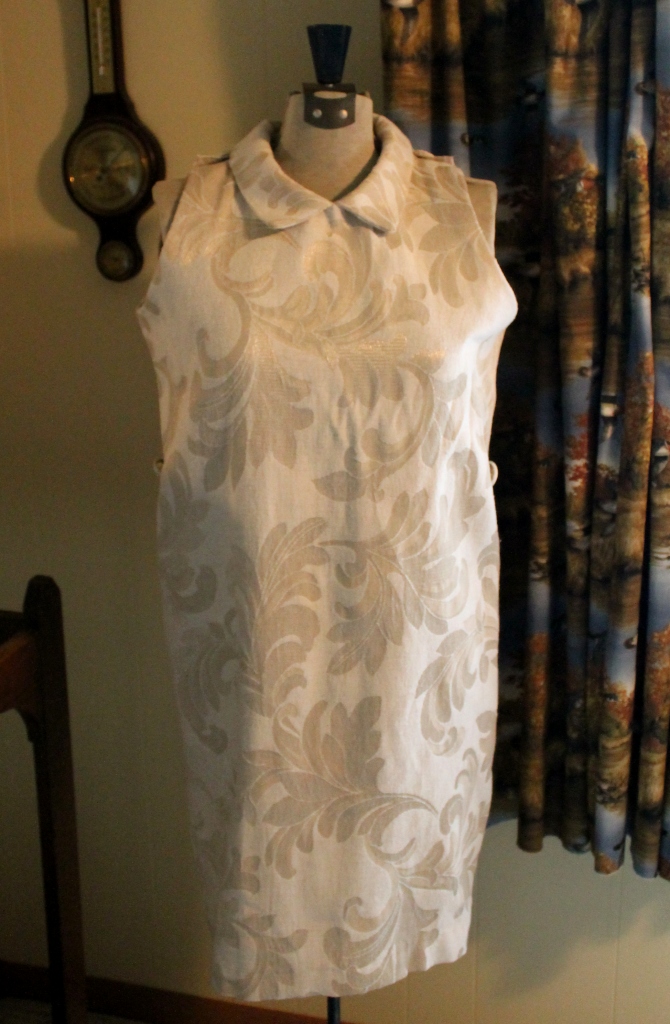
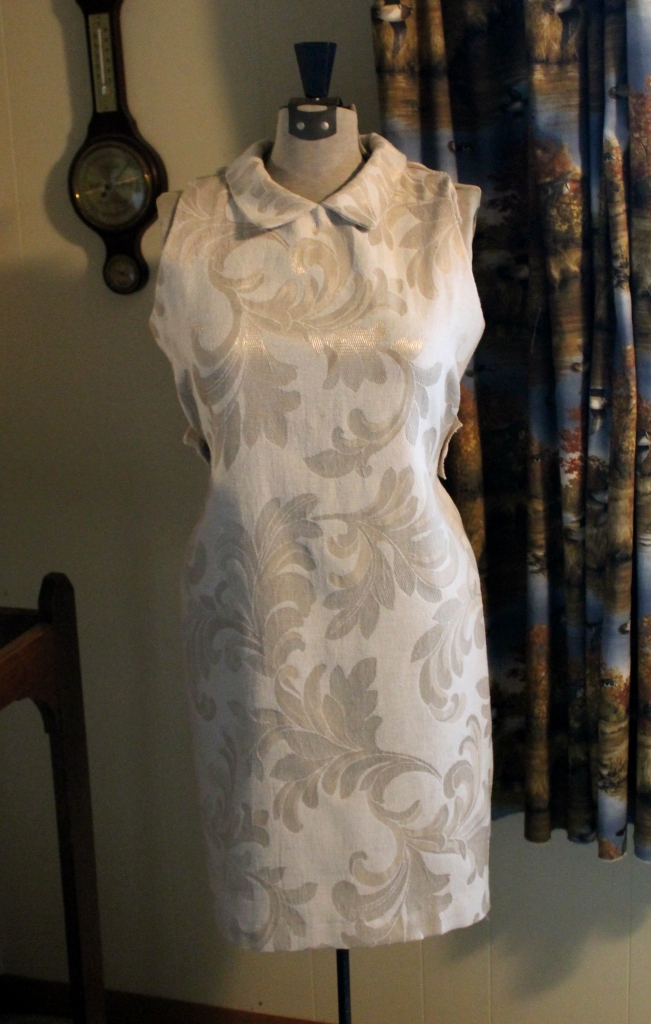
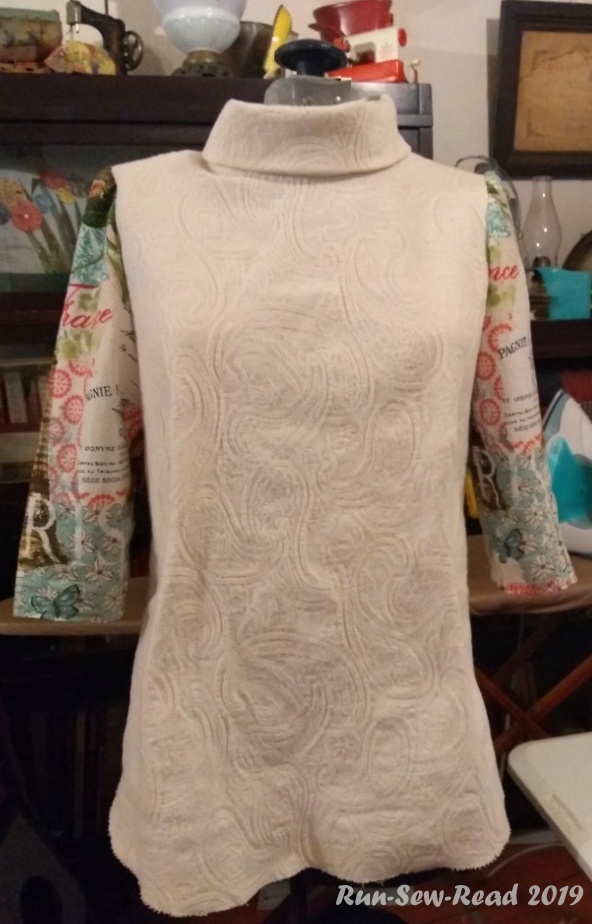
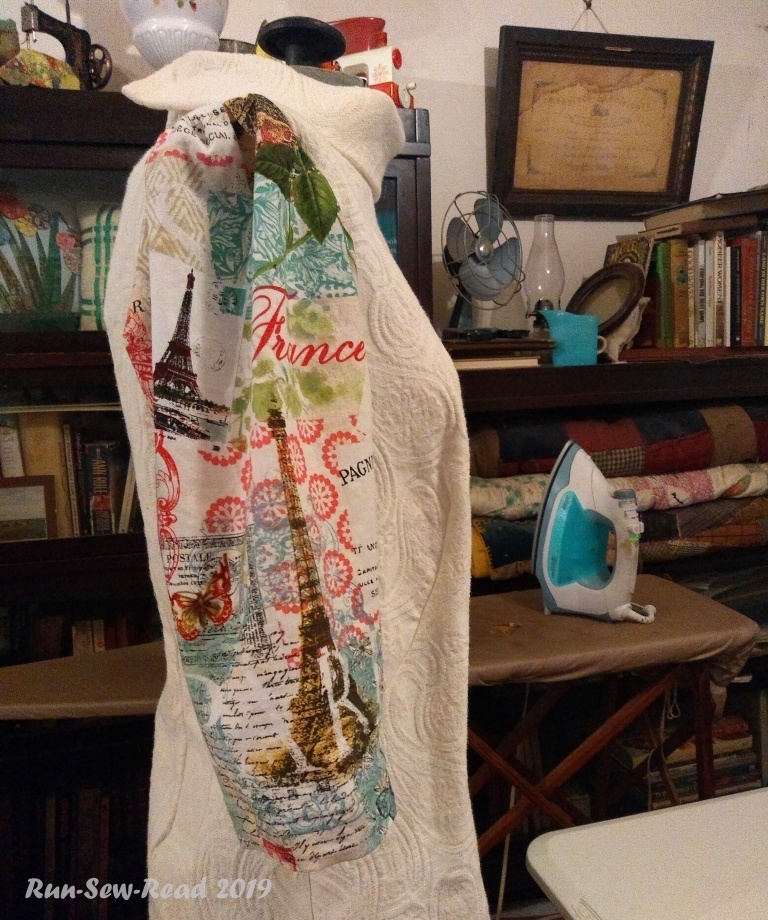
And another smock!

After finishing the smock and then looking at the leftovers, I realized there was another smock in the back of the shirt, so I made her a second one, too.

How are the aprons working out? Well, she hasn’t shared any feedback (or paintings) with me yet, so I can’t assess the success. But I got a big smile from her when giving her the smocks, so I know they are appreciated and will be used.

Is there a tutorial? I didn’t take progress pictures to make into a tutorial. But if you do an internet search (like this) for images of aprons from upcycled men’s shirts, you’ll see a bunch of inspiring examples like I did before starting my project. The examples were all I needed, but the search will lead you to tutorials if needed.

DIY Bread Machine Mix in Re-Useful Jars (and some desert island music)

These bread mixes use six basic ingredients and cost only pennies per loaf. Having a mix ready to go makes the bread-making process super efficient and low-effort. A one-loaf mix fits perfectly in an 8oz instant coffee jar.

The tiny Tupperware cups hold the yeast, sugar and salt.
(I use instant coffee in my mochas, so I end up with about three empty jars per year. If you don’t use instant coffee, try empty 30 oz mayo jars. )

The mix ingredients are: Flour, sugar, yeast, salt, margarine and powdered milk (not pictured).

I like to make up four to six mixes at a time.

Here are the finished mixes lined up in the back of my frig.

Download the bread mix recipe here:


Preparedness tip:

When the pandemic was declared, the store shelves were immediately emptied of bread; and yeast, flour and other baking staples. Thereafter, they were unavailable or in short supply. As a regular bread maker, I had a supply of yeast and flour on hand, plus some DIY bread mixes made up; and a couple of freshly-made loaves in the freezer. Never expecting a pandemic or grocery shortage, I’d considered that modest stockpile to merely be a convenience. But it ended up getting me through the the shortage.

In addition to the bread mixes, I try to keep an extra unopened 4 oz jar of yeast in the frig, and a spare bag (or 2) of flour in the freezer, plus however much is in my flour canister. Flour came back to the store shelves fairly quickly, but four months into the shortage, I was down to less than half a jar of yeast. This month, jars of yeast finally came back to the store shelves. Even if you don’t do a lot of baking, don’t be afraid to buy yeast by the jar, and don’t worry if you can’t use it up before the sell-by date. In my experience, it keeps well past its sell-by date.

Slicing made easy.

Do you dislike slicing a bread machine loaf as much as I do? The loaf shape is awful for slicing. To make the process happier: Cut the loaf into quarters, and then slice and use one quarter at a time. The other three quarters go in the freezer. When I need one from the freezer, it thaws in just a few minutes, or 30 seconds in the microwave.

My bread machine is this one, which has been discontinued, but there are still some models in the Amazon warehouse. I’ve never been picky about what features are on my bread machine. I’d probably be happy with any machine at any price.


Desert Island Music!

(It’s the Slicethelife 2020 Album Draft!)

Which ten music albums would you want with you when stranded on a desert island? Ten bloggers (me included), are participating in a 10-round desert island ‘album draft’. Round 2 is currently underway. All of the album draft bloggers except me are ‘proper’ music bloggers; and some are musicians as well.

The link below will take you to a listing of the draft picks so far. Check in now and from time to time over the next eight weeks, to see what albums have been drafted and why they were selected. Feel free to drop us a comment about the picks.

2020 Album Draft

A selection from the Run-Sew-Read picks so far:

Orla oh la la

Back in January, I purchased this Tilly and the Buttons ‘Orla’ top pattern.  It’s now September, and finally I’ve made an Orla top.   The pattern was a joy to use.  Orla sewing pattern - Tilly and the Buttons

I wanted to make a top with print sleeves and a solid colored torso.  This cotton upholstery fabric in my stash seemed right for the torso.  It was salvaged from sofa cushion covers I’d made years ago.  There were worn spots on the fabric, but there were enough good areas to carve out the body of a blouse from it.

IMG_20190911_133440187a RSR

This Paris print cotton was something I simply liked when I saw it in the store, so I bought 1/2 yard for the sleeves.  My plan was to make a muslin shell to test the pattern, and if things turned out well, it would be a wearable muslin.

Paris print b RSR

Voila! A wearable muslin! 

IMG_20190911_103509068aw RSR

Where I deviated from the pattern:

  • Adjusted the sleeve length to a 3/4 sleeve.
  • Used a stand up/rolled collar instead of the pattern options.
  • Added a few gathers to the top of the sleeve rather than the pleat in the pattern.
  • The pattern suggests using lightweight drapey fabrics, but I used the heavy cotton, and I like the result.

IMG_20190911_103522654aw RSR

IMG_20190911_103711495aw RSR

For bicycling and night activities, I incorporated some reflective elements.  I used reflective fabric for ‘hem tape’ on the sleeves.  At night, the hem can be flipped out for visibility.  There’s also a reflective covered button for the back closure.

A few more comments on the Orla pattern:  (I’ll definitely make more ‘Orlas’.)

  • The pattern size measurements ran true-to-large.  I’m so used to pattern measurements not working out, that I decided to make a larger size than the pattern info indicated.  Well, the pattern measurements were right on this time.  On the first fitting, the blouse was way too roomy.  I ended up taking it in two whole sizes, and could have gone down a third size.
  • The front curved darts are a pretty feature, and were easy to sew.  But they became a challenge when I had to downsize the garment.

(Ghastly lighting in this new selfie spot! Yikes!)

disgust when you get that text GIF by Barstool Sports

This picture was my inspiration.  I saw it in a Liberty of London ad last year.  Obviously, I didn’t stick close to the image.  I still want to make a top similar to this.  Maybe for Spring.

Lace top print sleeves from Liberty 

Image may contain: 2 people

Daisies, linen and box pleats for bicycling

I was so excited when I brought this 1960s daisy dress home from the vintage clothing store in August 2015, that I mentioned it in my blog right away.

vintage-dress-green-daisies RSR

For two summers I wore the dress as-is and loved its style.  But bicycling in it was a no-go, because the dress is narrow and straight with no stretch and no pleat for getting on and off the bike and for pedaling.  I loved the dress too much to change it.

Eventually my desire to wear it on my bike commute won out.  I formed a bold plan to add box pleats, and worked up the courage to make the first cut.  I measured and sliced the skirt where four pleats would go.  I was lucky to find some fabric for the pleats that was a near exact match of the creamy white color in the dress.

The result:  Ta-da!

vintage-dress-green-daisies pleats added RSR

The next morning as I was preparing to wear the modified dress for the first time, I took a mirror selfie, BHM (before hair and makeup).

Mirror selfie BHM RSR

On its first outing with the box pleats, I bicycled a total of 14 commute + errand miles.  The skirt was perfect, in roominess, length and drape.

After that first wearing, I decided the top of the pleats should be reinforced to prevent inevitable strain and fraying in the corners.  So I added little tabs.

pleat tabs RSR

This project was an unqualified success.  The person most surprised is me.  I feared I was going to ruin the lovely dress for good.  But no, I’ll be using the box pleat ‘hack’ again sometime when I need to convert another dress for bike-ability.  I want to post a set of instructions, but I feel like I need to try it again a time or two before telling others how to do it.  Stay tuned.


And their love that was more than the clothes that they wore,
Could be seen in the gleam of an eye…


Turtleneck stash busting

Yes, there is such a thing as a turtleneck stash.  Mine was becoming ridiculous.  I wear turtlenecks solo, and under everything from dresses, to sweaters, to t-shirts.  After months and years of washings and wearings, some start to fade.  Some shrink vertically, and become too short in the body and sleeves.  Some develop a bulkier, boxy shape, that doesn’t fit well under other garments.

This winter I summoned the courage to start carving them up.  I loved the resulting composite pieces.  I lengthened sleeves and torsos, and converted regular t-shirts into long-sleeved turtlenecks.

IMG_20180402_162739867-aw rsr
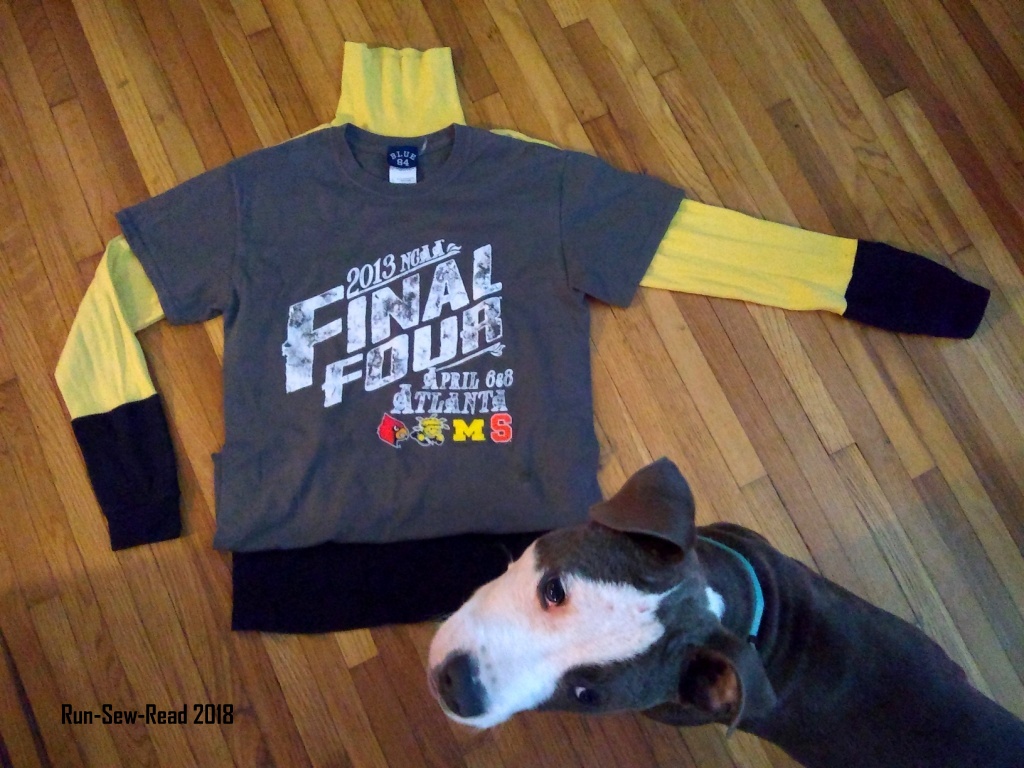
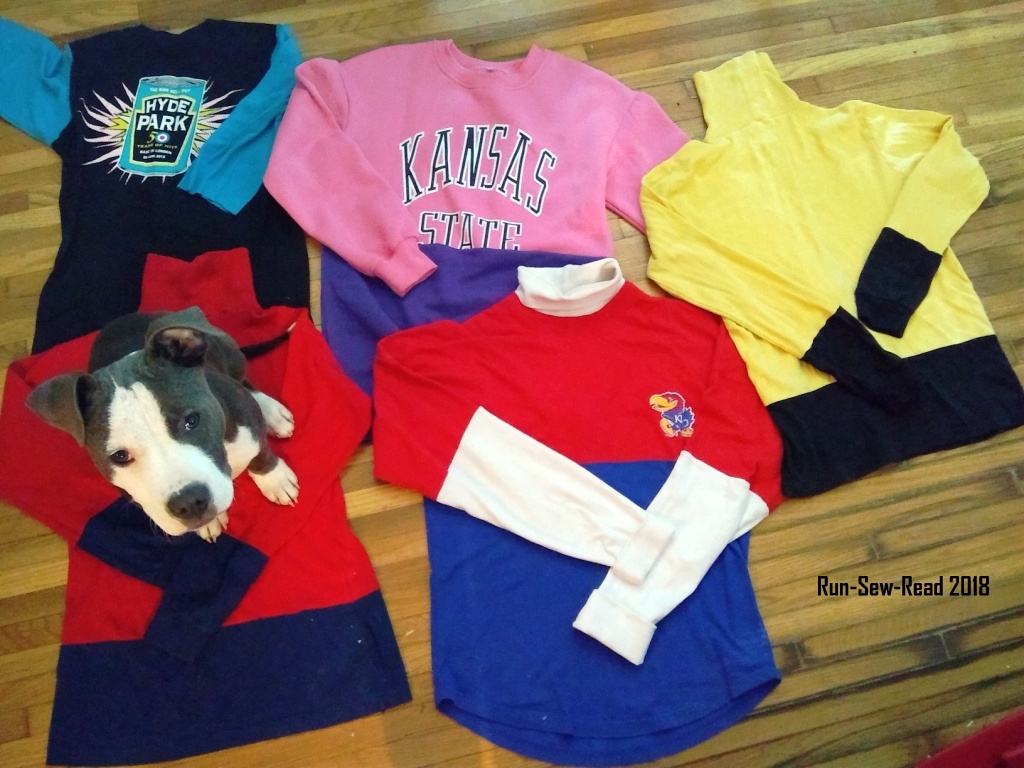
(All photos taken under the watchful eye of the pupervisor.)

I attend a lot of college basketball and football games, so wearing a color-blocked garment turned out to be a great way to ‘represent’.

Color blocking made layering more fun.  IMG_20180402_164246137-aw rsr

The color blocked garments were versatile. IMG_20180402_175041886-aw rsr

I also tried lengthening the torso by inserting a band in the middle.  This brown and grey one doesn’t look smooth in the picture, but it actually looks fine when worn.

IMG_20180402_170801338-aw rsr

The turtleneck stash had outgrown the drawer, and then the shelve(s) dedicated to their storage.  Even after cutting and combining several of them, I still have a bunch of old turtlenecks that need to be boxed up for donation.  That will happen once turtleneck wearing season is over.


Sound of Music Dress

So, I was making this dress, but was attacked by a months-long spell of whatever is the sewing equivalent of writer’s block.  Then came the breakthrough.  And then another breakthrough, and ta-da!  The dress is complete.

Long story short:  I was trying to make a dress of this cut and construction, worn last year by the Duchess of Cambridge.

Kate-Royal-Solomon-Islands-Mulberry-Midnight-Blue-Eyelet-Dress

[Images from WhatKateWore.com–a great blog!]

But I didn’t like the silhouette it created in my chosen fabric.  So the half-constructed dress hung on my dress form for months, with the gathered skirt held in place with straight pins.  I started adding silly things to it–beads, a belt, a jacket, etc.  I didn’t take a photo at that time, so this is a recreation of the sad ensemble.

IMG_3972a

IMG_3971a

Then I stopped seeing it in the room altogether.  Then I saw the picture of the Duchess wearing that dress again, and resolved to complete my dress, love or hate it.

I put it on and stood in front of the full length mirror.  Then I unpinned the skirt to try adjusting the waistline.  But when the skirt was off and I saw the straight portion (which I had not yet cut to length), I had my first AHA moment.  It looks better as a straight, sleeveless shift.  So, finishing it simply meant adding a back closure, armhole facings, and hem.  Done.

IMG_3970a

At that point, I mostly liked the boxy shape of the dress, but wanted to take out just a bit of the fullness.  I did not want to belt it or add darts.  I was considering back pleats.  Then came the second AHA moment.  I don’t know how this one happened, but thank goodness it did.  I took two strips of fabric and criss-crossed them on the back.

It pulled the perfect amount of fullness away from the front…,IMG_3976a

and gave the back a distinct softly gathered look.  I love the result.IMG_3975a

Here is the dress on me. IMG_3980c IMG_3982b

(And yes, that is a bit of armhole facing that I didn’t get tucked in.  Argh.)

To put the dress on and take it off, I just need to unbutton it at the neck back, and unbutton the sashes at the bottom, and slip it over my head.  IMG_3977a

I’m calling it the “Sound of Music Dress,” because the fabric is from some old curtains I never liked.Curtain moment

I’m also calling it the “five-rectangle dress,” because it is made out of rectangles of fabric. The body is all one rectangle, seamed up the back and shoulders, with armholes and a neckline cut in and faced.  The collar pieces are rectangles, and the criss-cross in the back is also of course, made of rectangles.

I still want to make a dress like the one I started out to make.  So it’s back to the drawing board for another try.