
After looking at the life and career of Nelly Don the iconic Kansas City designer in Part 1, and then deciphering the diagram for her 1925 patented zero-waste apron in Part 2, here in Part 3 are the apron construction steps.
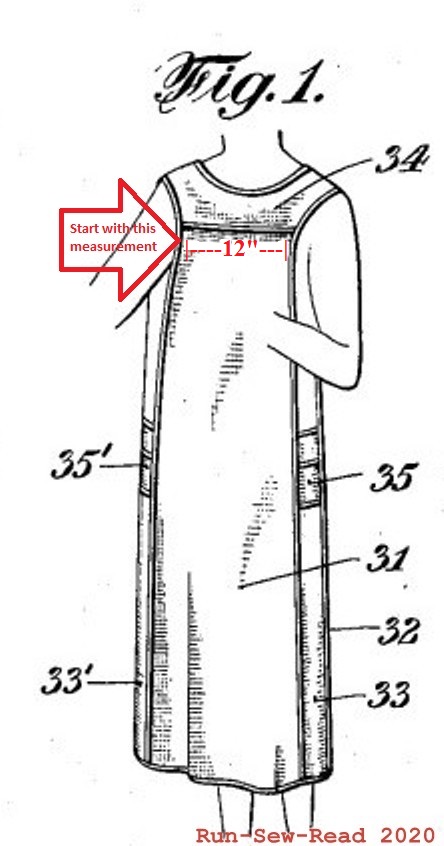
The Apron and patent drawings:

Photo from Kansas State University 
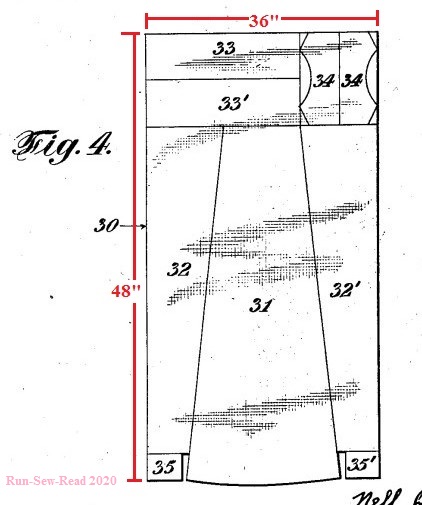
Last week’s post provided measurements for drawing and cutting out the pieces, like this:


The pockets will be shown in green fabric for visual contrast. 
Nelly Don designed the apron to be sewn in one sitting, without having to remove it from the sewing machine. So now in Part 3 we sit down at the sewing machine and start constructing:
These are the chronological construction steps:
- Hem all free edges
- Side Panel (C) top edge
- Pocket (D) top edge
- Back (B) centers
- Sew a Pocket (D) on each Side Panel (C)
- Join Front (A) to Front Yoke (E)
- Join Backs (B) to Back Yoke (F)
- Join Side Panels (C) to Backs (B) and then to each side of the Front (A).
- Join Front Yoke (E) to Back Yoke (F) at shoulders.
- Hem entire lower edge
- Bind neckline
- Sew ties to back pieces at the waist line.
Here are the above-listed steps in pictures:
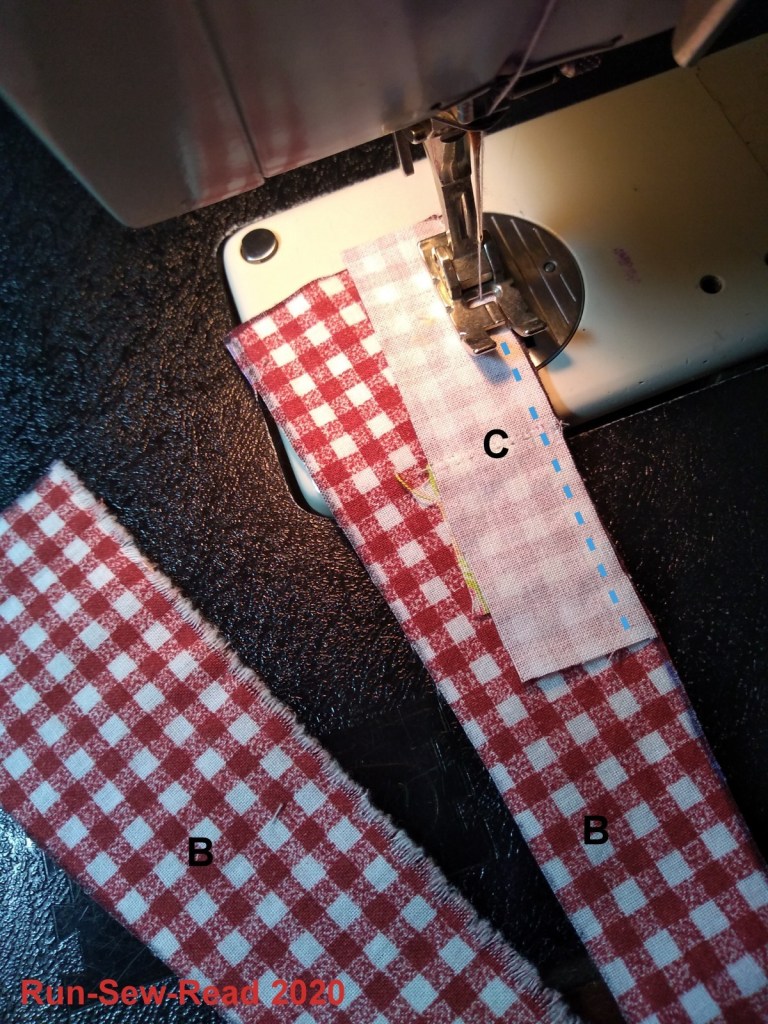
Hem all free edges (shown in blue)

Sew a Pocket (D) to each Side Panel (C), along the bottom edge of the Pocket, right sides together.

Then flip Pocket right side up, and top stitch across lower edge of Pocket.

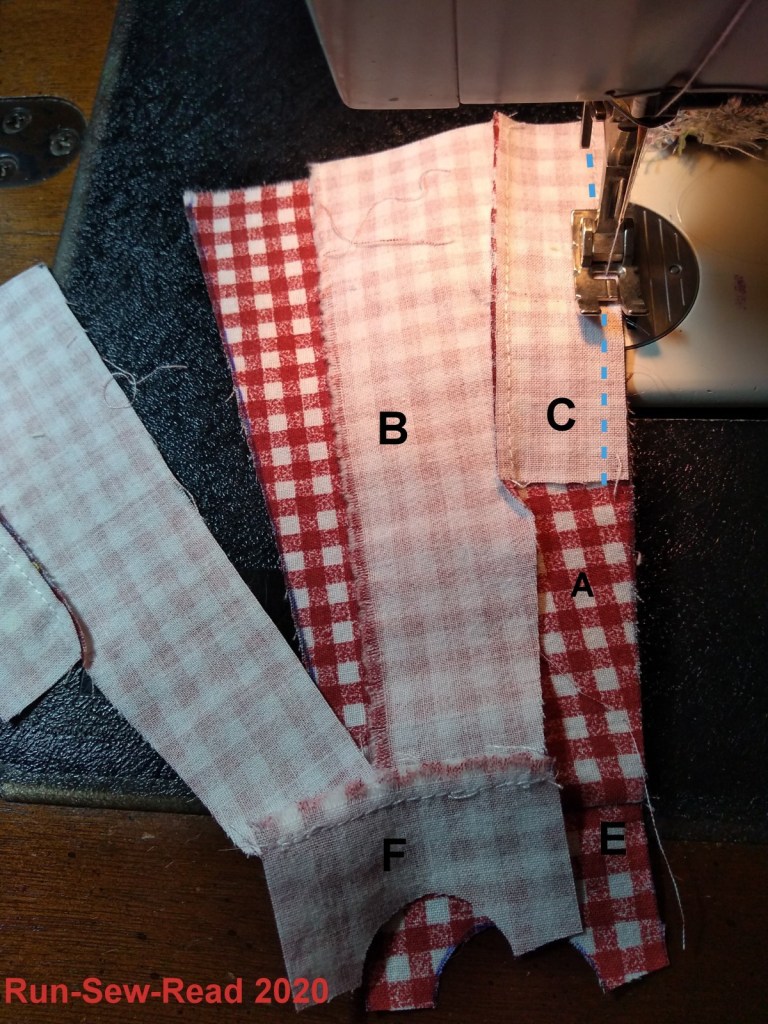
Join Front (A) to Front Yoke (E), right sides together.

Join Backs (B) to Back Yoke (F), right sides together.

Join Side Panels (C) to Backs (B), right sides together. Catch the pocket side in the seam.
At this point, the your pieces will look like this:

Join Side Sections (C) to Front (A), right sides together. Again, catch the pocket side in the seam.
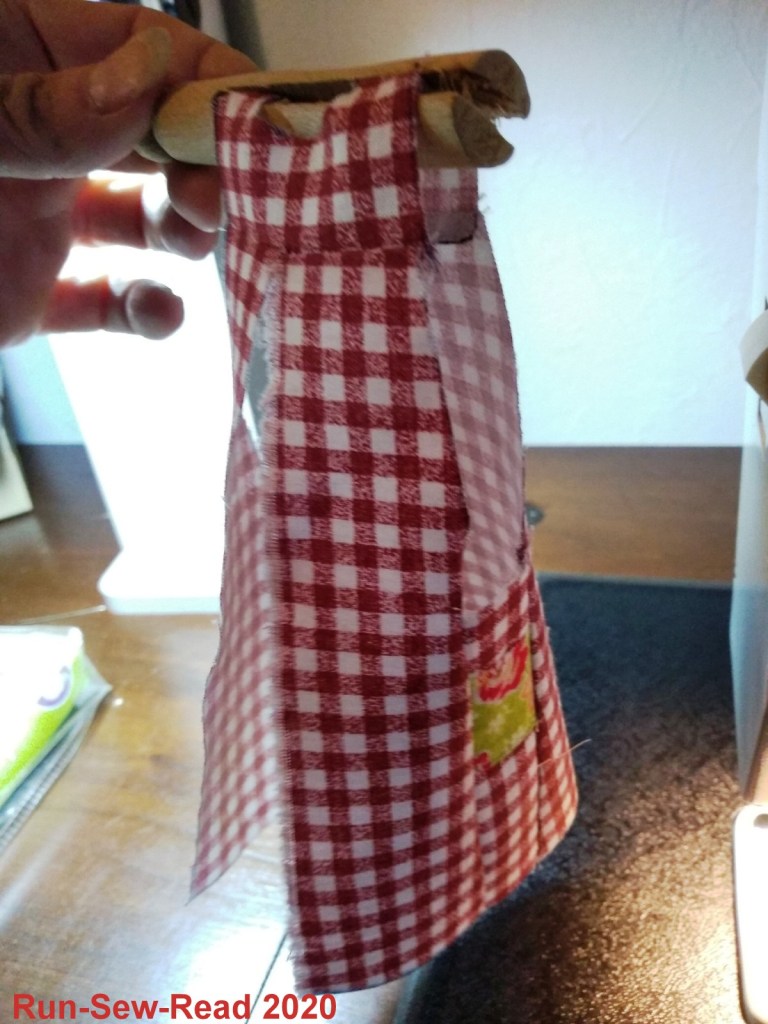
Join Front Yoke (E) to Back Yoke (F) at shoulders, right sides together.

Tada! Now you have your lovely apron. To finish it, turn under and hem entire lower edge and the armholes; bind the neckline; and sew ties to the back for the closure.

How about some finished examples? These were my practice attempts:

My favorite. 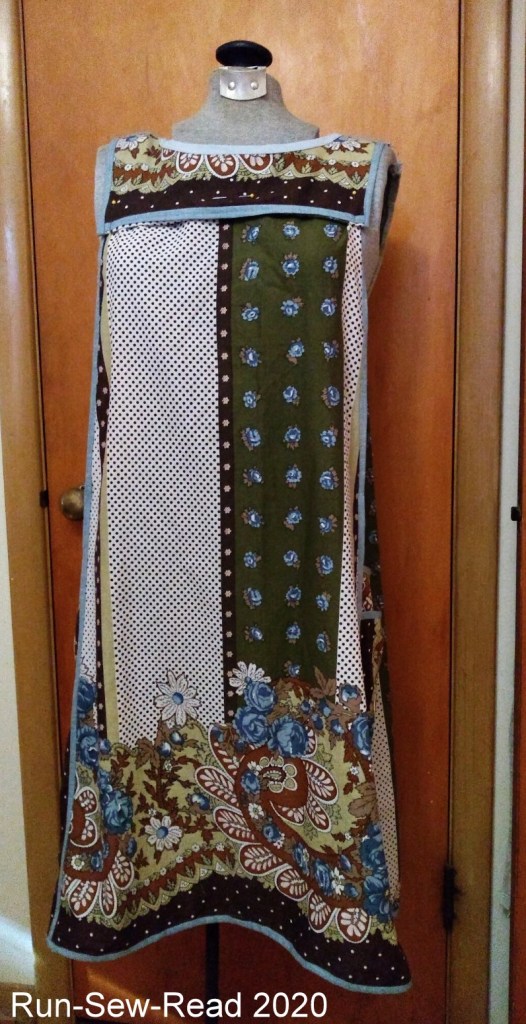
I love how the border print fell into place on all sides. 
(The yoke seam is wavy because it is pinned for adjustment.) 
This was the most faithful to a 1920s version. The fabric is reproduction feedsack, and the apron is entirely constructed with the binding foot. 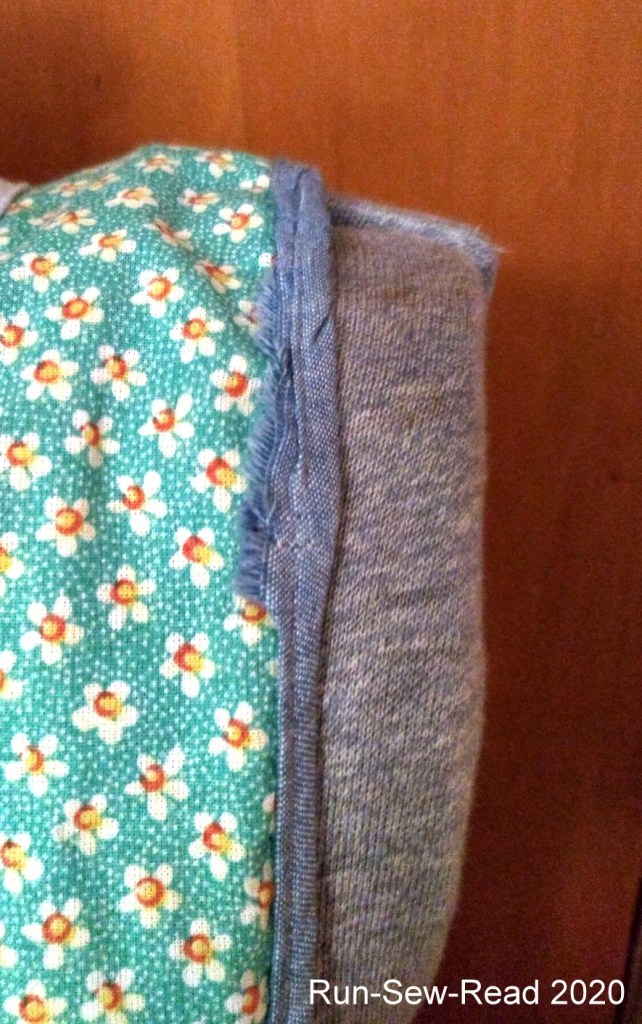
No amount of practice with the binding foot will ever make me good at it. 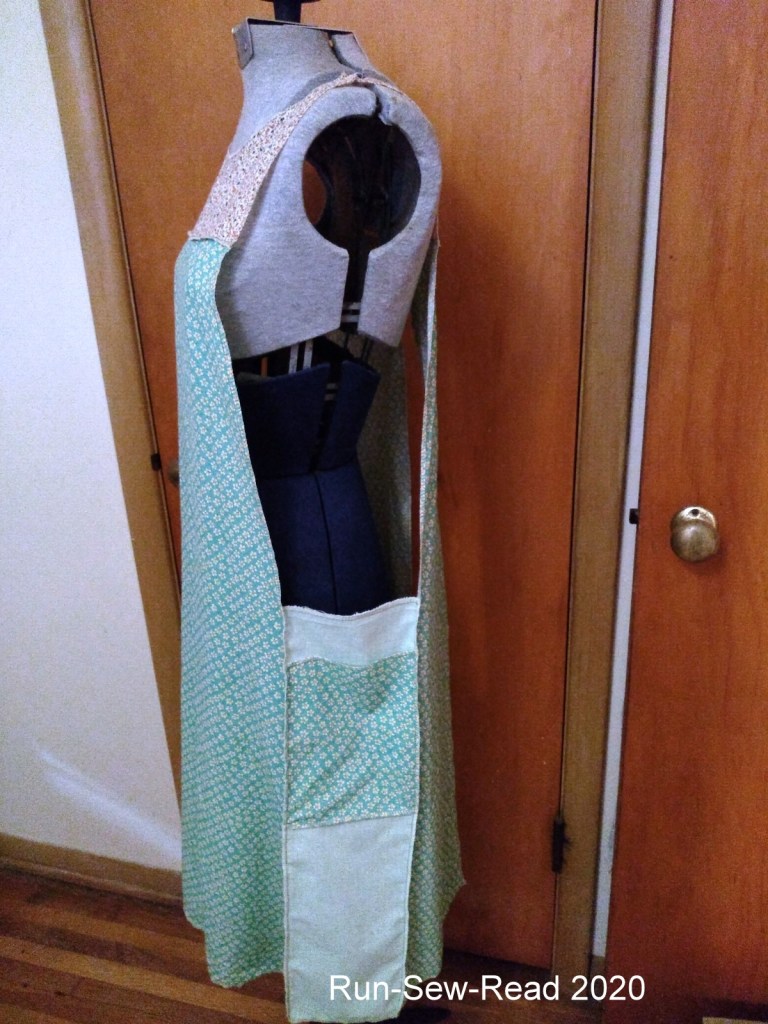
This one was constructed with a serger. Very fast and easy. 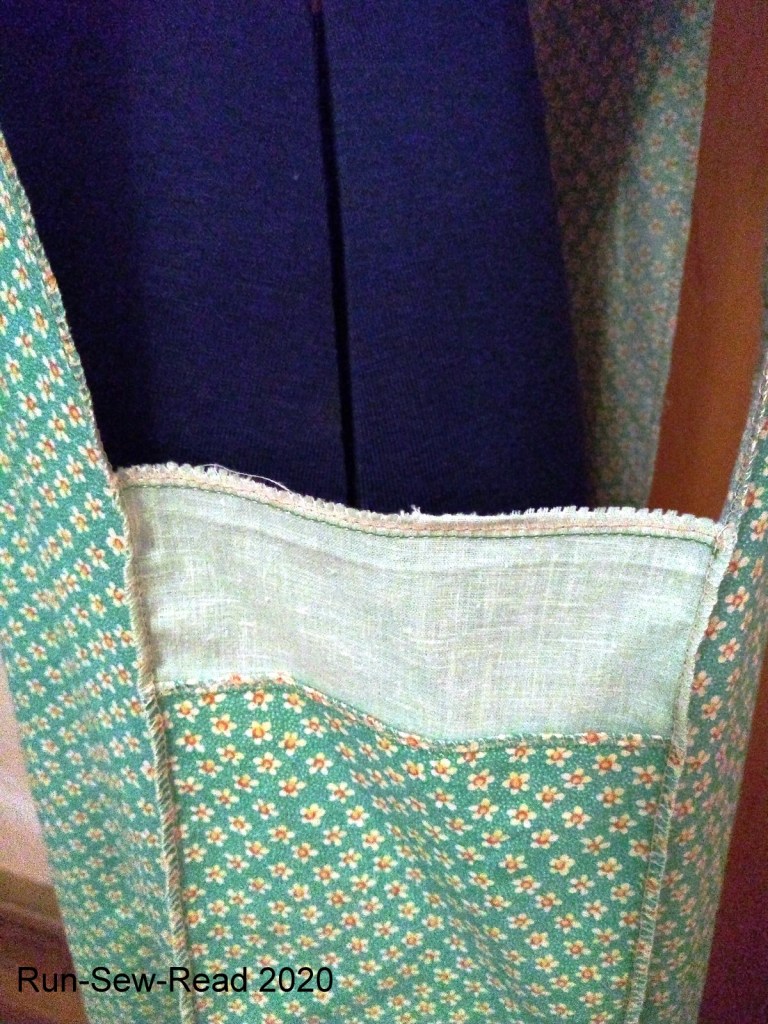
A closer view of the serger construction. I don’t care for the look of the exposed serger seams. 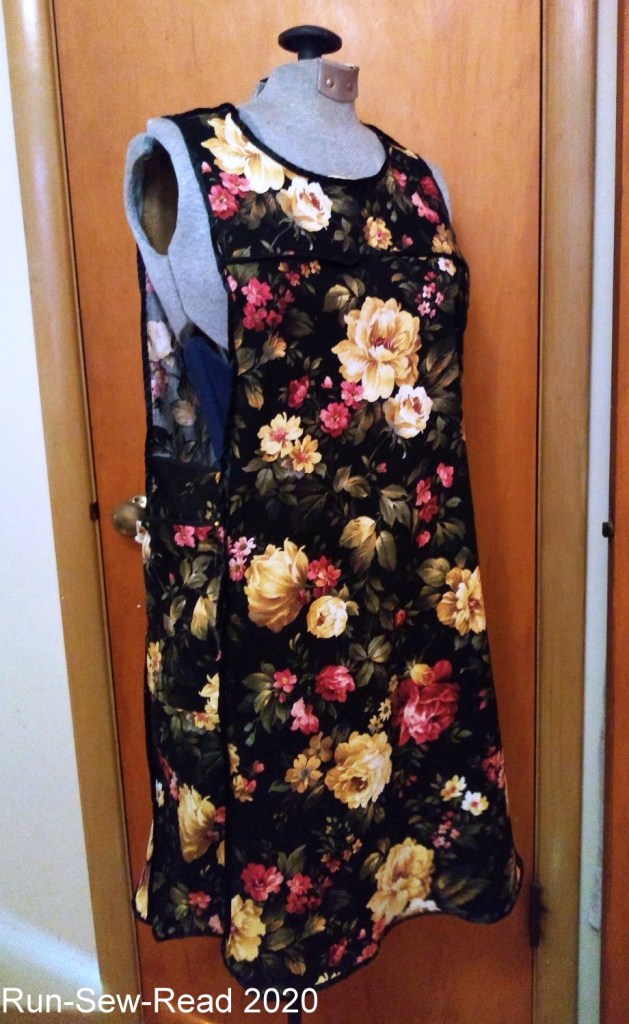
A contemporary version in a slightly shorter length. 
My very first attempt. *cringe* The proportions came out all wrong. The fit resembles a baby doll pajama top.
This wraps up the Nelly Don apron series. My obsession with the patent drawings has been satisfied…for now; although I do keep thinking of more ways to experiment with it. Have you made a Nelly Don apron? I’d love to hear about your experience with it.
Nelly Don Part 1 is here.
Nelly Don Part 2 is here.
Back to 2020, Series 6 of The Great British Sewing Bee is about to conclude. It’s been a fabulous series of talented sewing contestants and their creations. Last week was ‘Hollywood Week’, and it did not disappoint! https://www.facebook.com/watch/?v=1148109945557937
Two weeks ago was ’80s Week’, and it was full of larger-than-life creations and personalities. https://www.facebook.com/greatbritishsewingbee/videos/568722604082017/


![The Abduction of Nelly Don: Based on a True Story by [Patrice Williams Marks, (Jake) The Indie Editor, Brian Schell]](https://m.media-amazon.com/images/I/51WpARyfTkL.jpg)

