Alterations–creating more room in the bodice of a Lilly Pulitzer dress

It occurred to me recently that as I create bright-colored summer dresses, I’m channeling Lilly Pulitzer in a way.

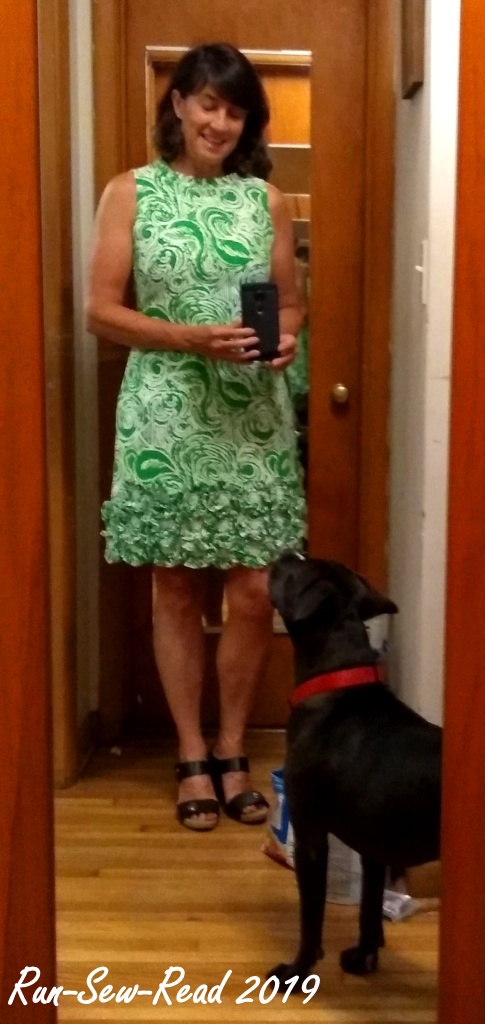
A couple of my dresses: 

So, I looked up Lilly designs, and sure enough, the cosmic connection is undeniable.  There are some differences; for instance, I almost always put a collar on my dresses, while ‘Lillys’ seem to all be sans-collar.  Lillys are also more shaped.  They have darts in front, back and bust.  I liberally omit darts.

Lilly Pulitzers:

Slim Aarons Pulitzer dresses 1964
More Lilly Pulitzer images here


A Lilly Pulitzer of my own!

Not long after I looked up images of Lillys, there was the real thing hanging on the rack in my fave vintage clothing store; on the half-price rack to boot!  I tried it on.  It was quite snug through the bodice.  When zipped up, it felt like a corset,… but fit otherwise.  There was no way it wasn’t coming home with me.  I’d figure out how to make it fit.
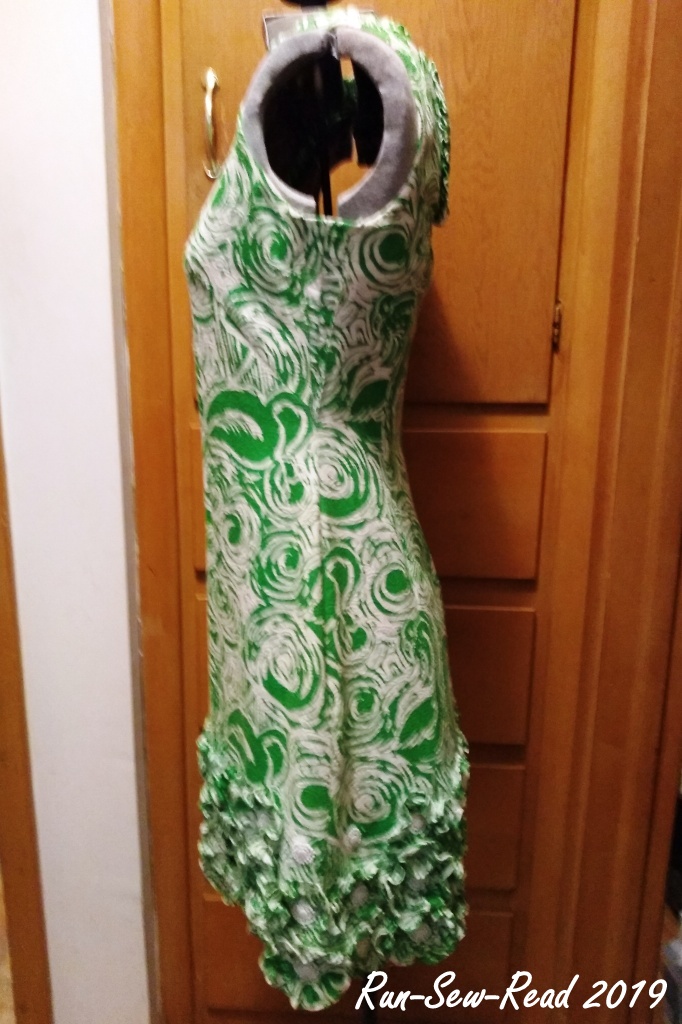
The dress

IMG_20190728_094127758aw RSR

IMG_20190728_094220895aw RSR

Lilly tag aw RSR

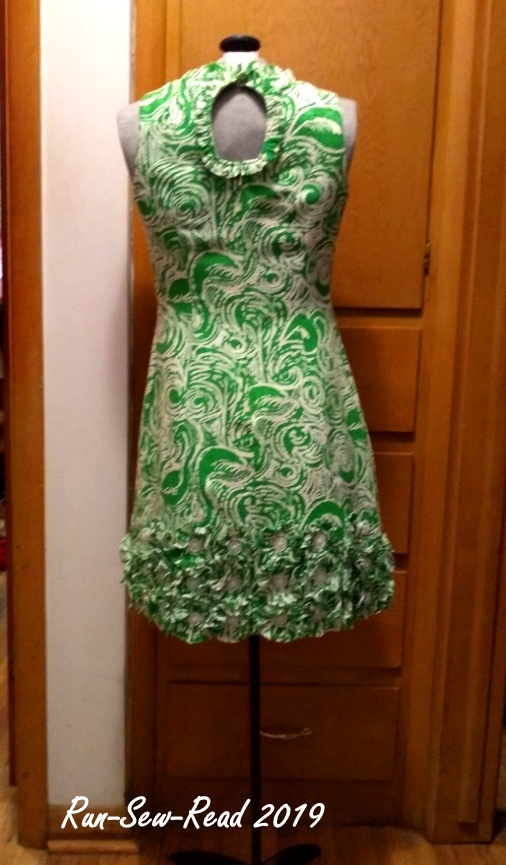
The dress is from the Lilly Pulitzer ‘Jubilee’ collection; a limited edition to celebrate her 50th year of the line.  I believe it is from 2009.  (This isn’t vintage, but the store attendant told me they had made an exception for this label and design.  I’m glad they did!)

Cool Lilly details:

Lining.  The outer fabric is a middle-weight woven soft cotton.  The entire dress is lined with white cotton batiste/lawn fabric.  It feels quite comfortable, and drapes nicely.

IMG_20190728_094253217aw RSR

ID tag: When I opened up the lining under the arm, this tiny ‘Lilly’ tag was sewn into the seam allowance.  I’m guessing it is to help ID a counterfeit.

IMG_20190727_094127852aw RSR tag

Pockets! (I always intend to add pockets to my dresses, but it doesn’t get done if I’m in a rush to finish the garment.  Then I always intend to go back and add pockets later, but sigh, that doesn’t happen very often. Note to self:  Add pockets.  Every time.)

IMG_20190728_094325753aw RSR

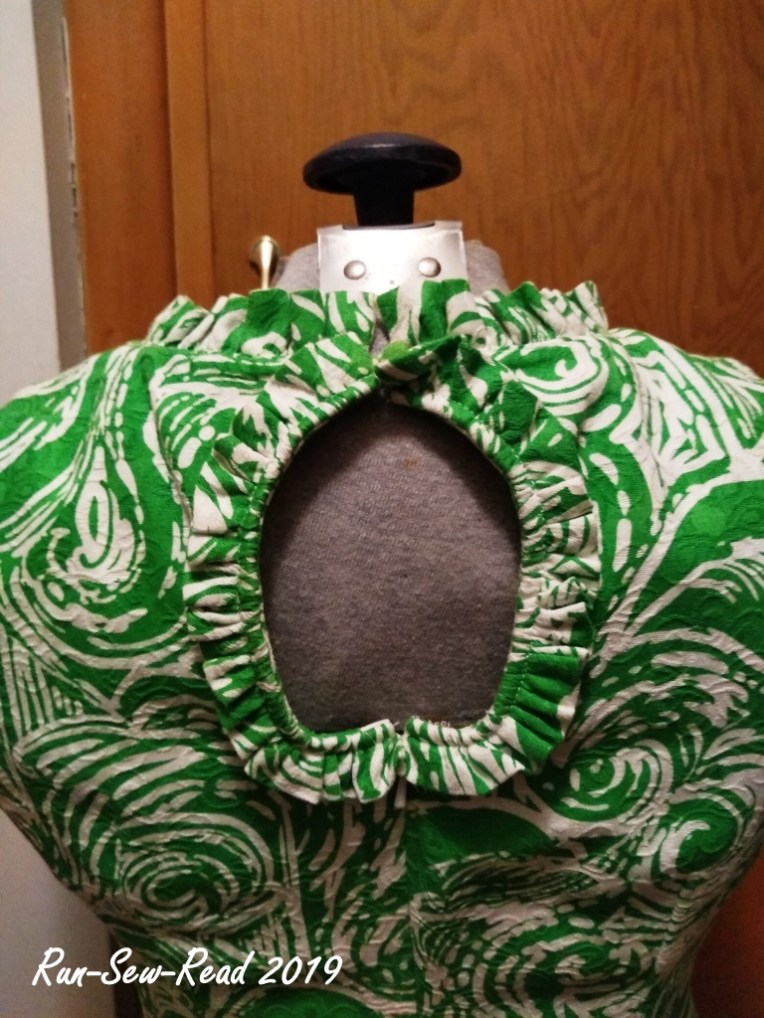
Keyhole back.   It is a nice feature that adds interest but doesn’t require special undergarments.

IMG_20190728_094228795aw RSR

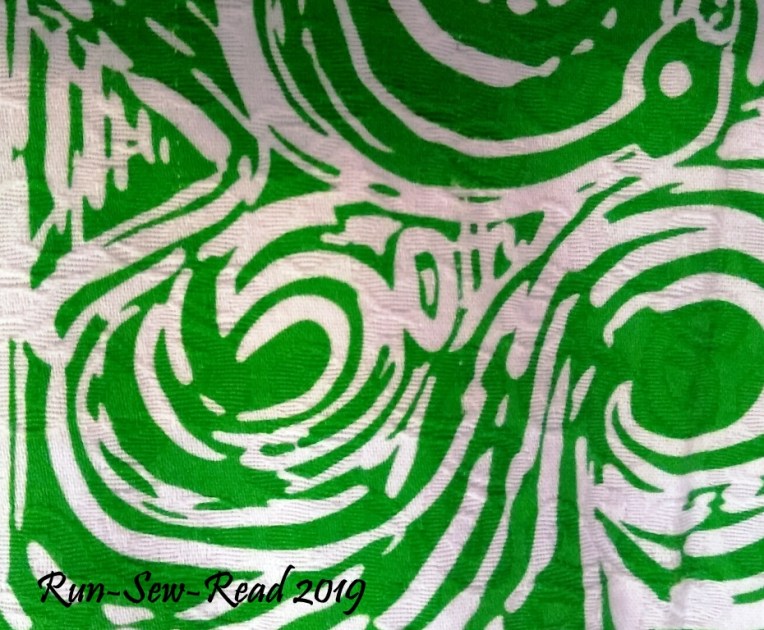
Unique Prints:  All Lilly Pulitzer prints have ‘Lilly’ embedded somewhere in the print.

Lilly in print RSR

This Jubilee Collection print also has ’50th’ embedded in it.

50th in print RSR


And now, the alteration:

To expand the bodice, I had to find some spare fabric in the dress.  The side-seam allowances were normal; not wide enough for expansion.  The hem was narrow.  No excess fabric there.  My solution was to remove two of the ‘flowers’ on each side of the lower edge.

IMG_20190728_094438752aw RSR

Two flower strips straightened out, pressed flat and then sewn together side-by-side, made a 9″ x 2″ strip.  This was plenty wide enough to expand each side of the bodice.  Here is one of the strips:

Strip aw RSR

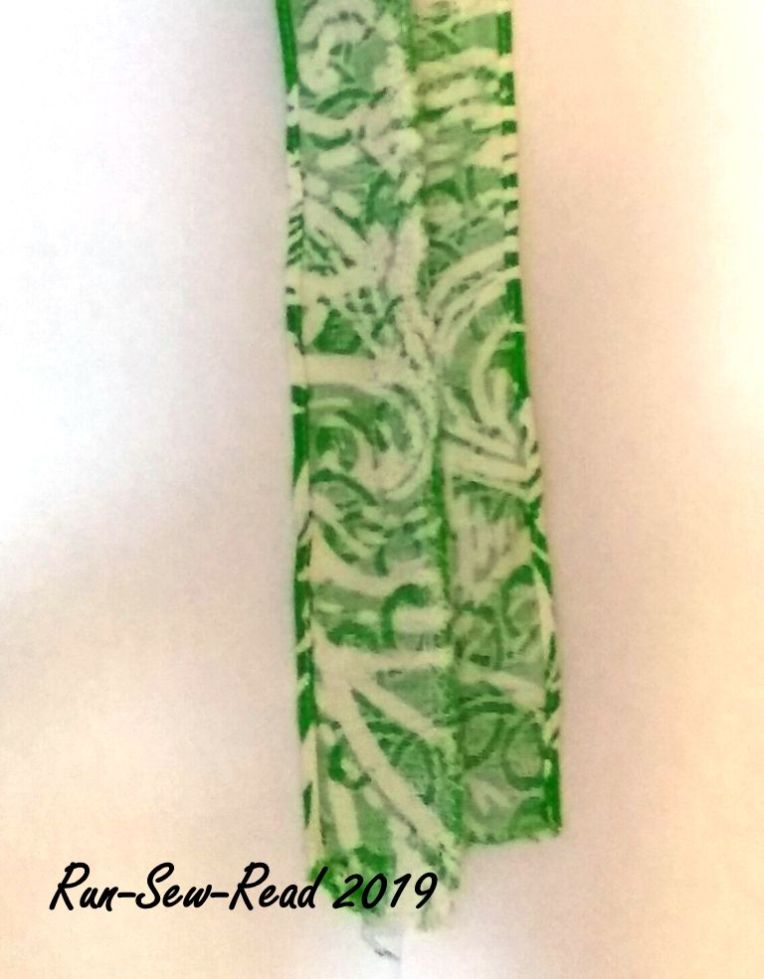
The strips were used to make a V-shaped inset to the side seams under each arm.

IMG_20190728_094424639aw RSR

Mission accomplished!

The dress now fits comfortably.  Once I’d gotten past the tedious process of unpicking the stitching on the four flowers, the actual altering process was surprisingly quick and smooth.  No frustrations at all.

IMG_20190728_094514693aw RSR

Myrtle the sewing pup-prentice, was dying to help the entire time.  She finally found her role, hiding the ugly stack of paint supplies in my selfie.

IMG_20190728_095145341aw RSR

Homemade Ice Cream — made with the stand mixer

Ice cream is a year round food for me.  This Kitchen Aid ice cream maker attachment was on my wish list for ages.  But at around $100, I considered it too pricey for an ice cream making gadget.  And then finally came a Black Friday deal, and I bagged my own ice cream freezing/churning bowl for under $50.  (Although still a little on the pricey side for this frugal cook.)  Lately the price seems to be holding at the $50 level.

[Link to item page]

Ice Cream bowl

Ice cream bowl and attachments

The Kitchen Aid (or any frozen ice cream mixing bowl) is super convenient, because you don’t have to deal with the bags of ice and rock salt needed for a traditional ice cream machine.  The frozen mixing bowl works quicker, too.  But there’s a process to it.  So without further delay, here’s what works for me:

The Recipe — comes from this blogger:  https://barefeetinthekitchen.com/homemade-ice-cream-recipe/   Visit her page for excellent instructions and comments.

Everyone has their own target level for ice cream taste, texture and nutrition; and her ingredients are more rich than my preference.  So below is my version of the ingredients.  For my taste, this texture is still creamy enough to enjoy and not feel deprived of the decadence:

1 cup heavy cream
2 cups skim milk
¾ cup sugar
1 Tbsp vanilla extract
1/8 tsp sea salt

Quick Method (for eating soft ice cream asap):

  • Mixer bowl must be frozen in advance.  There are no shortcuts for this step.
  • Combine all of the ingredients and pour into frozen mixer bowl.
  • Churn in frozen mixer bowl for 25-30 minutes.
  • Serve.  It will have a light, soft-serve consistency, with a slight crystal-ly texture.  It will be a bit like eating frozen, sweetened whipped cream.
  • Then store the leftovers in the freezer, and in a few hours, you should have perfect hard scoop ice cream.

Longer Method (for smooth hard scoop consistency):

  • Freeze the mixer bowl in advance.
  • Combine the ingredients and cook on the stovetop, just long enough to dissolve the sugar.  Stir while cooking.
  • Chill the mixture in the fridge.
  • Pour the chilled mixture into the frozen mixing bowl and churn for 25-30 minutes.
  • Transfer to a tub with lid, and freeze for a few hours, or overnight.

When you start the churning process, it will look like this:

Then 10-15 minutes later, you’ll notice the mixture expanding and taking form:

After 25-30 minutes, the mixture will be at or close to the top of the bowl, and the motor will be working harder: 

That’s when I stop and scoop the soft-frozen mixture into a tub, and put the tub in the deep freeze for a few hours.  The batch fits perfectly in a 45 oz margarine tub:

Ice cream tub b w

Carton label w edited RSR

A few hours later, it’s like this:

Ice Cream scoop w


Serving:  My current favorite toppings are strawberries and homemade chocolate sauce.

Ice cream toppings2 w RSR

Or, you can take it to another level and make Fried Ice Cream.  (And then top it with strawberries and chocolate sauce.)

One final tip:  After the churning process, the mixing bowl will still be partly frozen.  Immediately wash it and put it back in the freezer so it will soon be ready to make the next batch.


Start the process now, and by the time this video stops playing, you’ll have your own delicious homemade perfect hard scoop ice cream.